What should and shouldn’t go inside a theme
Alright, fellow theme developers here is the reality.
WordPress does not ship with an Email Subscription Functionality. And as theme developers, we shouldn’t implement a custom functionality like an Email Subscription management inside our theme. That is against the theme development standards and there is a very good reason behind this.
Some clients always try to change the look and feel of their websites. So, if they got bored with the current design, the first thing they do is purchase a new WordPress theme or hires freelance WordPress developers like us to get the job done.
This means we can not guarantee that the client will continue to use the theme we developed for a longer period of time. Also, it is pretty easy to install a new theme, right?
Let’s imagine that we implemented some custom functionality like e-commerce inside our theme and the client used this feature to add two hundred products.
And, after 6 months, for some reason, the client got bored with our theme’s frontend design and decided to ditch our theme for a new one with a better design.
What happens now?
Simple yet Deadly! What comes with a theme goes with a theme. Not only the client will lose the e-commerce functionality that comes with our theme, but the client also loses access to the hundreds of products that he/she added using our theme. That’s a huge data loss.
And most of the clients are not aware of this at all. Any client who reads a general “what is a WordPress theme” thinks that theme only takes care of the presentation of the website. And that’s is the exact purpose of a WordPress theme. A theme should only take care of the frontend presentation and not anything else.
Here is another most common problem with functionality inside themes. Most theme developers ships their themes with a lot of shortcodes that lets the clients achieve complex content layouts, just using the classic content editor. And the clients unknowingly use these shortcodes quite extensively to build their content layouts. But, as soon as they switch to a different theme, all hell will break loose. Their beautifully crafted layouts are messed up with shortcodes rendering everywhever on the frontend.
What I am trying to say is, there is a fine line between what goes and what does not go inside a theme and we have to respect that to reduce the headaches for the clients when they move away from us.
So, whenever you realize that some functionality is not shipping with WordPress by default, as a theme developer, you shouldn’t implement that inside the theme you are building. But if you are the one who should build this custom functionality, create a plugin yourself and put the functionality in it or look for a plugin and integrate it inside your theme. This way, the clients will never lose the functionality and the data even when they switch to a different theme.
Let’s deal with the Email Subscription form
Now, since Email Subscription Functionality is not part of WordPress, let’s look for a plugin which provides this functionality.
We know that there are tons of plugins out there which provides this functionality and most clients prefer to use a Services like MailChimp, Aweber, etc. So, we have to go with a plugin which supports easy integration with these services.
I personally prefer the “Gravity Forms” plugin. But that is a premium plugin. So, for the purposes of this course, I am going with the “Email Subscribers & Newsletters” plugin from Icegram. This is one awesome plugin I use whenever a client doesn’t want any integration with third-party email services.
Of course, at the end of the day, It all boils down to personal preference, so, feel free to go with any plugin you are comfortable with.
Anyway, let’s go ahead install “Email Subscribers & Newsletters”.
Warning: Do not install the most recent version of this plugin. Instead, download the 3.5.18 version to follow along with me.
Follow this article from Kinsta on how to download an older version of a particular plugin.
For the rest of the course, I am gonna assume that you have downloaded 3.5.18 version of the “Email Subscribers & Newsletters” plugin

- Go to Admin Dashboard -> Plugins -> Add New panel.
- Then search for “Email Subscription”.
- WordPress will return a ton of search results.
- Install the “Email Subscribers & Newsletters” plugin and activate it.
- Activated Plugin redirects you to its main page.
- We are not going to configure settings because we are at the very early stages of our site development.
- That’s all.
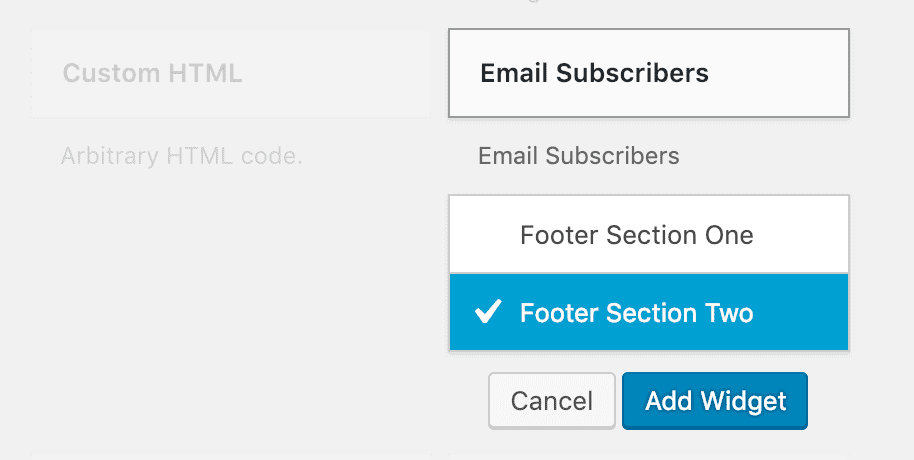
This plugin adds an Email Subscription Form widget to the Appearance -> Widgets panel.
And I want to add this widget to the “Footer Section Two” sidebar.
So, let’s go to Widgets panel and add this widget to the “Footer Section Two” Dynamic Sidebar.
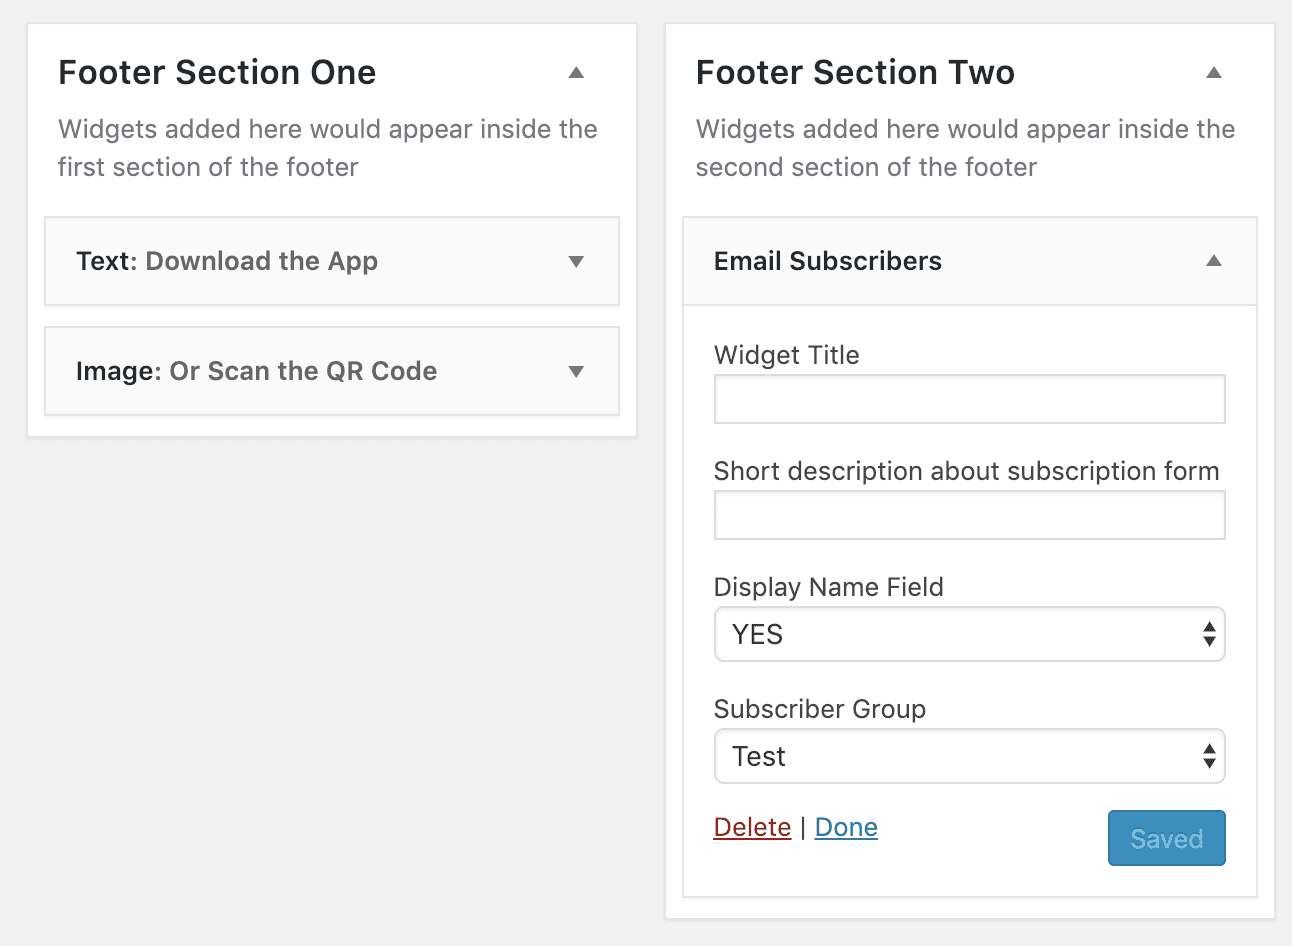
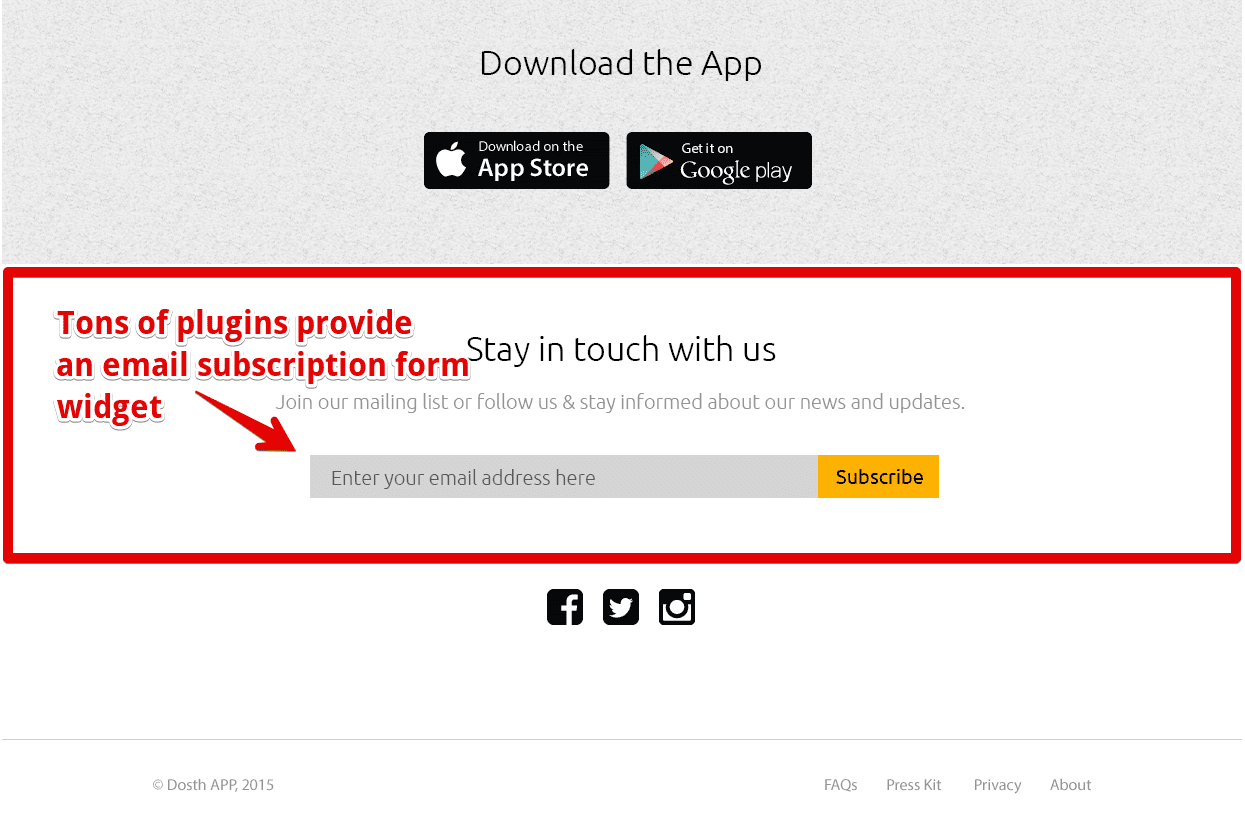
Now, go ahead and fill the Widget Title and Short description fields of this widget. You can fill whatever you want and save the Widget. I am going with:
Widget Title: Stay in touch with us
Short Description: Join our mailing list or follow us & stay informed about our news and updates.
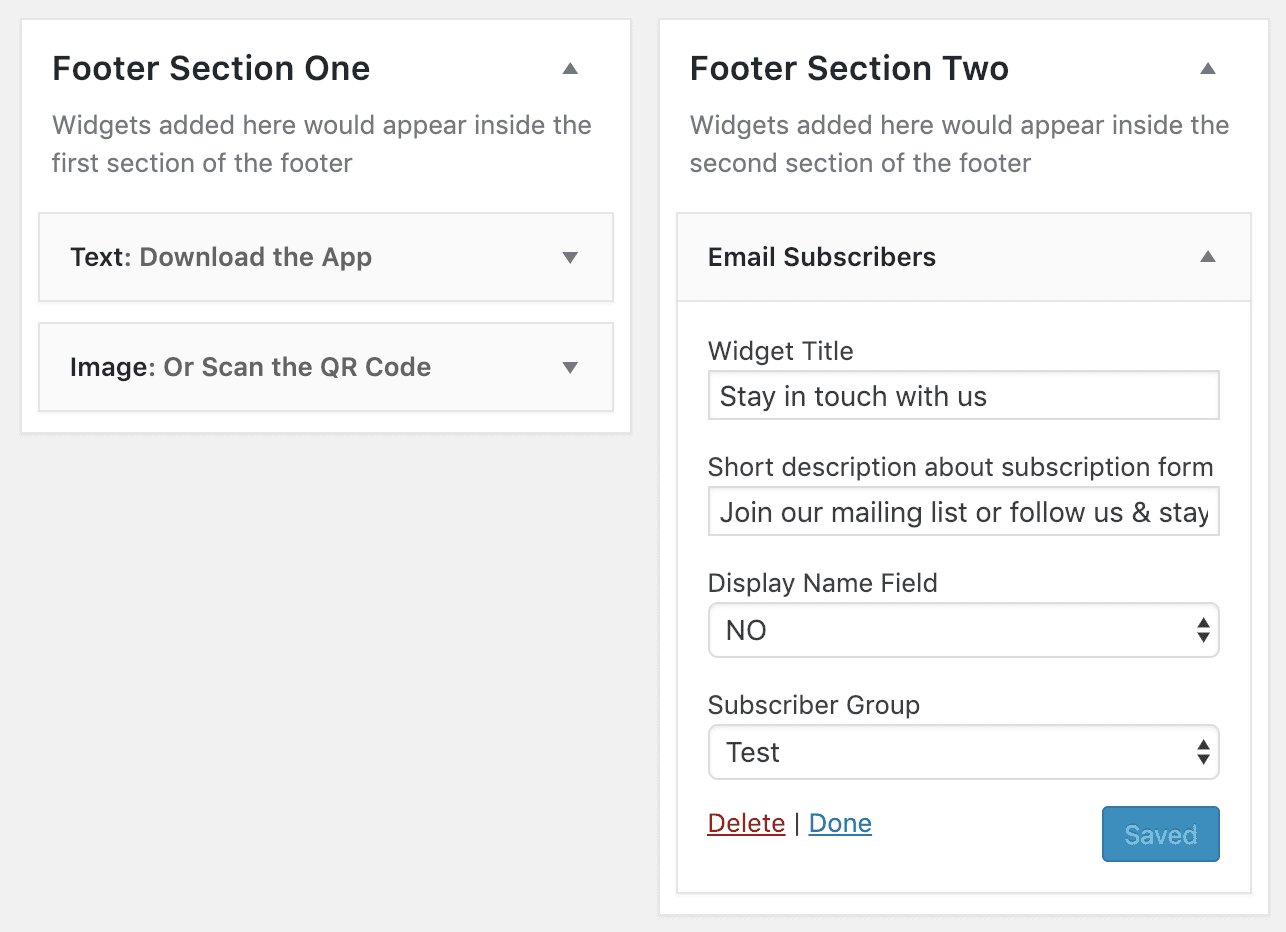
I don’t want to display the Name Input Field on the frontend, so I selected “No” for “Display Name Field” option.
Now that we have successfully configured this widget inside the “Footer Section Two” sidebar, Let’s output the “Footer Section Two” sidebar right below the “Footer Section One” sidebar.
So, go ahead and open up the footer.php file and add the following code right above the closing </footer> tag.
<?php if ( is_active_sidebar( 'footer-section-two' ) ) : ?>
    <div class="footer-section-two">
        <div class="container">
            <div class="row">
                <div class="col-sm-12">
                    <?php dynamic_sidebar( 'footer-section-two' ); ?>
                </div>
            </div>
        </div>
    </div>
<?php endif; ?>
Again, we are checking if the sidebar has any widgets using the is_sidebar_active() function call. We only want to output the Sidebar markup if there are widgets in it.
In our case, we placed an “Email Subscribers” widget inside “footer-section-two” sidebar. So, the IF condition returns True and WordPress executes whatever the code we placed inside this IF condition.
And inside the IF condition, I have written some Bootstrap specific markup to restrict the widget content of this sidebar from spanning the full width of the viewport.
Finally, we are displaying the widgets placed inside the “Footer Section Two” sidebar by calling the dynamic_sidebar('footer-section-two') function.
That’s all.
Here is the Final footer.php file for this lesson:
        <footer id="site-footer">
            <?php if ( is_active_sidebar( 'footer-section-one' ) ) : ?>
                <div class="footer-section-one">
                    <?php dynamic_sidebar( 'footer-section-one' ); ?>
                </div>
            <?php endif; ?>
            <?php if ( is_active_sidebar( 'footer-section-two' ) ) : ?>
                <div class="footer-section-two">
                    <div class="container">
                        <div class="row">
                            <div class="col-sm-12">
                                <?php dynamic_sidebar( 'footer-section-two' ); ?>
                            </div>
                        </div>
                    </div>
                </div>
            <?php endif; ?>
        </footer>
        <?php wp_footer(); ?>
    </body>
</html>
Alright, let’s check out the Homepage in the browser.
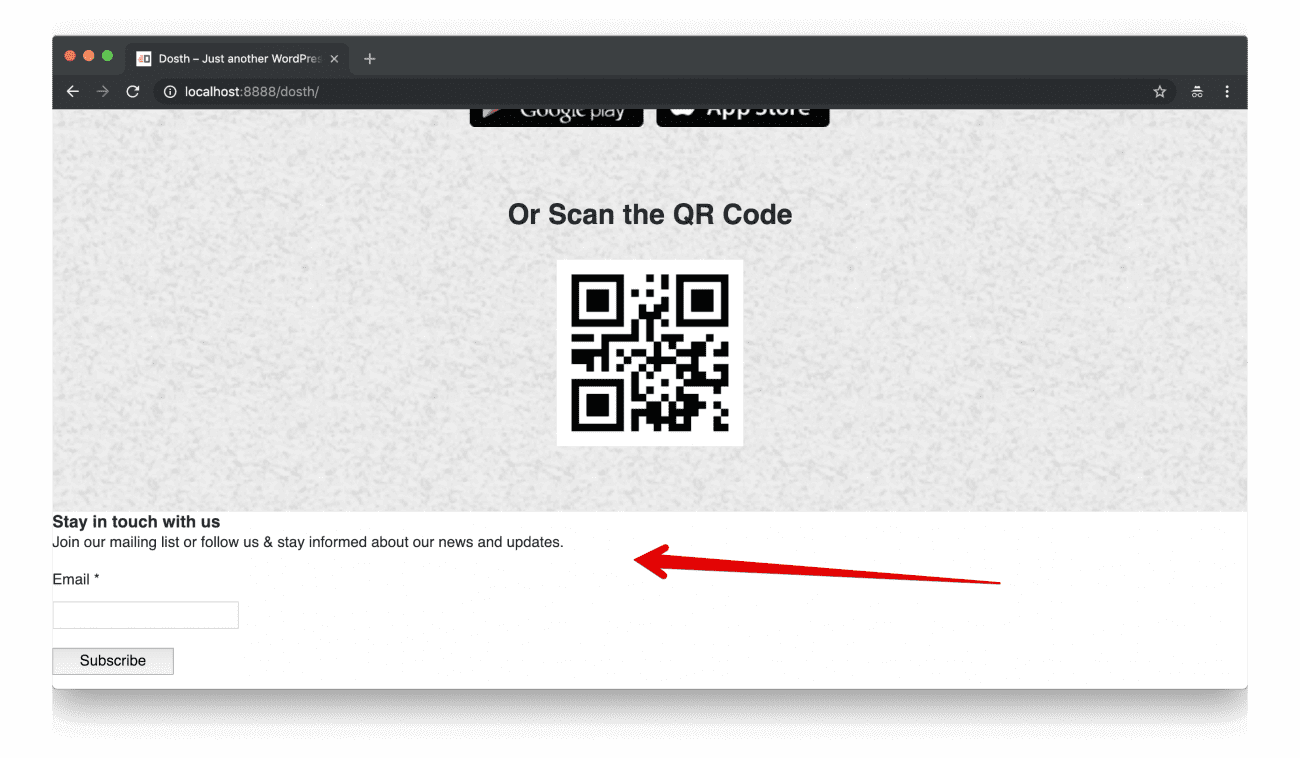
Great! The Email Subscription form widget is indeed getting outputted to the frontend as we expected. Pretty cool.
Next, let’s style this form so that it almost exactly looks like the subscription form from the Footer mockup. And, We never know where a particular widget goes. So, whenever possible, It is important that we write modular CSS when it comes to the styling of Widgets. It saves us a lot of time in the long run.
Open up the style.css file and put the following CSS code at the end of the file.
.footer-section-two{
    padding:70px 0;
}
#site-footer .elp-widget .es_caption{
    font-size:20px;
    color:#939393;
}
#site-footer .es_widget_form{
    text-align: center;
}
#site-footer .es_textbox input{
    width:400px;
    margin-right:-4px;
}
#site-footer .es_textbox, #site-footer .es_button{
    display:inline-block;
}
#site-footer .es_lablebox{
    position: absolute;
    left:-9999px;
}
#site-footer .es_textbox input, #site-footer .es_button input{
    height:43px;
    display: block;
    border:0;
    font-size:20px;
    -moz-appearance:none;
    -webkit-appearance:none;
    appearance:none;
}
#site-footer .es_textbox input{
    background-color:#d4d4d4;
    padding-left:15px;
    padding-right:15px;
}
#site-footer .es_button input{
    background-color:#fdb100;
    color:black;
    position: relative;
    top:-1px;
}
#site-footer .elp-widget h4{
    margin-bottom:20px;
}
#site-footer .elp-widget .es_caption{
    margin-bottom:20px;
}
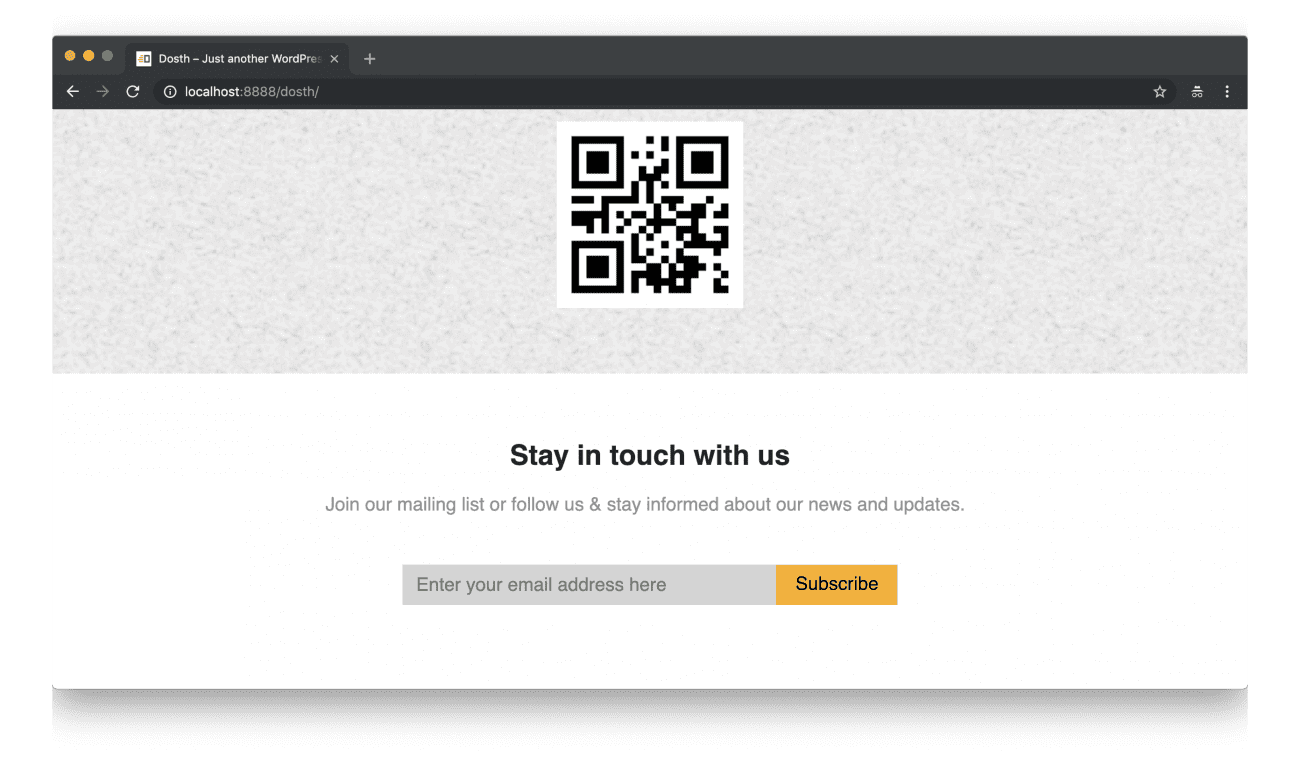
Now, let’s go back to the Homepage in the browser and refresh it.

It looks neat, ain’t it?
But there is a small problem. If you notice the mockup, there is a placeholder for the email input field. But the “Email Subscribers & Newsletters” plugin’s widget is not outputting the placeholder at all. It outputted the label, but it’s not helpful.
There are three approaches to fix this:
- We have to look into the plugin’s documentation and source code in the hope of a solution. Most of the time we will find a solution but it totally depends on the project deadline and financial budget of the client for this website.
- We can write a neat little javascript code which adds the placeholder attribute to the email input field.
- Replace the plugin with some other plugin which helps us configure the placeholder attribute. This option exists because the clients will never back down when it comes to the design. Again it totally depends on the project deadline and financial budget of the client for this website.
And choosing one of these approaches totally varies from situation to situation.
In our case, adding a placeholder attribute to an HTML element using the Javascript doesn’t hurt much. It doesn’t hurt the accessibility of the form either. This is because we only moved the “Email” label out of the visible area by positioning it absolutely. But, we did not hide it using display:none.
So, open up the main.js file located inside the assets/js directory and put the following code at the end of it:
/* -----------------------------------------------------------------*/
/* Add Placeholder to the Email input field of "Email Subscribers" widget
/* -----------------------------------------------------------------*/
if( $( '.elp-widget input[type="email"]' ).length ){
    $( '.elp-widget input[type="email"]' ).attr('placeholder', 'Enter your email address here');
}
We are first checking whether an email input field exists inside a specific widget and if it does exist, we are adding the placeholder attribute to it.
Easy enough, right?
And, if you now check out the subscription form in the browser, the placeholder attribute is indeed showing its charm.
Anyway, if the client is planning to launch this website in multiple languages, the above technique causes problems because we are hard-coding the placeholder’s value inside a javascript file. This is a terrible idea and we will fix this in the next lesson.
 © 2026 UsableWP. A project by Naresh Devineni.