Styling the header
Let’s style the header.
Open up the style.css file and remove everything from it except the comment with theme information. I made you add dummy styles just for the sake of testing the file. Real styles that goes inside the style.css file starts from this lesson.
This is my current style.css file after removing everything from it except the comment with theme information.
Now, add the following CSS to the style.css file.
/************************************************************
----------------------OUTLINE OF STYLES----------------------

1.General Styles
2.Header Styles

**************************************************************
*************************************************************/


body {
	-webkit-animation: bugfix infinite 1s;
	font-family: 'Lato',sans-serif;
	font-size: 16px;
}

p {
	line-height: 1.5;
	font-size: 14px;
}

a,
a:visited {
	text-decoration: none;
}

a:hover,
a:focus,
button:focus,
input[type="submit"]:focus,
input[type="search"]:focus {
	text-decoration: none;
	outline: 0;
}

ul,
ol {
	margin: 0;
	padding: 0;
}

ol {
	list-style-type: decimal;
	list-style-position: inside;
}

ul {
	list-style: none;
}

label {
	cursor: pointer;
}

img {
	max-width: 100%;
}

.screen-reader-text {
	position: absolute;
	left: -9999px;
}

h1,
h2,
h3,
h4,
h5,
h6 {
	font-weight: bold;
}

h1,
h1 a,
h2,
h2 a,
h3,
h3 a,
h4,
h4 a,
h5,
h5 a,
h6,
h6 a {
	margin: 0;
}

h1 {
	font-size: 24px;
}

h2 {
	margin-bottom: 30px;
}

h2,
h2 a {
	font-size: 30px;
}

h3 {
	margin-bottom: 22px;
}

h3,
h3 a {
	font-size: 20px;
}

h4,
h4 a {
	font-size: 18px;
}

h5 {
	font-size: 16px;
}

h6 {
	font-size: 15px;
}

iframe {
	width: 100%;
}

.fl {
	float: left;
}

.fr {
	float: right;
}

.seperator {
	margin: 0 3px;
}

blockquote {
	border-left: none;
	margin-bottom: 10px;
}

.firstcharacter {
	float: left;
	font-size: 60px;
	padding-top: 4px;
	line-height: 56px;
	padding-right: 20px;
}

.highlighter {
	display: inline-block;
	padding: 2px 6px;
	color: #fff;
}

.highlighter.grey {
	background-color: #5e666b;
}

.clearfix:after {
	content: ".";
	visibility: hidden;
	display: block;
	height: 0;
	clear: both;
}

.parallax-image {
	background-repeat: no-repeat;
	background-position: center center;
	background-attachment: fixed;
	background-size: cover;
}

.box-shadow {
	box-shadow: 2px 2px 0px 0px rgba(0, 0, 0, 0.75);
}

.box-shadow-negative {
	box-shadow: -2px -2px 0px 0px rgba(0, 0, 0, 0.75);
}

button {
	cursor: pointer;
}

/*-------------------------------------------------------------------------------
  2.Header styles
-------------------------------------------------------------------------------*/

header[role="banner"]{
    height: 92px;
    border-bottom:1px solid #ccc;
}

.logo{
    height: 92px;
    display: -webkit-box;
    display: -ms-flexbox;
    display: flex;
    -webkit-box-align:center;
        -ms-flex-align:center;
            align-items:center;
}

.logo a {
	font-size: 20px;
	display: block;
}

.logo a img {
	width: auto;
	max-height: 43px;
	border: 0;
}
If you are planning not to use pre-processors like SCSS or LESS, your style.css file can get pretty big. So, it is better to have a good outline of what’s inside the file. This is helpful for quickly jumping to a particular location of the file and adding a quick style.
On the other hand, we can also use chrome’s style inspector to precisely find out the line number of the style rule that you want to modify.

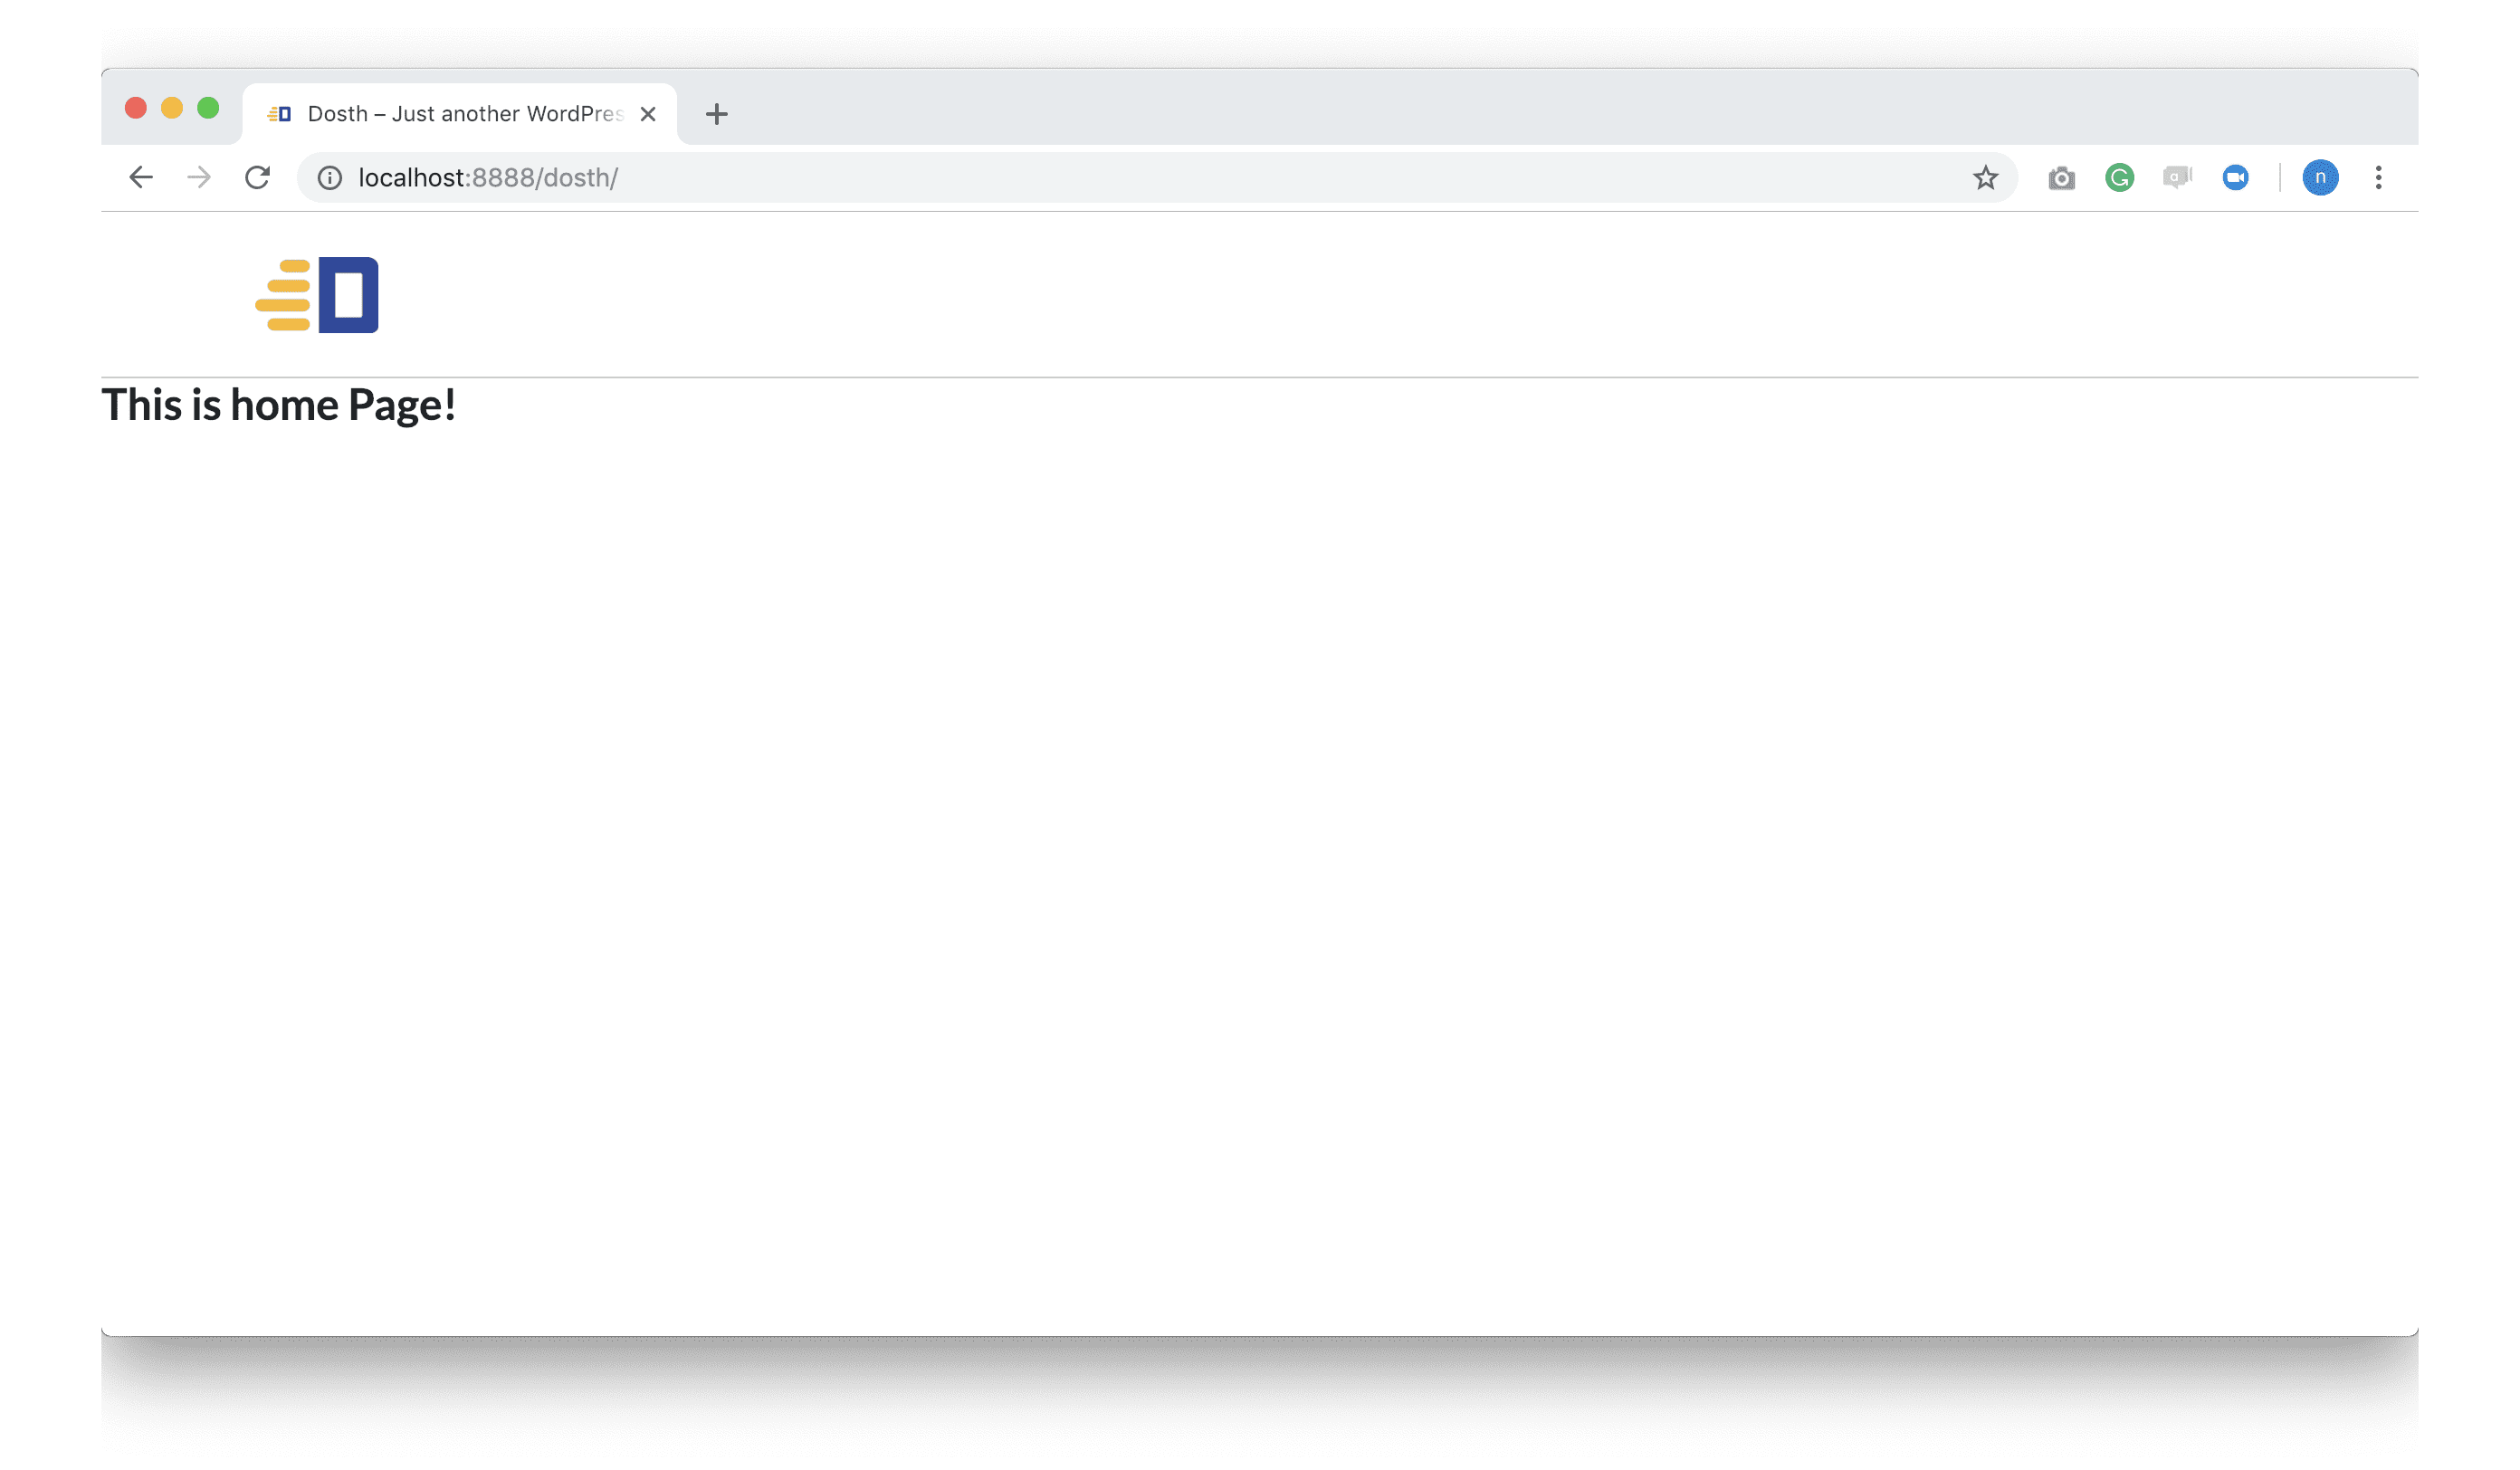
Anyway, if we visit back to the Homepage in the browser, the header portion is now looking much cleaner.
Our next stop is the creation of the Header navigation menu. But before we create our navigation menu, we must create pages, right?
“Yes!”
so, we will do exactly that in the next lesson.
 © 2026 UsableWP. A project by Naresh Devineni.