How to add Google Fonts to the WordPress site
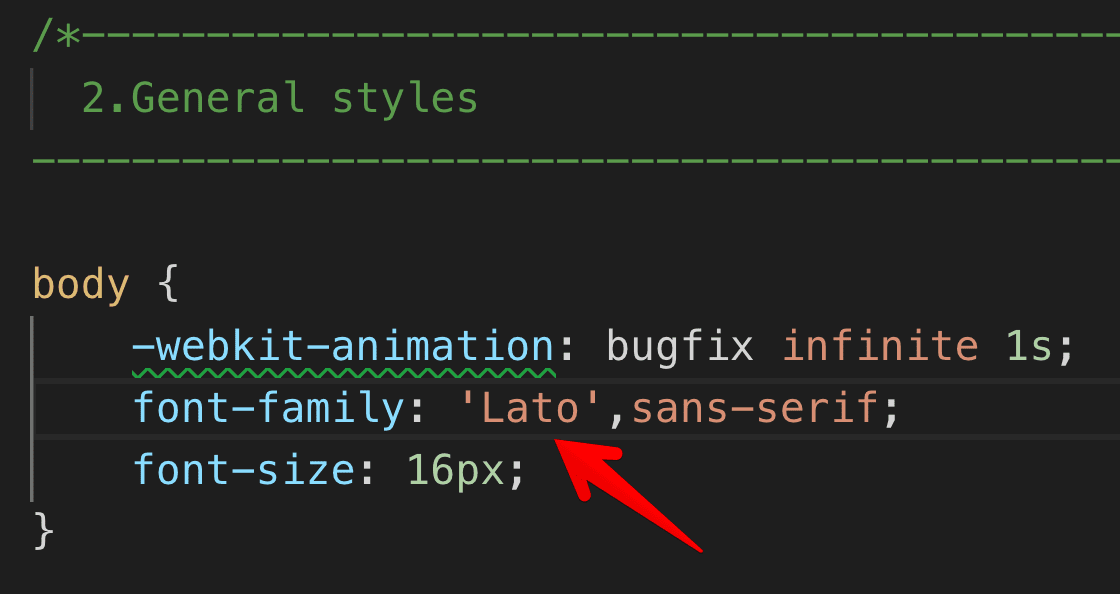
Up and until now, your Homepage and my Homepage inside this Course’s screenshots could have looked different unless you have the Lato font installed on your computer. This is because I accidentally instructed the browser to display the text of the Dosth site using the Lato font.
Since the Lato font was installed on my computer, The Browser obliged my instruction and displayed the Site’s text using the Lato font.
I did not do this mistake on purpose. As you start developing more and more WordPress sites, you will start to reuse the code from the previous projects. And Sometimes, you forget to change the Font Family of the webpage. So, the site ends up looking totally different from the Mockup until you realize it by yourself or someone points it to you.
Either way, It is time to fix it. Let’s replace the Lato font with Ubuntu.
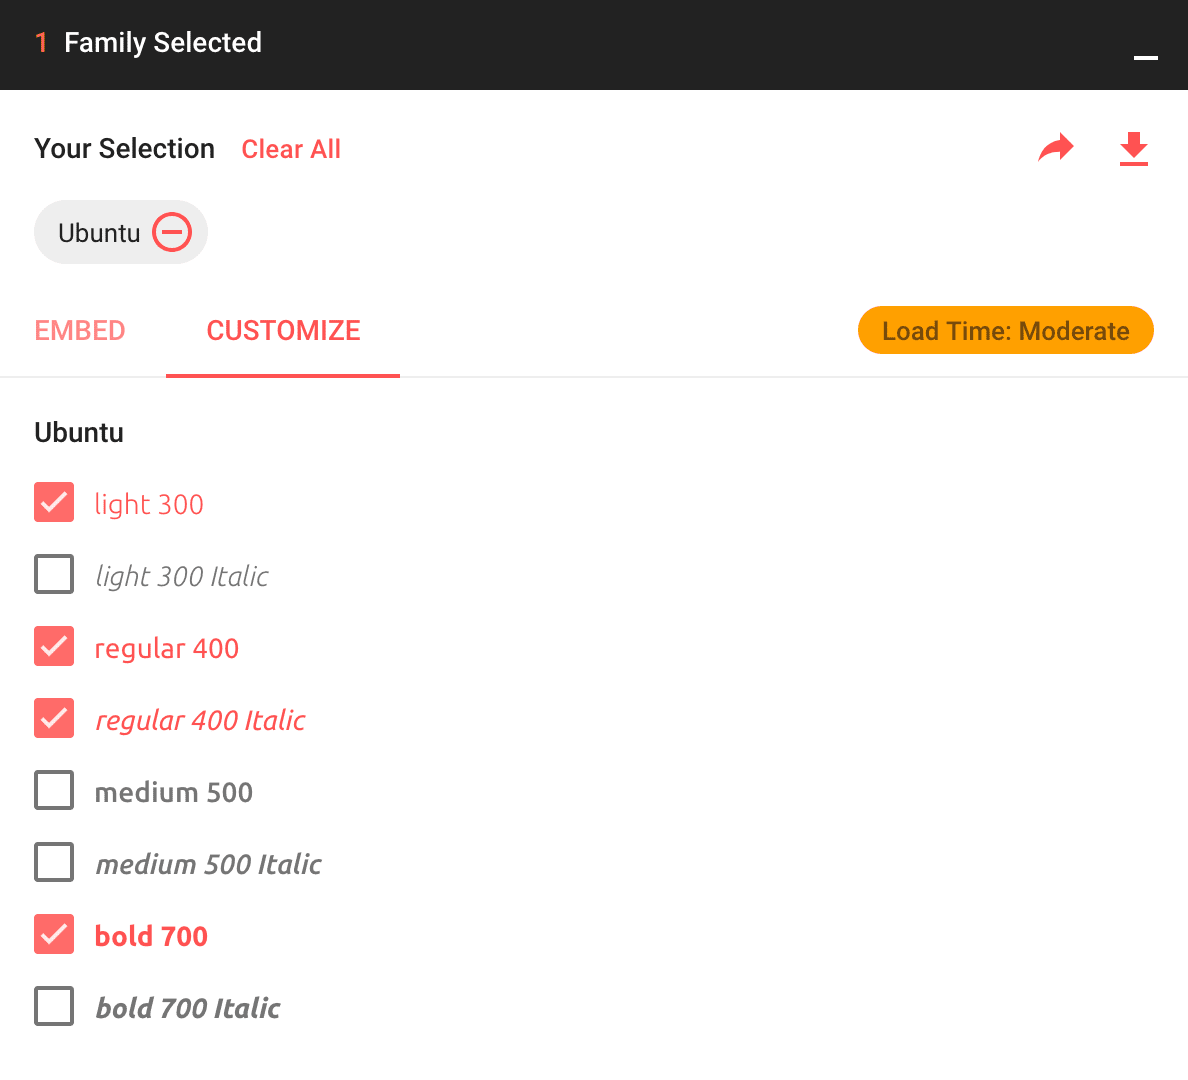
Go ahead to the https://fonts.google.com/ and selected the following styles of Ubuntu Font:
And Here is their embed code :
<link href="https://fonts.googleapis.com/css?family=Ubuntu:300,400,400i,700" rel="stylesheet">
Whenever there is a chance, instead of downloading the fonts and loading them manually, it is better to embed them because Google serves them using a Content Delivery Network. Although Google’s CDN doesn’t improve the Page Load speed by a great margin, it at least doesn’t slow our website down.
But, I am not going to hard-code this Link tag inside the header.php file directly because it is just a stylesheet. Instead, I will enqueue them just like any other stylesheet.
To enqueue a Google Font, all we need is the URL that is present in the href attribute of the above embed code.
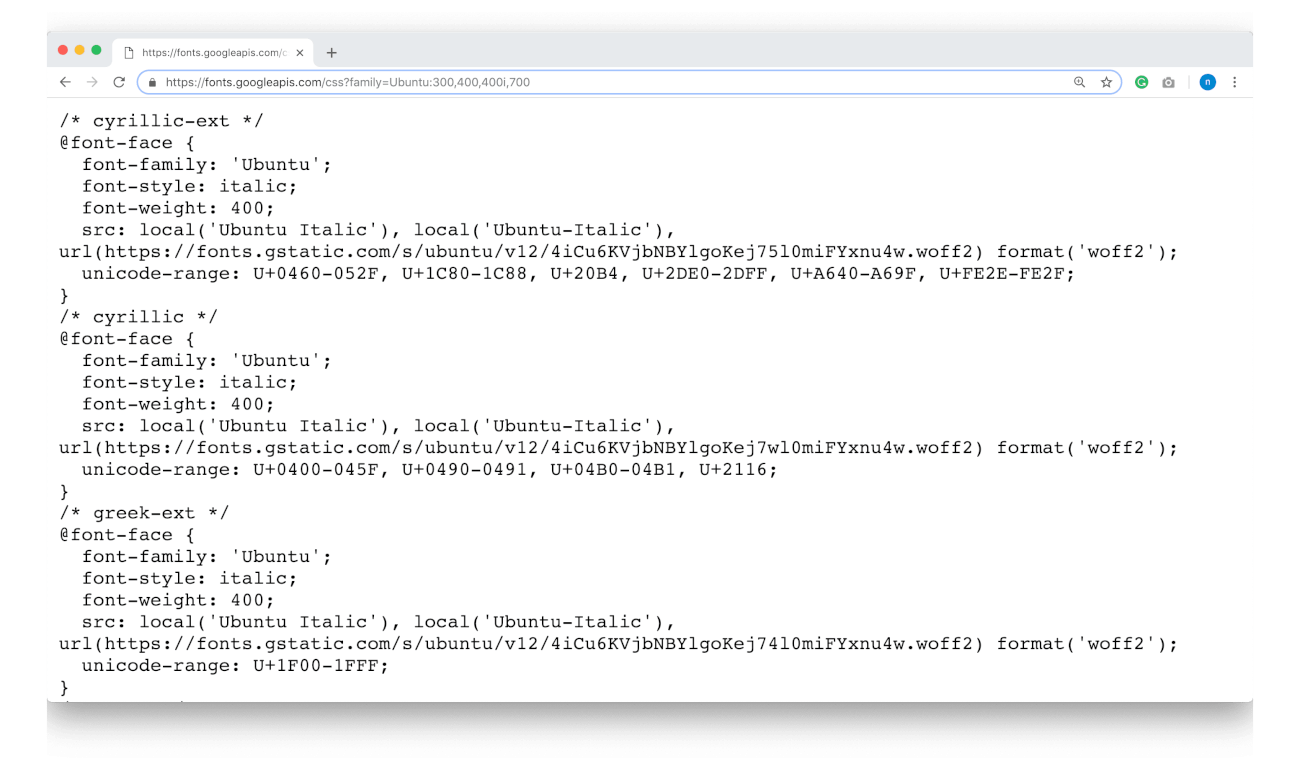
https://fonts.googleapis.com/css?family=Ubuntu:300,400,400i,700
Just to confirm, If you open up this URL in the browser, you’ll indeed see plain CSS @font-face style rules.
Next, Open up the functions.phpfile and put the following enqueue code inside the nd_dosth_enqueue_stylesaction. To be precise, place it directly above the ‘main-stylesheet’ enqueue function.
wp_enqueue_style(
    'ubuntu-font',
    'https://fonts.googleapis.com/css?family=Ubuntu:300,400,400i,700',
    array(),
    false,
);
That’s all you have to do to use a particular Google Font inside our theme.
Here is the updated nd_dosth_enqueue_stylesaction from the functions.phpfile.
function nd_dosth_enqueue_styles() {
    wp_enqueue_style(
        'normalize',
        get_stylesheet_directory_uri() . '/assets/css/normalize.css',
        array(),
        false,
        'all'
    );
    wp_enqueue_style(
        'bootstrap',
        get_stylesheet_directory_uri() . '/assets/css/bootstrap.min.css',
        array(),
        false,
        'all'
    );
    wp_enqueue_style(
        'superfish',
        get_stylesheet_directory_uri() . '/assets/css/superfish.css',
        array(),
        false,
        'all'
    );
    wp_enqueue_style(
        'ubuntu-font',
        'https://fonts.googleapis.com/css?family=Ubuntu:300,400,400i,700',
        array(),
        false
    );
    wp_enqueue_style(
        'main-stylesheet',
        get_stylesheet_uri(),
        array('normalize', 'bootstrap'),
        "7.0",
        'all'
    );
}
add_action( 'wp_enqueue_scripts', 'nd_dosth_enqueue_styles' );
If we now switch back to the Homepage in the browser and inspect it, we can see that the Ubuntu Google Font is successfully enqueued.
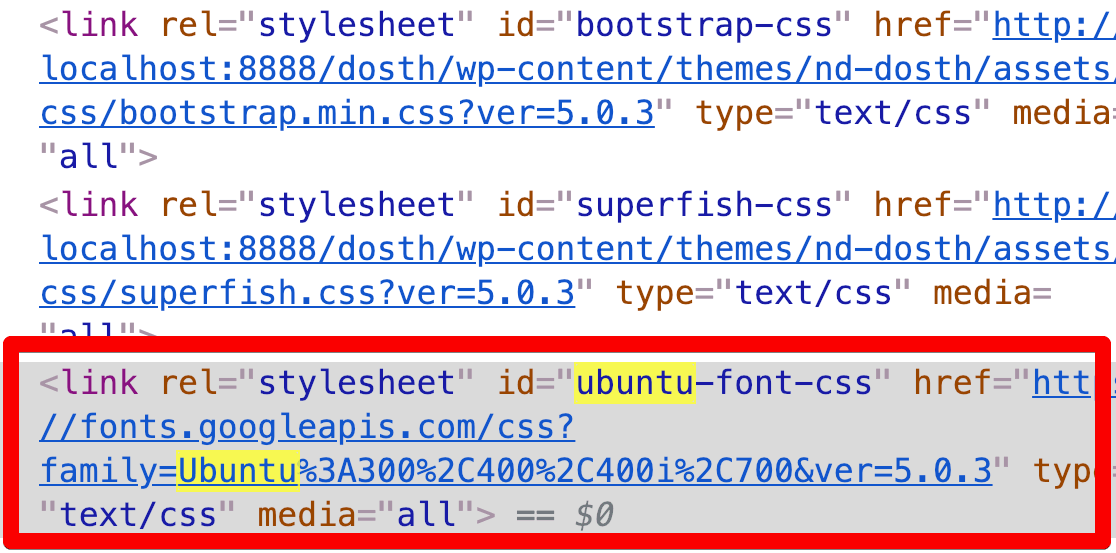
You are seeing all those weird symbols between font weights because the Browser replaces comma (,) with %2C inside a URL.
But, embedding the font is not enough. We have to change the style rules inside the style.cssfile to use the Ubuntu font.
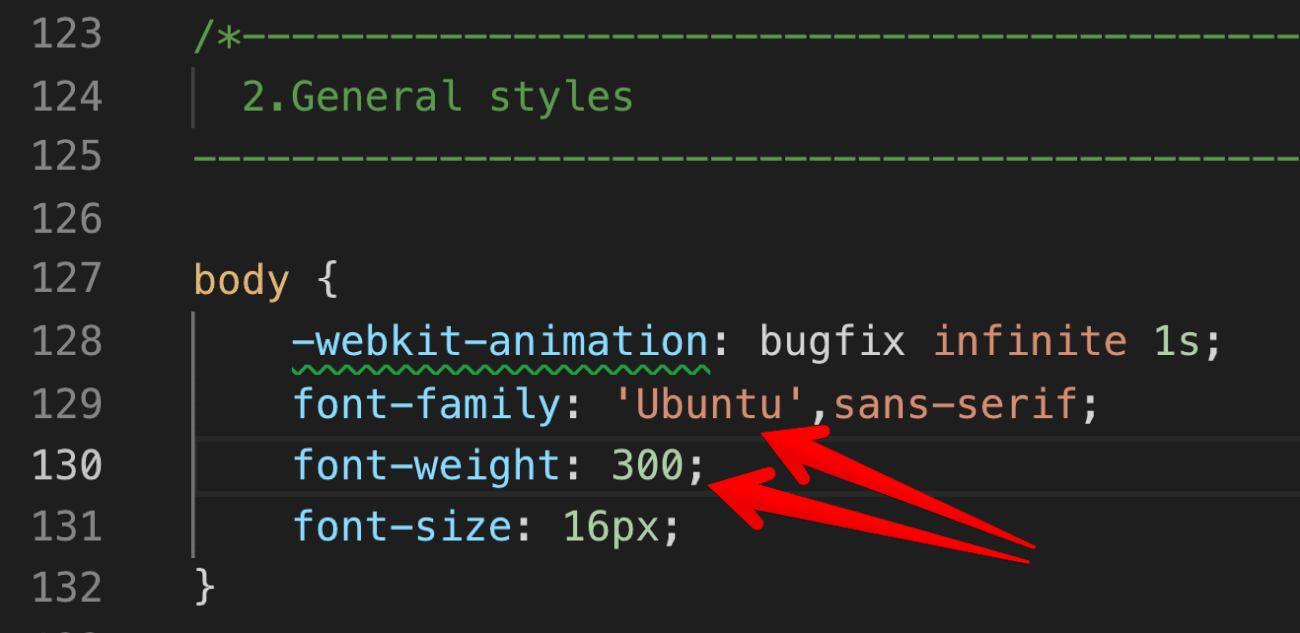
So, go to the General Styles section of the style.cssfile and replace the font family declaration inside the Body style rule with the following CSS:
font-family: 'Ubuntu',sans-serif;
font-weight:300;
Also, if you scroll down a bit, under the same General Styles section, you will find this style rule where all the Headings are styled to look Bold.
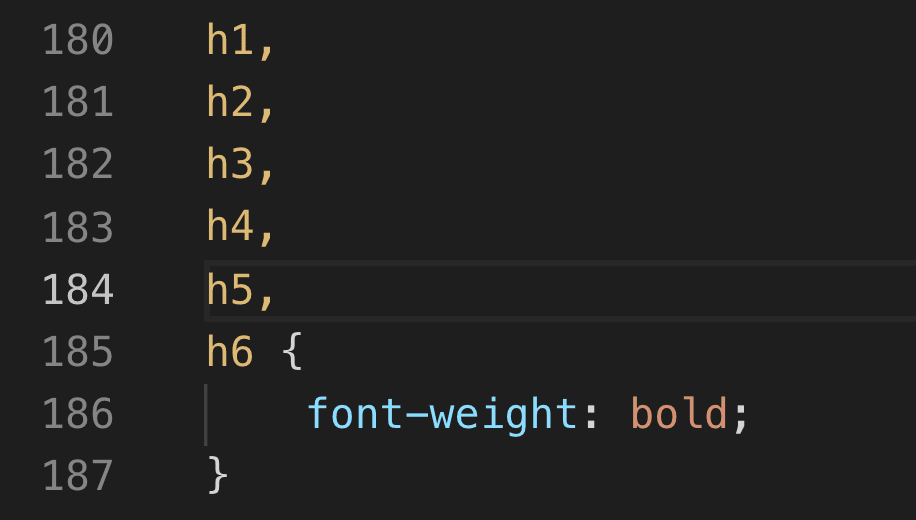
Change the font weight to 300.
h1,
h2,
h3,
h4,
h5,
h6 {
    font-weight: 300;
}
If we now refresh the Homepage in the Browser, It looks much closer to the mockup. Close enough in such a way that the Client will less likely notice any difference from the mock.

Because of a couple of mistakes, we had to fix a lot of things since the last lesson. This could be extremely time taking if we did not realize our mistakes during the earlier stages of the project. So be careful with Fonts and CSS Container sizes.
Anyway, the fixing ends here!
In the next lesson, we will continue to build the rest of the sections of our Homepage using the WordPress Custom Fields and ACF plugin.
 © 2026 UsableWP. A project by Naresh Devineni.