Let’s add a couple more widgets to the blog sidebar.
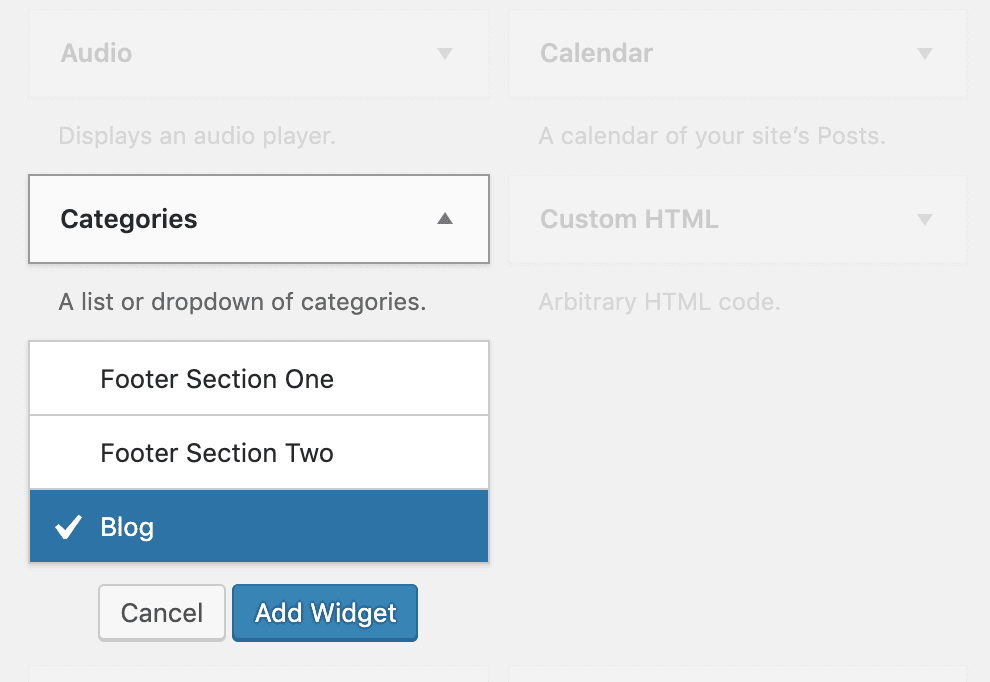
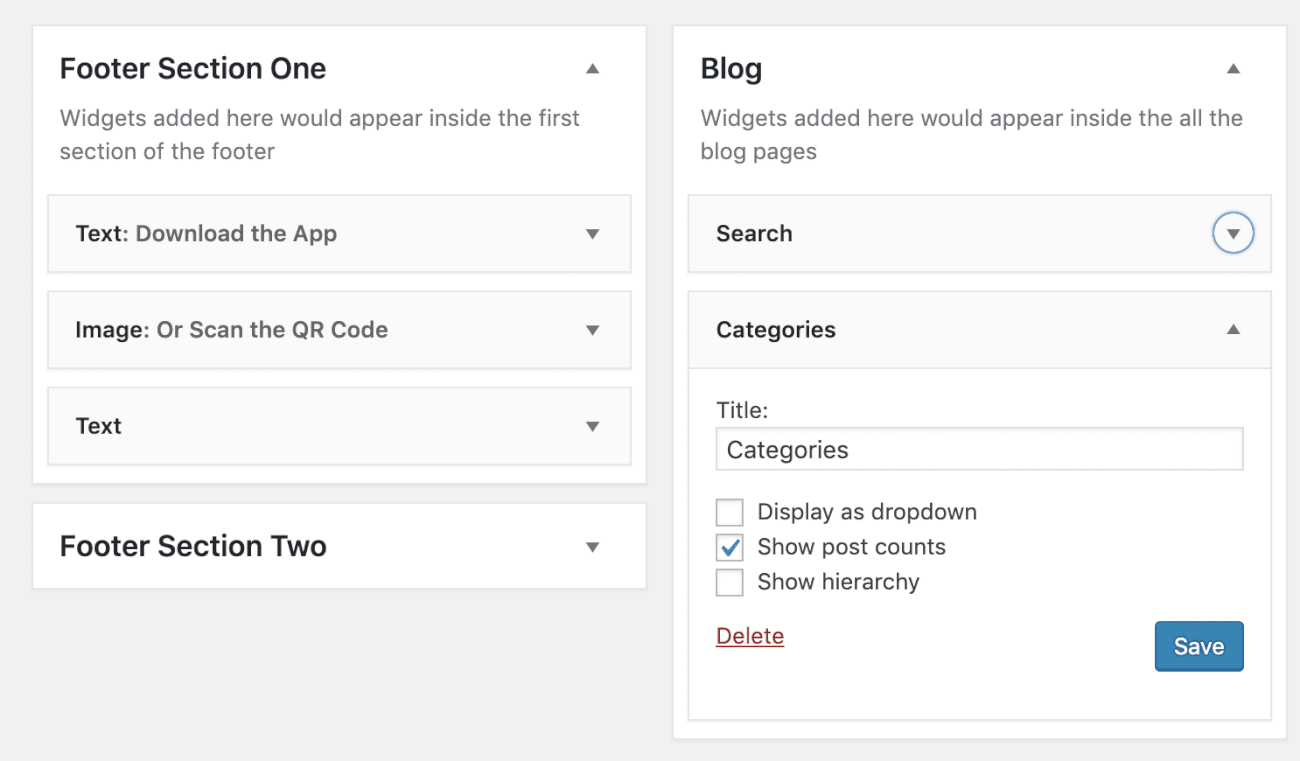
First, let’s add the blog categories menu.
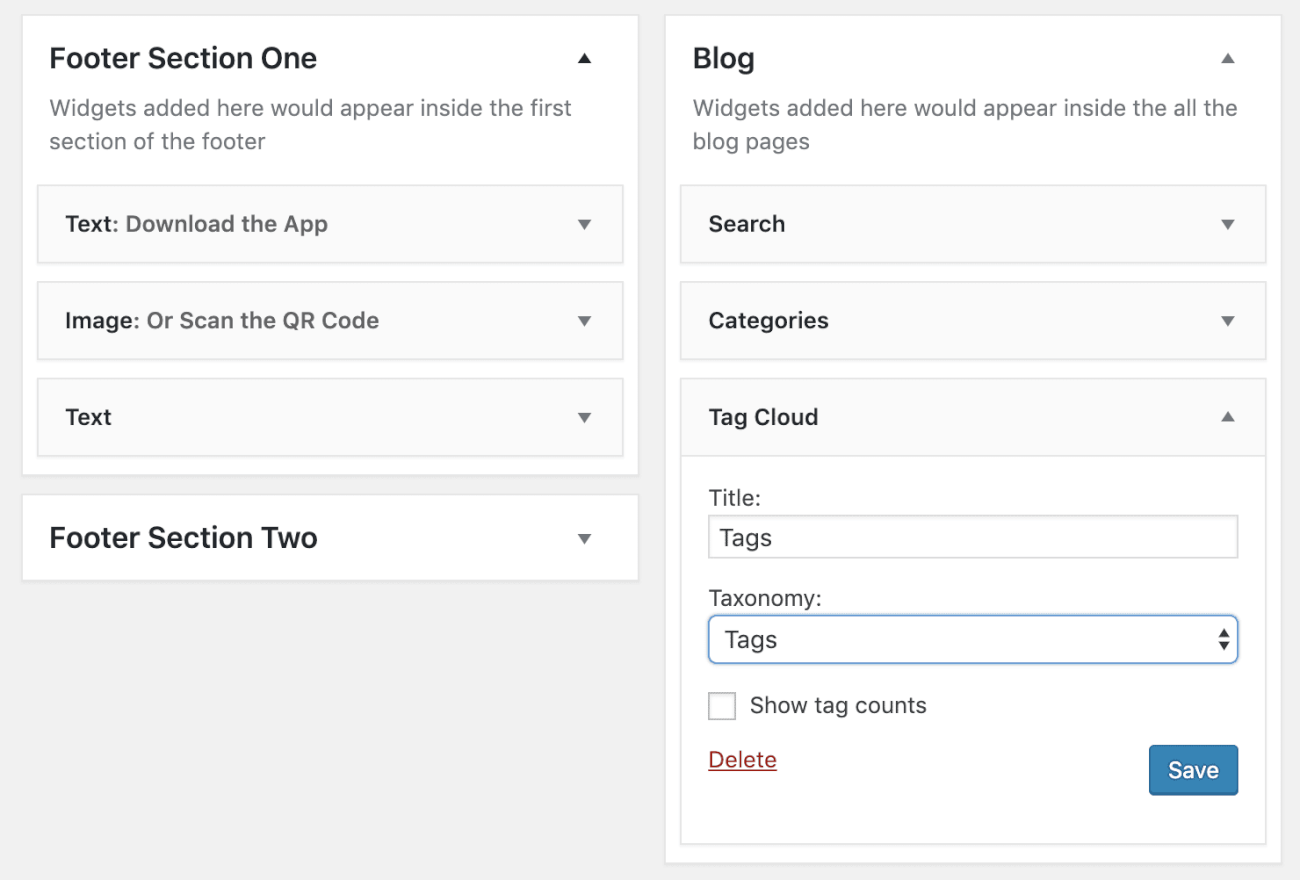
Then add tag cloud widget.
And here is the output of the blog page in the browser:
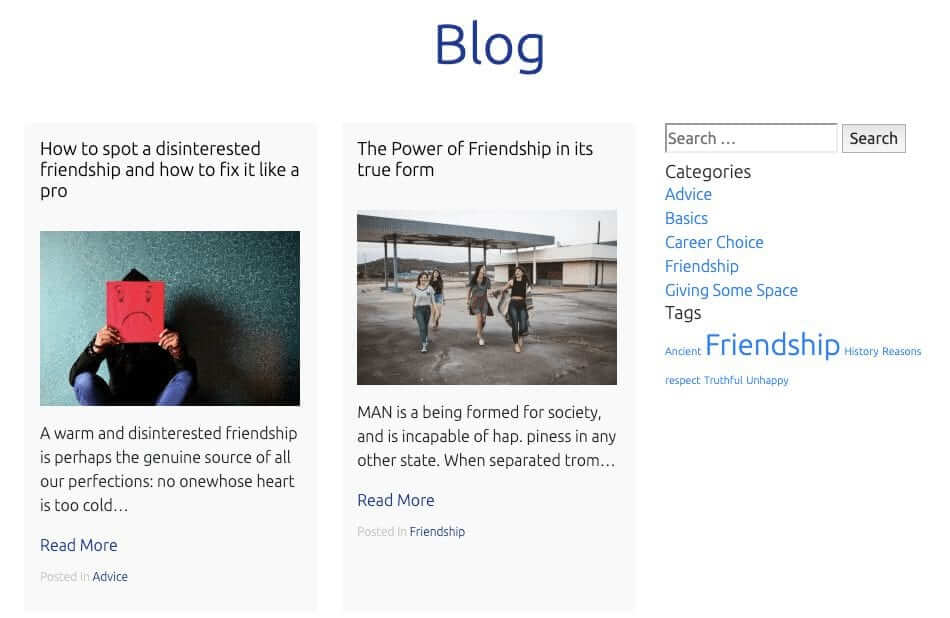
As usual, it’s not looking anything like the mockup.
First, go ahead and download the SVG and PNG icons for Search and put them inside the assets/images directory.
Once again, I generated the search icons using the infamous IcoMoon website.
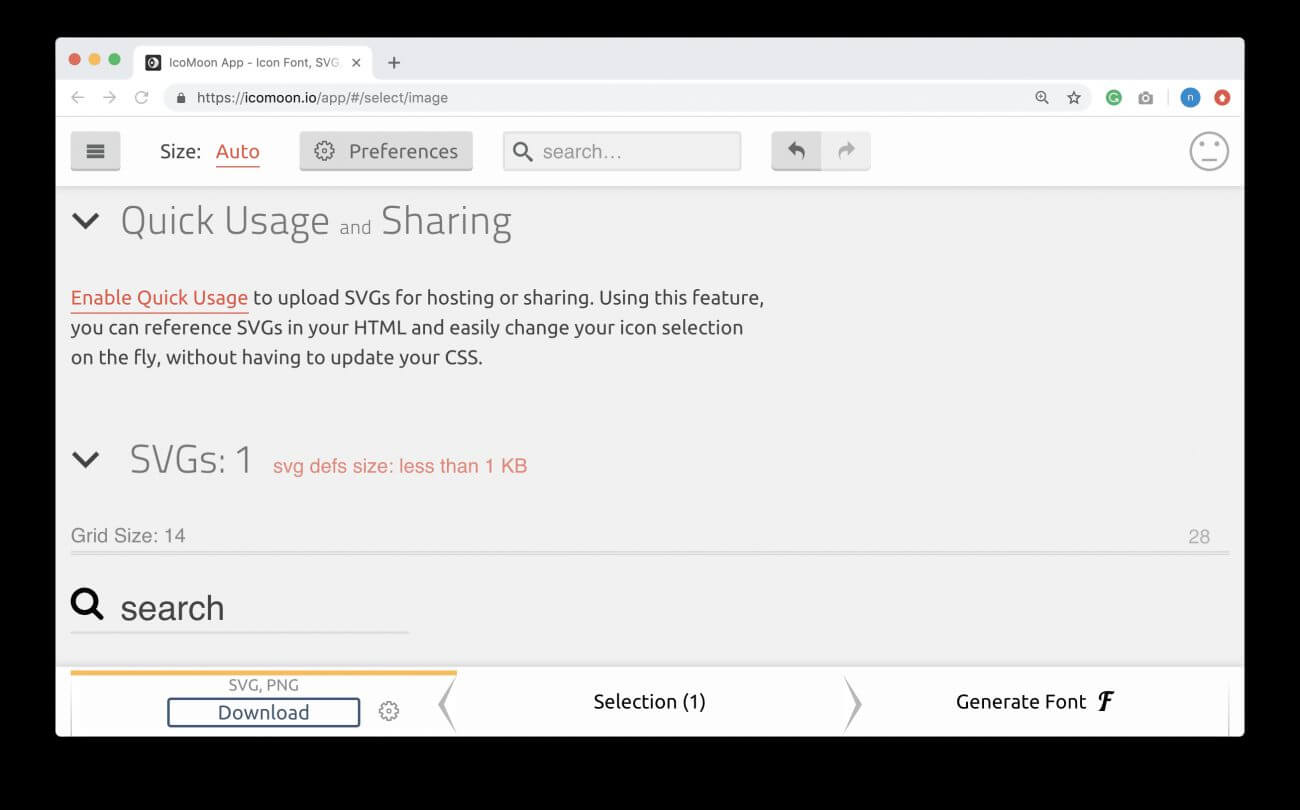
If for some reason you can not use IcoMoon App for generating the icons, I provided these icons inside the exercise files. But I’d love it if you can try the IcoMoon app. It is really handy and powerful.
Here is my updated images directory for this lesson:
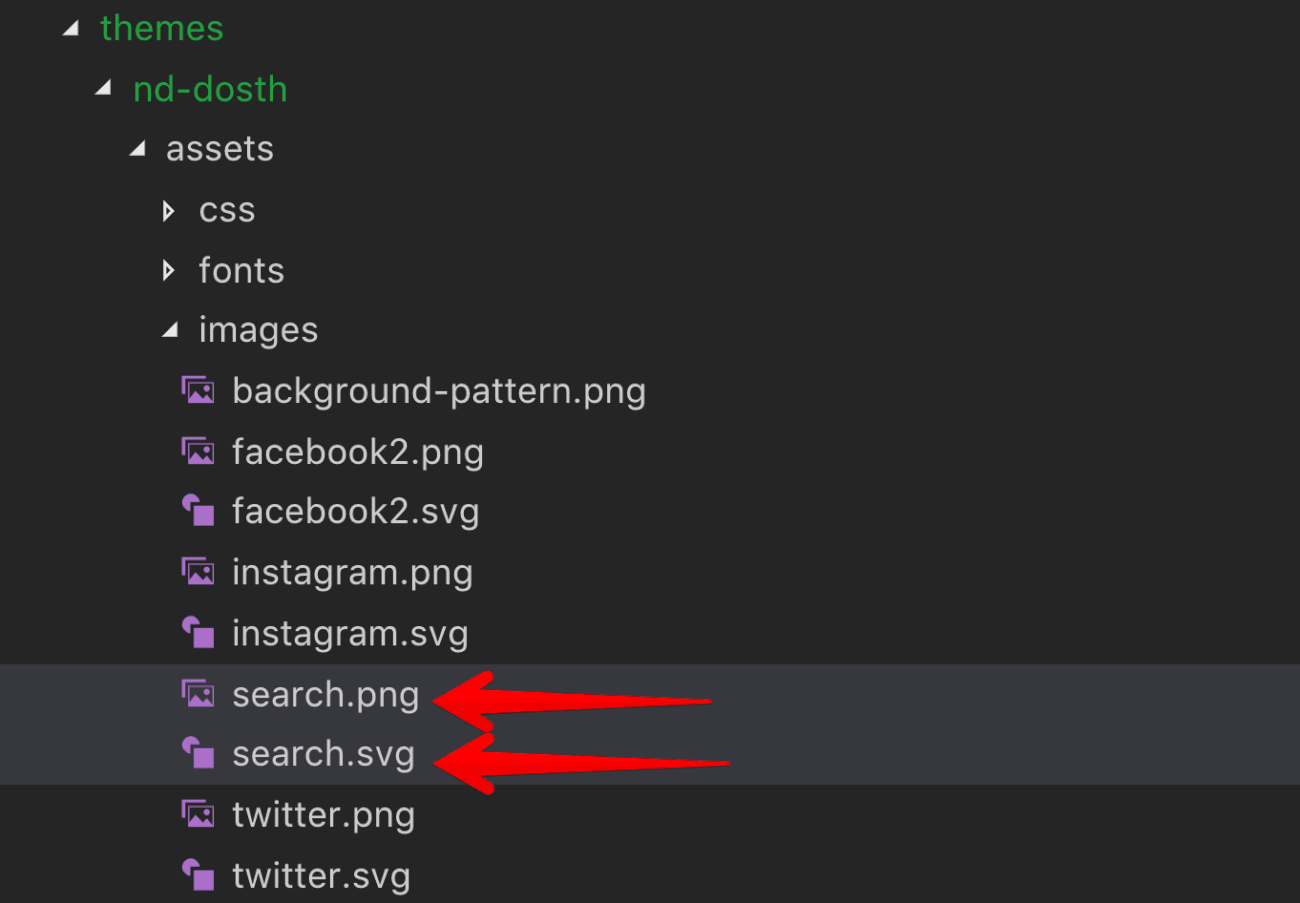
Finally, add the following CSS to the end of the style.css file:
/*-------------------------------------------------------------------------------
  15.Blog Sidebar Styles
-------------------------------------------------------------------------------*/
#blog-sidebar .widget{
    margin-bottom:30px;
}
#blog-sidebar .widget-title{
    font-size:20px;
    font-weight:500;
    color:#1a3794;
    margin-bottom:10px;
}
#blog-sidebar .widget.widget_categories a{
    font-size:14px;
}
#blog-sidebar .widget a{
    color:#4e4e4e;
}
.search-form{
    border:1px solid #ccc;
    padding:5px 10px;
    display:flex;
    justify-content: space-between;
}
.search-form label{
    margin-bottom:0;
}
.search-form input{
    border:0;
}
.search-form input[type="submit"]{
    text-indent:-9999px;
    background-image:url(assets/images/search.svg);
    background-repeat: no-repeat;
    background-position:center center;
    width:30px;
    background-size:20px;
}
.no-svg .search-form input[type="submit"]{
    background-image:url(assets/images/search.png);
}
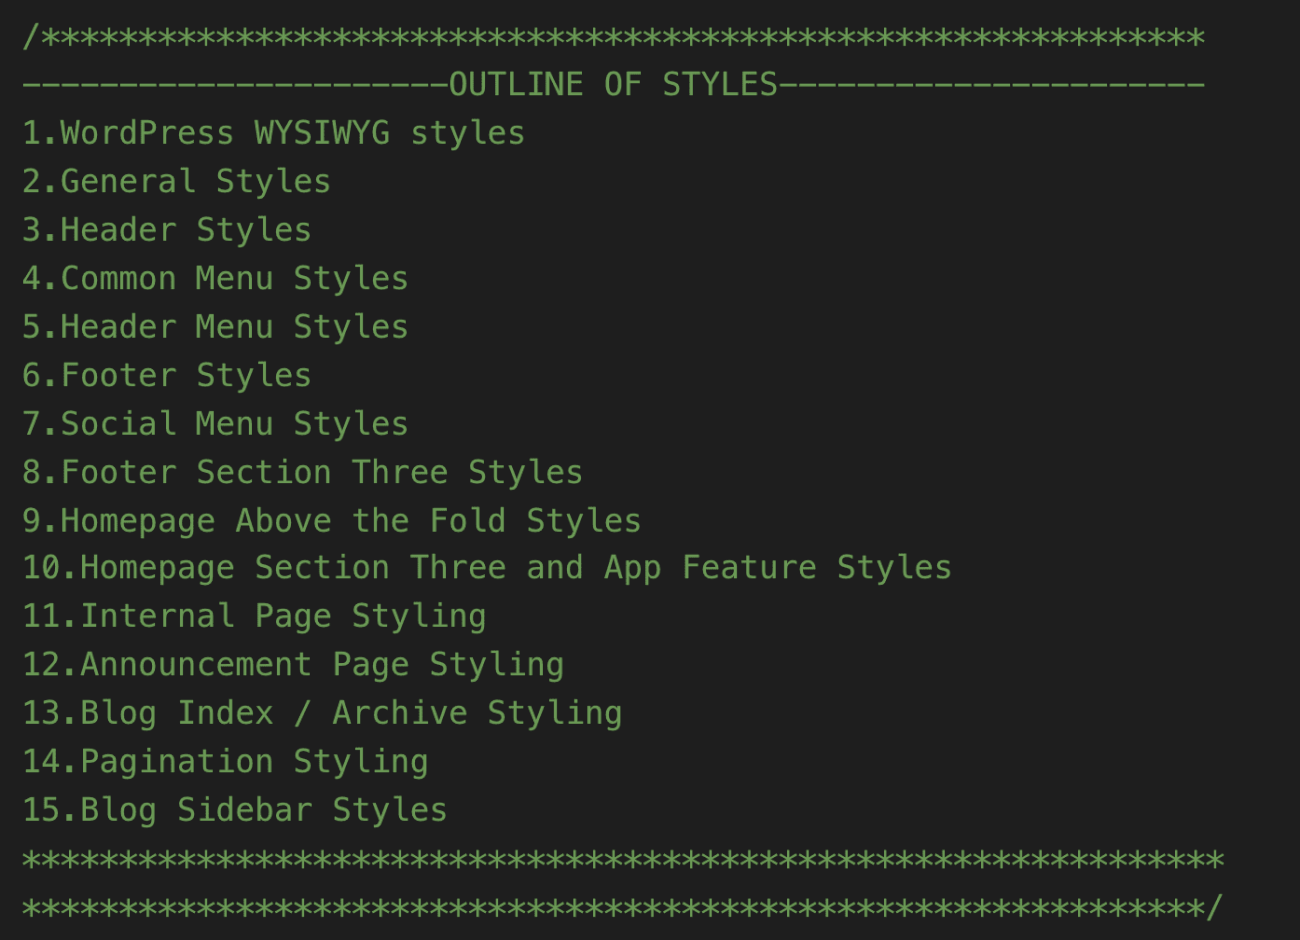
Here is the updated style outline from the style.css file:
And here is output in the browser:
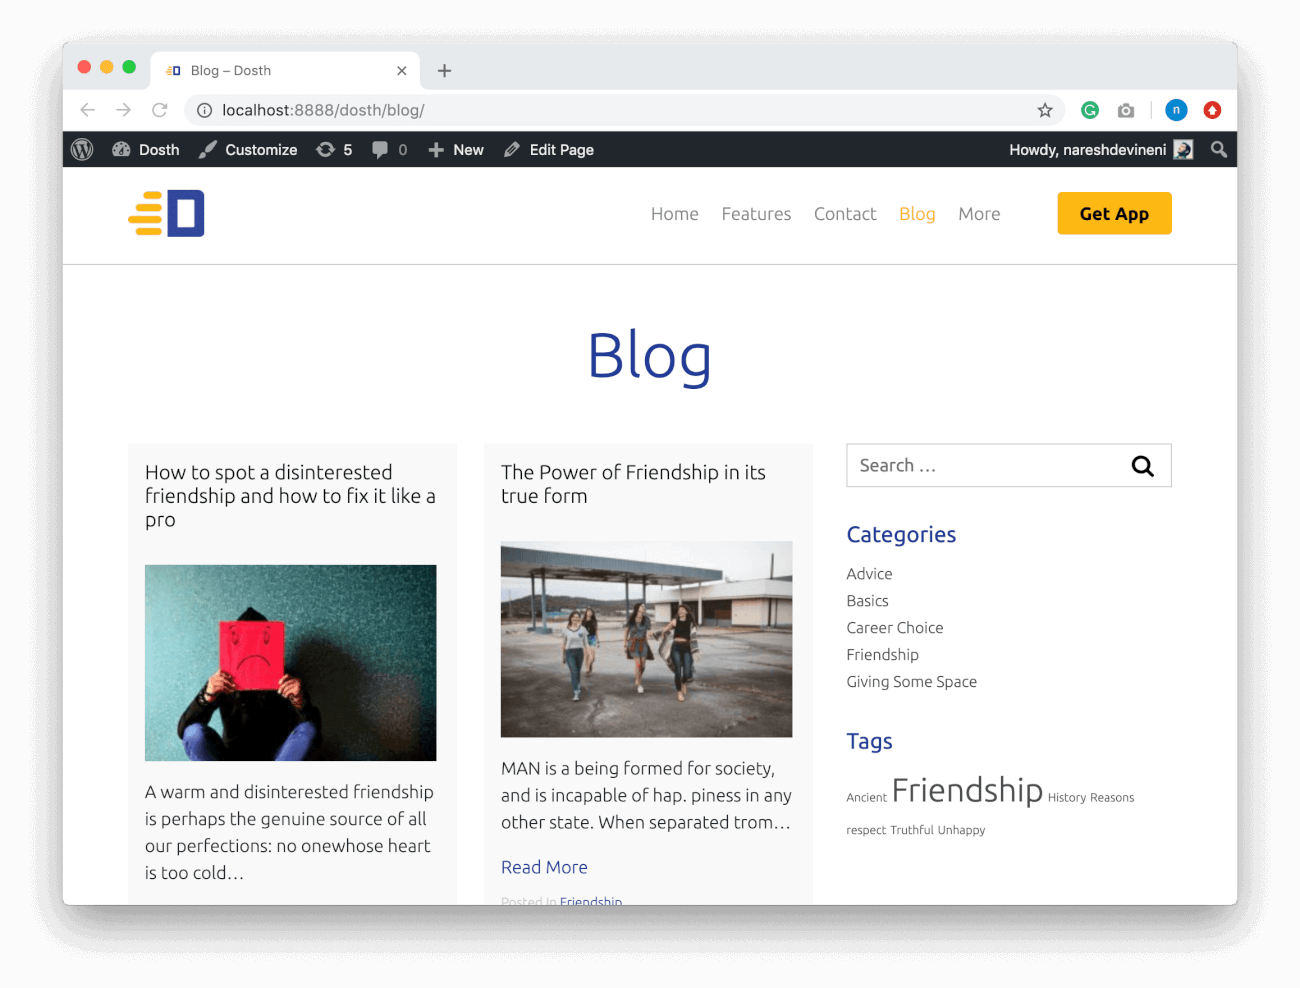
That’s it. This is pretty much how you will build a blog posts index page in WordPress.
In the next lesson, we will deal with the archive pages.