How to output Custom Fields Built with ACF plugin
Always Remember, Custom Fields created with ACF plugin are nothing but WordPress Custom Fields at the end of the day. So we can still use the same get_post_meta() function.
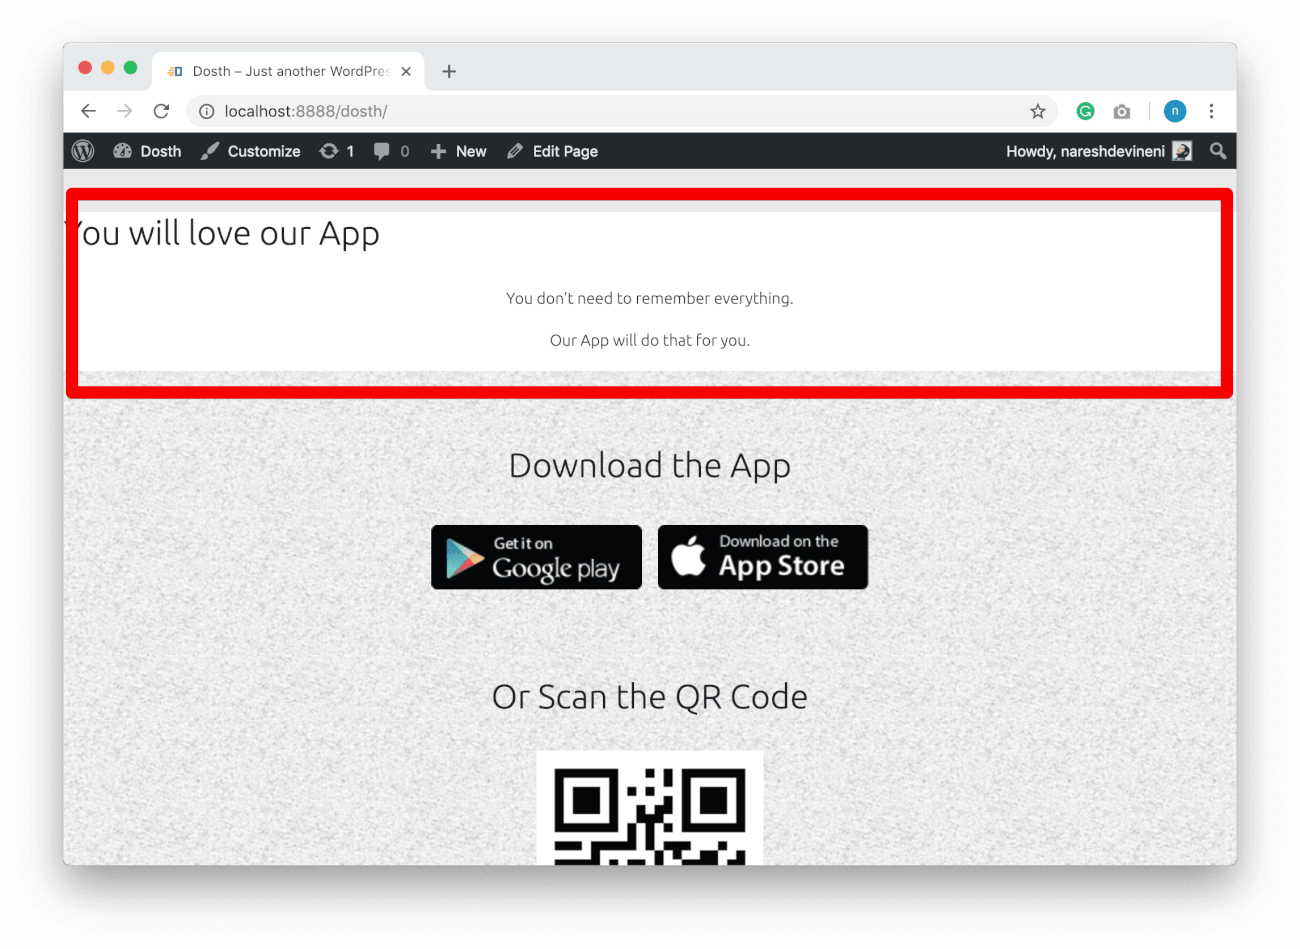
Outputting Section Three Title and the content
Open up the front-page.php file and place the following code after the <div class="watch-dosth-in-action"> element and within the Loop.
<section id="section-three">
    <h2><?php echo get_post_meta(get_the_ID(), 'section_three_title', true ); ?></h2>
    <div class="section-content">
        <?php echo get_post_meta(get_the_ID(), 'section_three_content', true ); ?>
    </div>
</section>
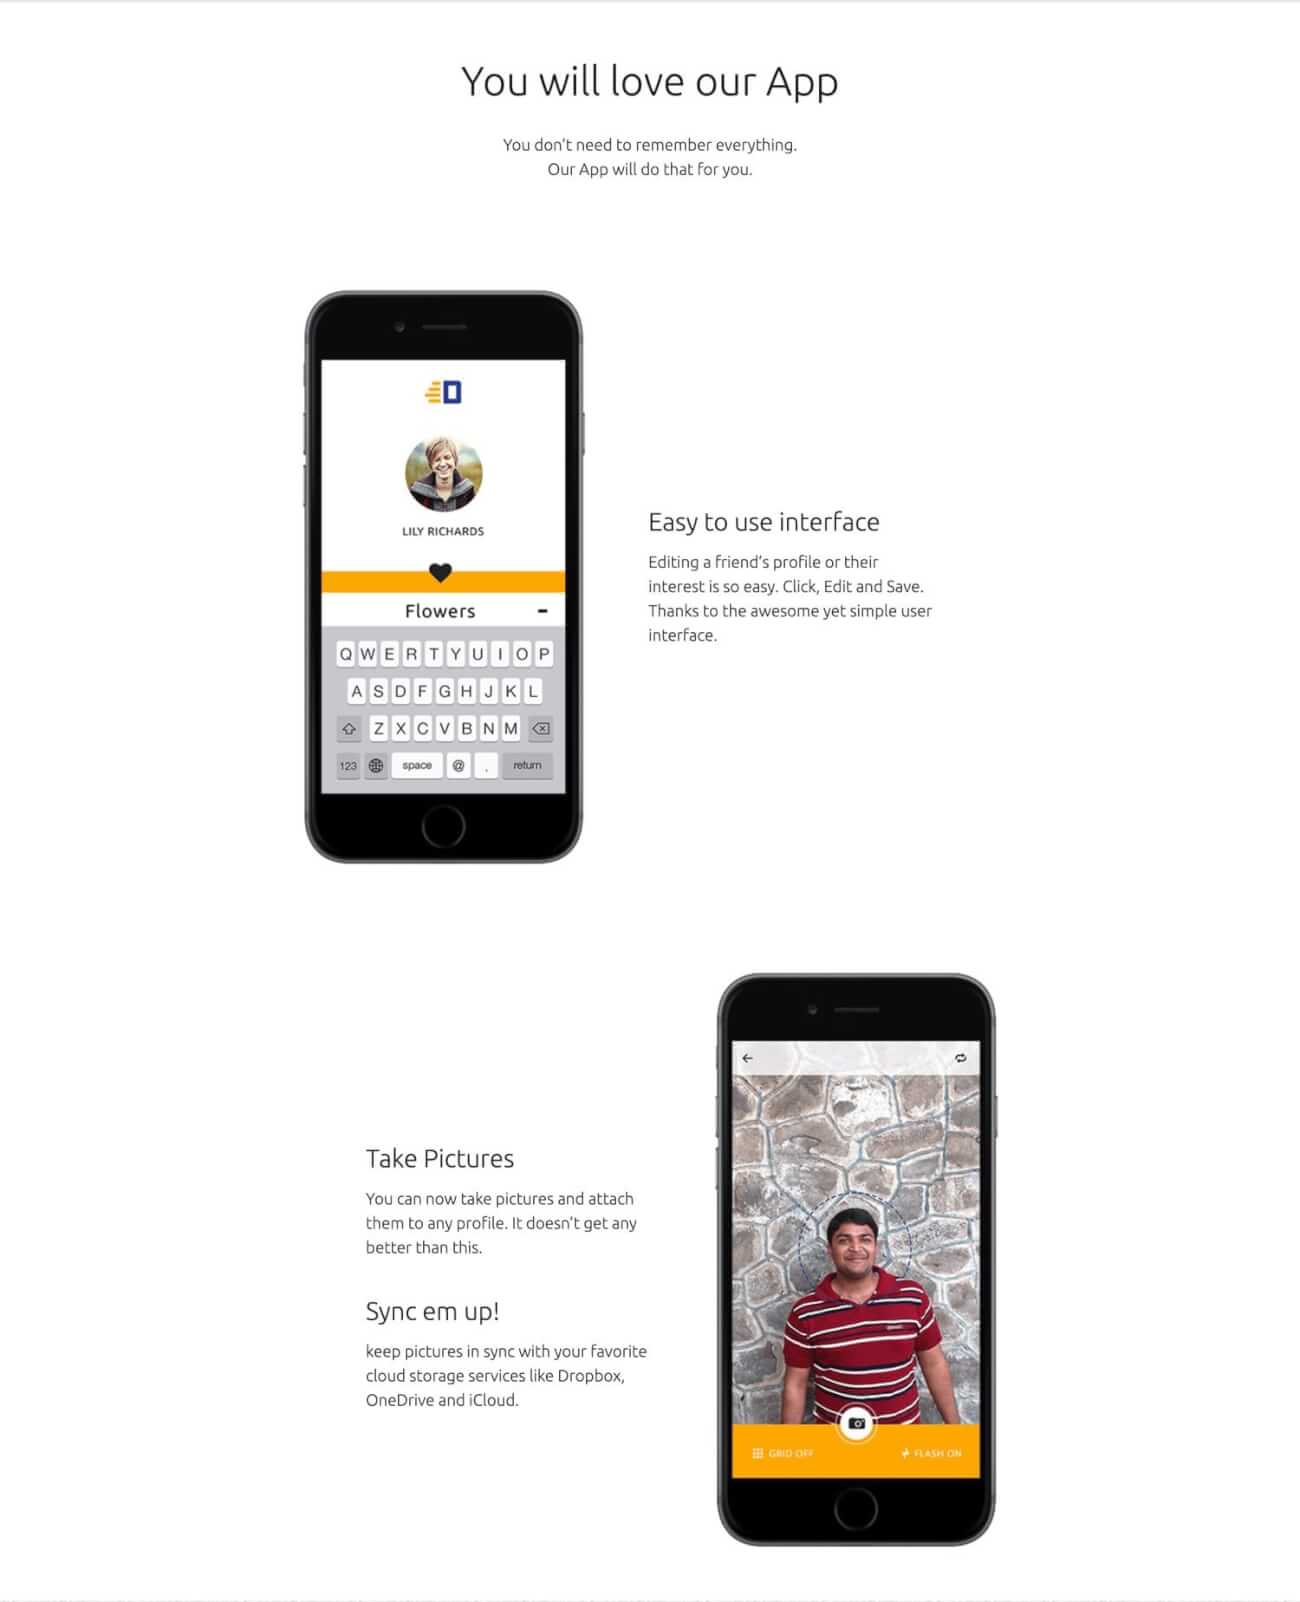
Now, let’s check out the output of the Homepage in the browser.
Next, let’s output the App Feature Image and its content.
Outputting the App Feature One Image and its content
Put the following code right after the <div class="section-three"> element and within the Loop.
<section id="app-feature-one">
    <img src="<?php echo get_post_meta(get_the_ID(), 'feature_one_image', true ); ?>" />
    <div class="section-content">
        <?php echo get_post_meta(get_the_ID(), 'app_feature_one_content', true ); ?>
    </div>
</section>
Again, let’s check out the output of the Homepage in the browser.
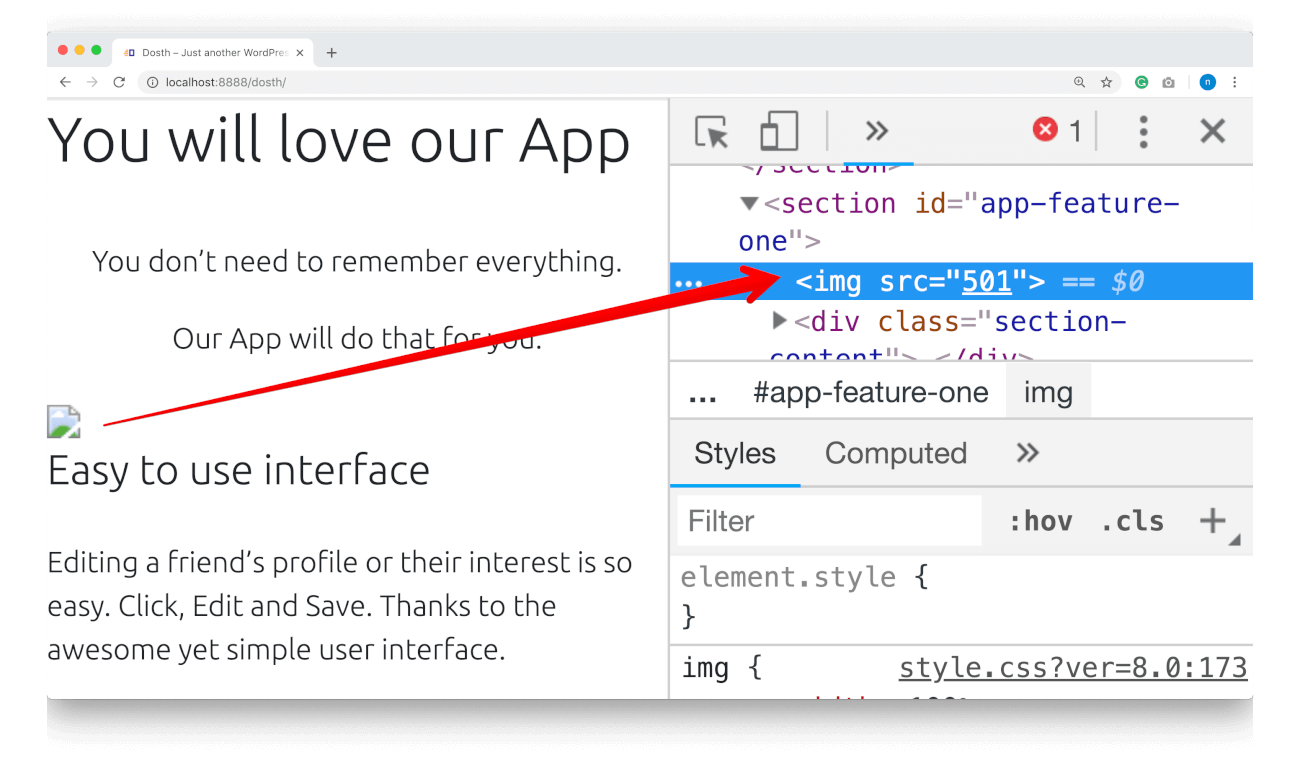
“Ooh hoo! There is a broken Image icon instead of the Image. What’s happening?”
Oh yeah! The problem is we did not get the URL of the Feature One Image from the database. Instead, we got the ID of the image from the get_post_meta() function.
And, obviously, the browser cannot render an image from a number, right? So, it is just showing the broken Image Icon.
“Did ACF plugin mess it up?”
No. The thing is, If it is an ACF related Image custom field, the get_post_meta() function returns just the ID of the Image.
“But we did specify to return the URL, right?”
ACF Return Value settings for the Image Field doesn’t work with the get_post_meta() function.
“Ahhh! How do we fix it?”
Simple, we can fix this in two ways:
The Hard Way: Using WordPress function
1) Because we have the ID of the image, we can get URL of the image with the help of wp_get_attachment_image_src() like this:
$image_data = wp_get_attachment_image_src( $image_id , 'full' );
$image_url = $image_data[0];
Remember? we used this technique to output the Logo of the site in the header.
The Easy Way: Using functions provided by ACF plugin
We can use the following ACF plugin specific functions, to make our life easier.
1) the_field(): This function allows us directly output the value of the custom field to the frontend. So, technically:
This following code:
<?php the_field('feature_one_image'); ?>
Is equivalent to:
<?php echo get_post_meta(get_the_ID(), 'feature_one_image', true ); ?>
We don’t have to specify the Post ID. This function will take care of everything if we specify the Meta Key of the Custom Field.
2) get_field(): This function just returns the value of the custom field instead of outputting it. It is totally up to us whether to output the value returned by this function. So technically:
This following code:
<?php echo get_field('feature_one_image'); ?>
Is equivalent to:
<?php echo get_post_meta(get_the_ID(), 'feature_one_image', true ); ?>
Let’s go with the Easy Way
Let’s fix our problem by using the_field() function. Replace the existing src of the App Feature One Image with the following code:
<img src="<?php the_field('feature_one_image'); ?>" />
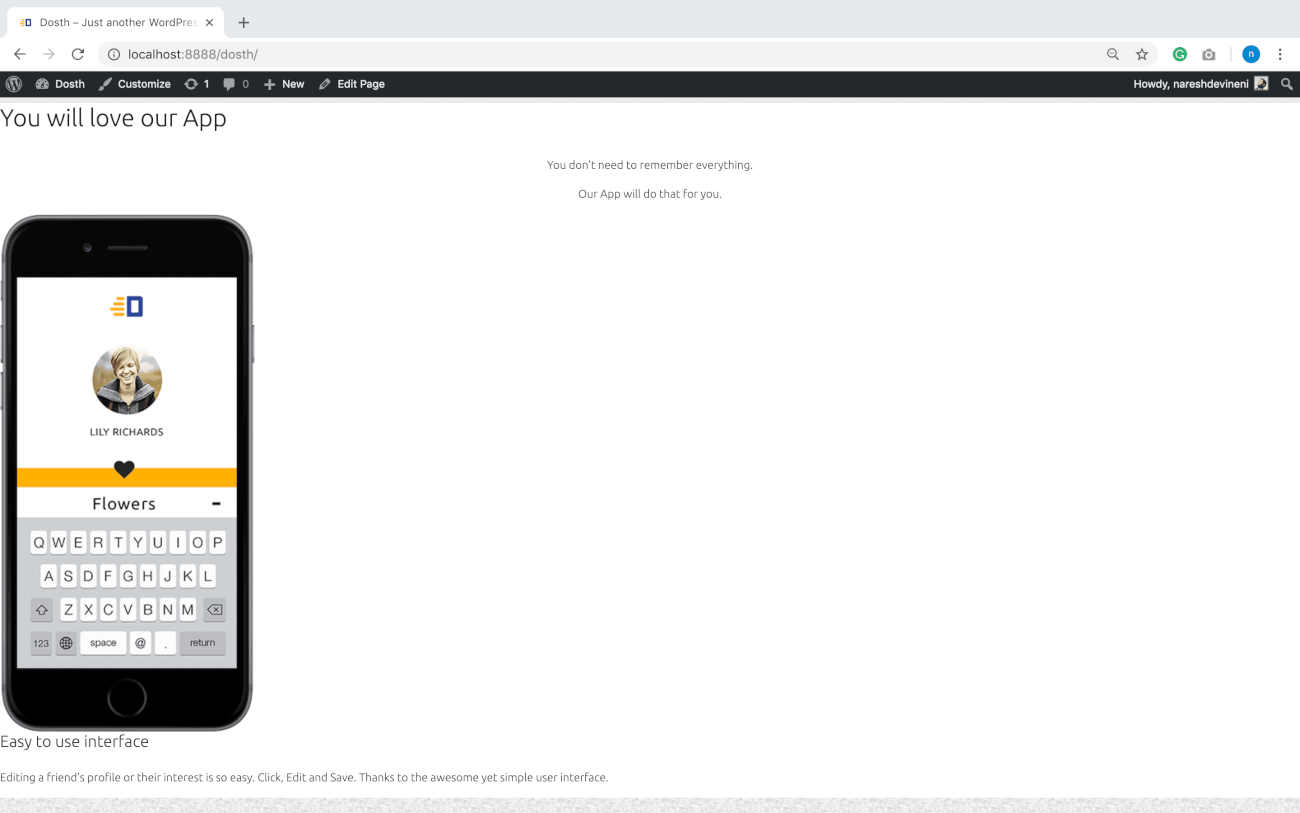
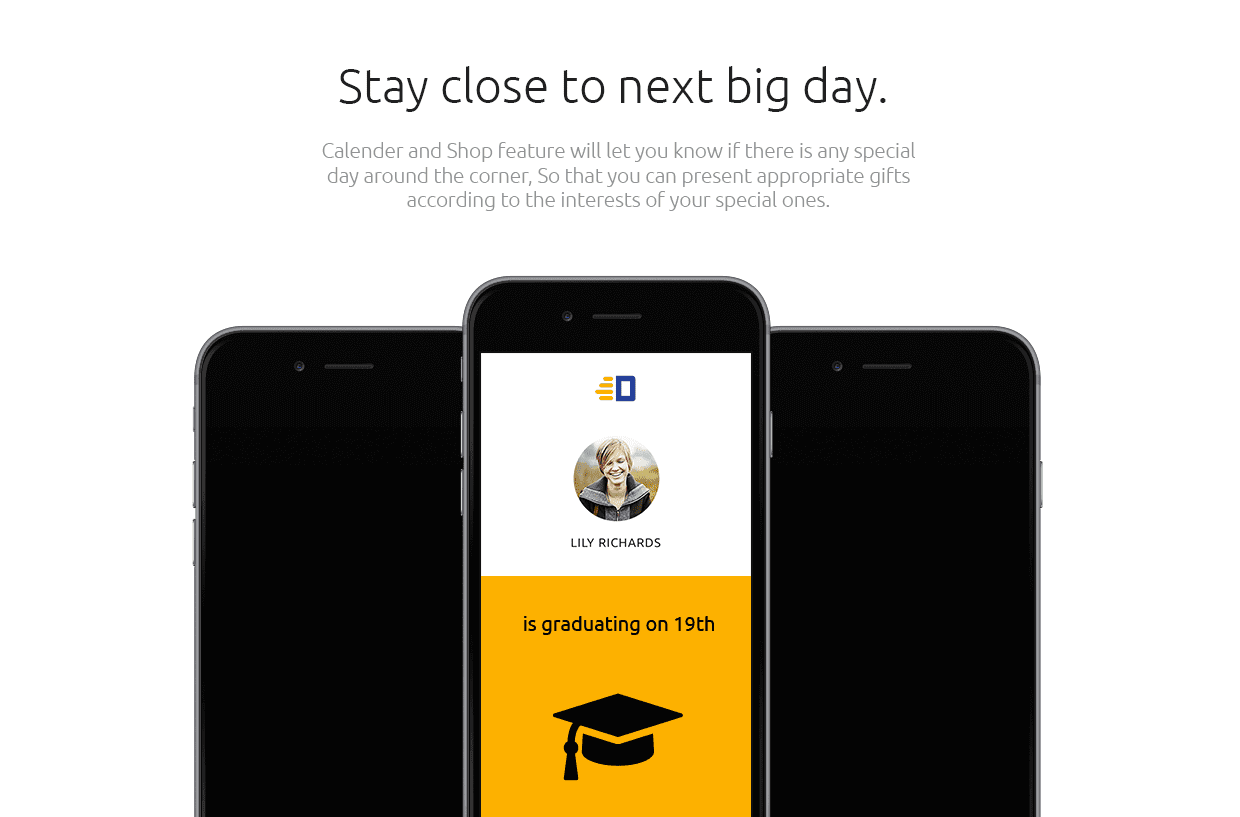
If we now refresh the Homepage in the Frontend, the App Feature One Image is indeed getting outputted.
Outputting the App Feature Two Image and its content
This time, we will output both image and content using ACF’s the_field() function.
Go back to the front-page.php file and place the following code after the <div class="app-feature-one"> element and within the Loop.
<section id="app-feature-two">
    <img src="<?php the_field('app_feature_two_image'); ?>" />
    <div class="section-content">
        <?php the_field('app_feature_two_content'); ?>
    </div>
</section>
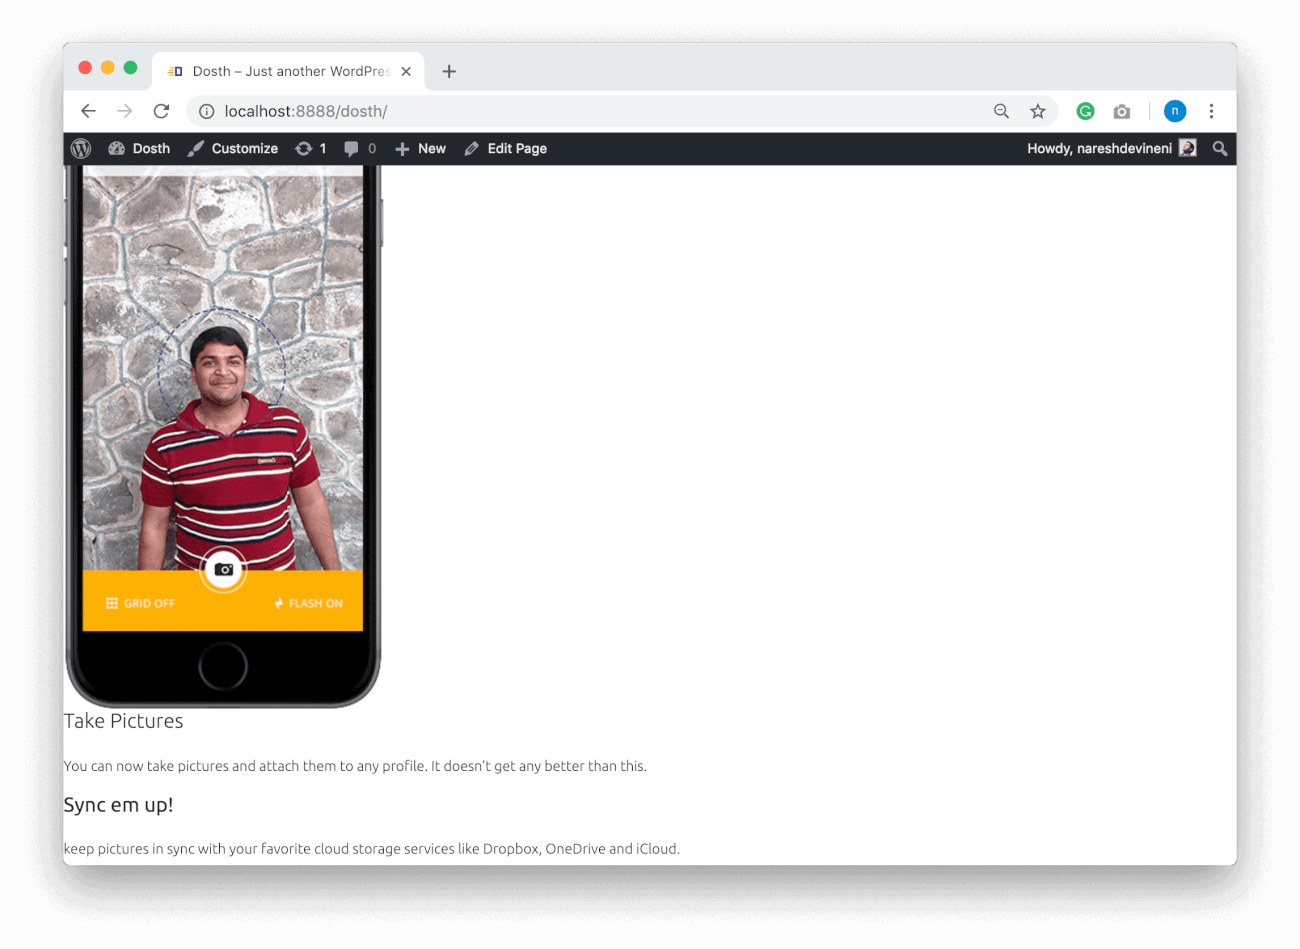
Here is the output in the Browser:
And, here is the front-page.php file’s final code of the Loop for this lesson:
<?php while( have_posts() ): ?>
    <?php the_post(); ?>
    <div class="actual-content above-the-fold">
        <div class="container">
            <div class="row">
                <div class="col-sm-12">
                    <?php the_content(); ?>
                </div>
            </div>
        </div>
    </div>
    <section id="watch-dosth-in-action">
        <h2><?php echo get_post_meta(get_the_ID(), 'second_section_headline', true ); ?></h2>
        <div class="section-content">
            <?php echo get_post_meta(get_the_ID(), 'section_two_content', true ); ?>
        </div>
    </section>
    <section id="section-three">
        <h2><?php echo get_post_meta(get_the_ID(), 'section_three_title', true ); ?></h2>
        <div class="section-content">
            <?php echo get_post_meta(get_the_ID(), 'section_three_content', true ); ?>
        </div>
    </section>
    <section id="app-feature-one">
        <img src="<?php the_field('feature_one_image'); ?>" />
        <div class="section-content">
            <?php echo get_post_meta(get_the_ID(), 'app_feature_one_content', true ); ?>
        </div>
    </section>
    <section id="app-feature-two">
        <img src="<?php the_field('app_feature_two_image'); ?>" />
        <div class="section-content">
            <?php the_field('app_feature_two_content'); ?>
        </div>
    </section>
<?php endwhile; ?>
This is how we pretty much use ACF plugin inside a WordPress Theme.
And this pretty much what Plugin Integration means.
Finally, add the following CSS to the end of the style.cssfile to style all the newly added sections:
/*-------------------------------------------------------------------------------
  10.Homepage Section Three and App Feature Styles
-------------------------------------------------------------------------------*/
.home #section-three,
.home #app-feature-one,
.home #app-feature-two{
    padding:30px 15px;
}
.home #section-three h2{
    text-align: center;
}
.home #section-three p,
.home #app-feature-one p,
.home #app-feature-two p{
    font-size:18px;
    margin-bottom:0;
}
.home #app-feature-one h3,
.home #app-feature-two h3{
    margin-bottom:15px;
    font-size:28px;
}
.home #app-feature-two h3{
    margin-top:40px;
}
.home #app-feature-two .section-content{
    -webkit-box-ordinal-group:2;
        -ms-flex-order:1;
            order:1;
}
.home #app-feature-two img{
    -webkit-box-ordinal-group:3;
        -ms-flex-order:2;
            order:2;
}
@media only screen and (min-width:768px){
    .home #app-feature-one,
    .home #app-feature-two{
        display: -webkit-box;
        display: -ms-flexbox;
        display: flex;
        -webkit-box-pack: justify;
            -ms-flex-pack: justify;
                justify-content: space-between;
        -webkit-box-align: center;
            -ms-flex-align: center;
                align-items: center;
    }
    .home #section-three,
    .home #app-feature-one,
    .home #app-feature-two{
        max-width:800px;
        margin:0 auto;
        padding:60px 15px;
    }
    .home #section-three h2{
        font-size:45px;
    }
    .home #app-feature-one .section-content,
    .home #app-feature-two .section-content{
        margin:15px 70px;
    }
}
@media only screen and (max-width:767px){
    .home #app-feature-one h3{
        margin-top:40px;
    }
    .home #app-feature-one img,
    .home #app-feature-two img{
        margin:0 auto;
        max-width:300px;
        display: block;
    }
    .home #app-feature-one .section-content,
    .home #app-feature-two .section-content{
        text-align:center;
    }
}
And here is the Frontend Output:
Hammayyaaa! Our Homepage has finally taken its original shape from the Mockup!
Exercise Time
If you observe the Mockup design in Photoshop or image viewer, there is one more App Feature section. That’s an exercise for you. But instead of going the easy way with ACF’s the_field()function for the Image field, try the Hard Way and display image using the help of wp_get_attachment_image_src()and get_post_meta()function.
The content and the Image is provided inside the same “dosth-site-content” Word Document.
For now, we are done with the Homepage
We need to address two more sections on the Homepage. The Testimonials and Featured On sections.

The best way to implement both these sections is by using WordPress Custom Post Types and Custom Queries. But, to understand how they work, you need to understand a lot of other stuff which you’ll be learning in the upcoming lessons.
So, we will come back to these sections a later point in the course. For now, let’s continue to build other pages of our site.
In the Next Lesson, we will learn how to create an About Us page by creating and utilizing the default page template.
 © 2026 UsableWP. A project by Naresh Devineni.