How to add Favicon
If you don’t know what favicons are, they are the little icons you see all the time without even knowing that they are favicons.
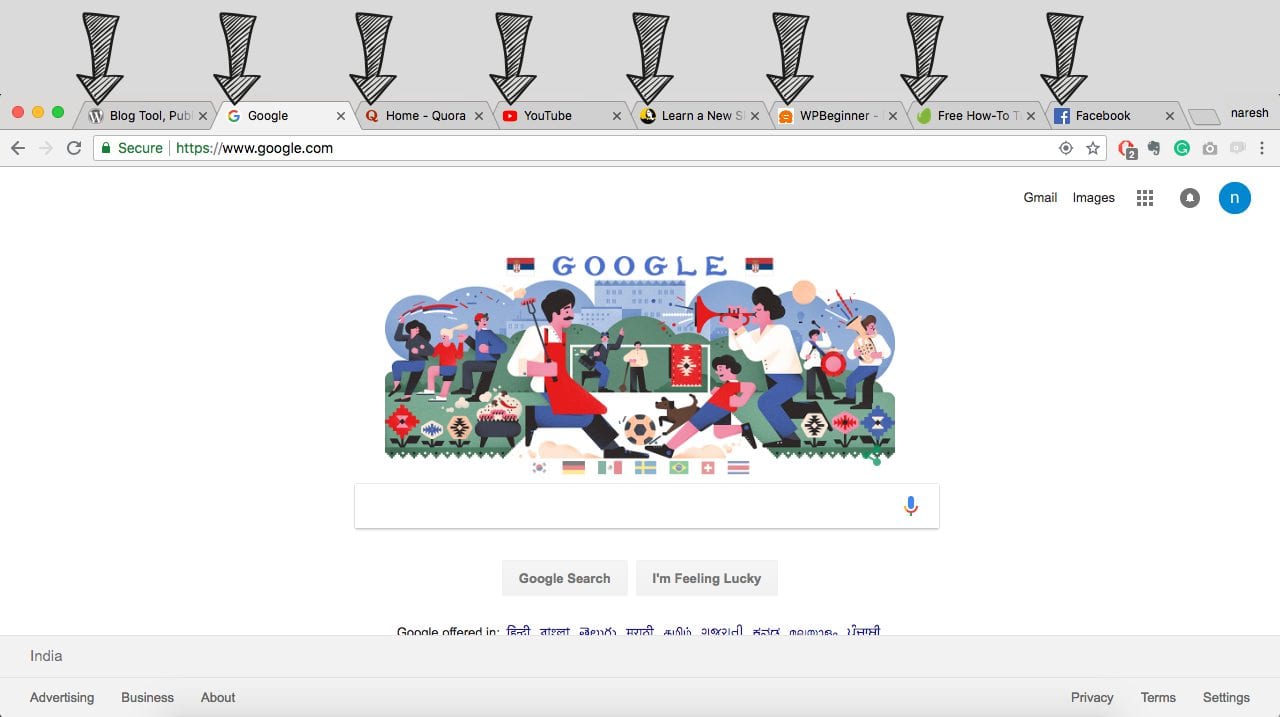
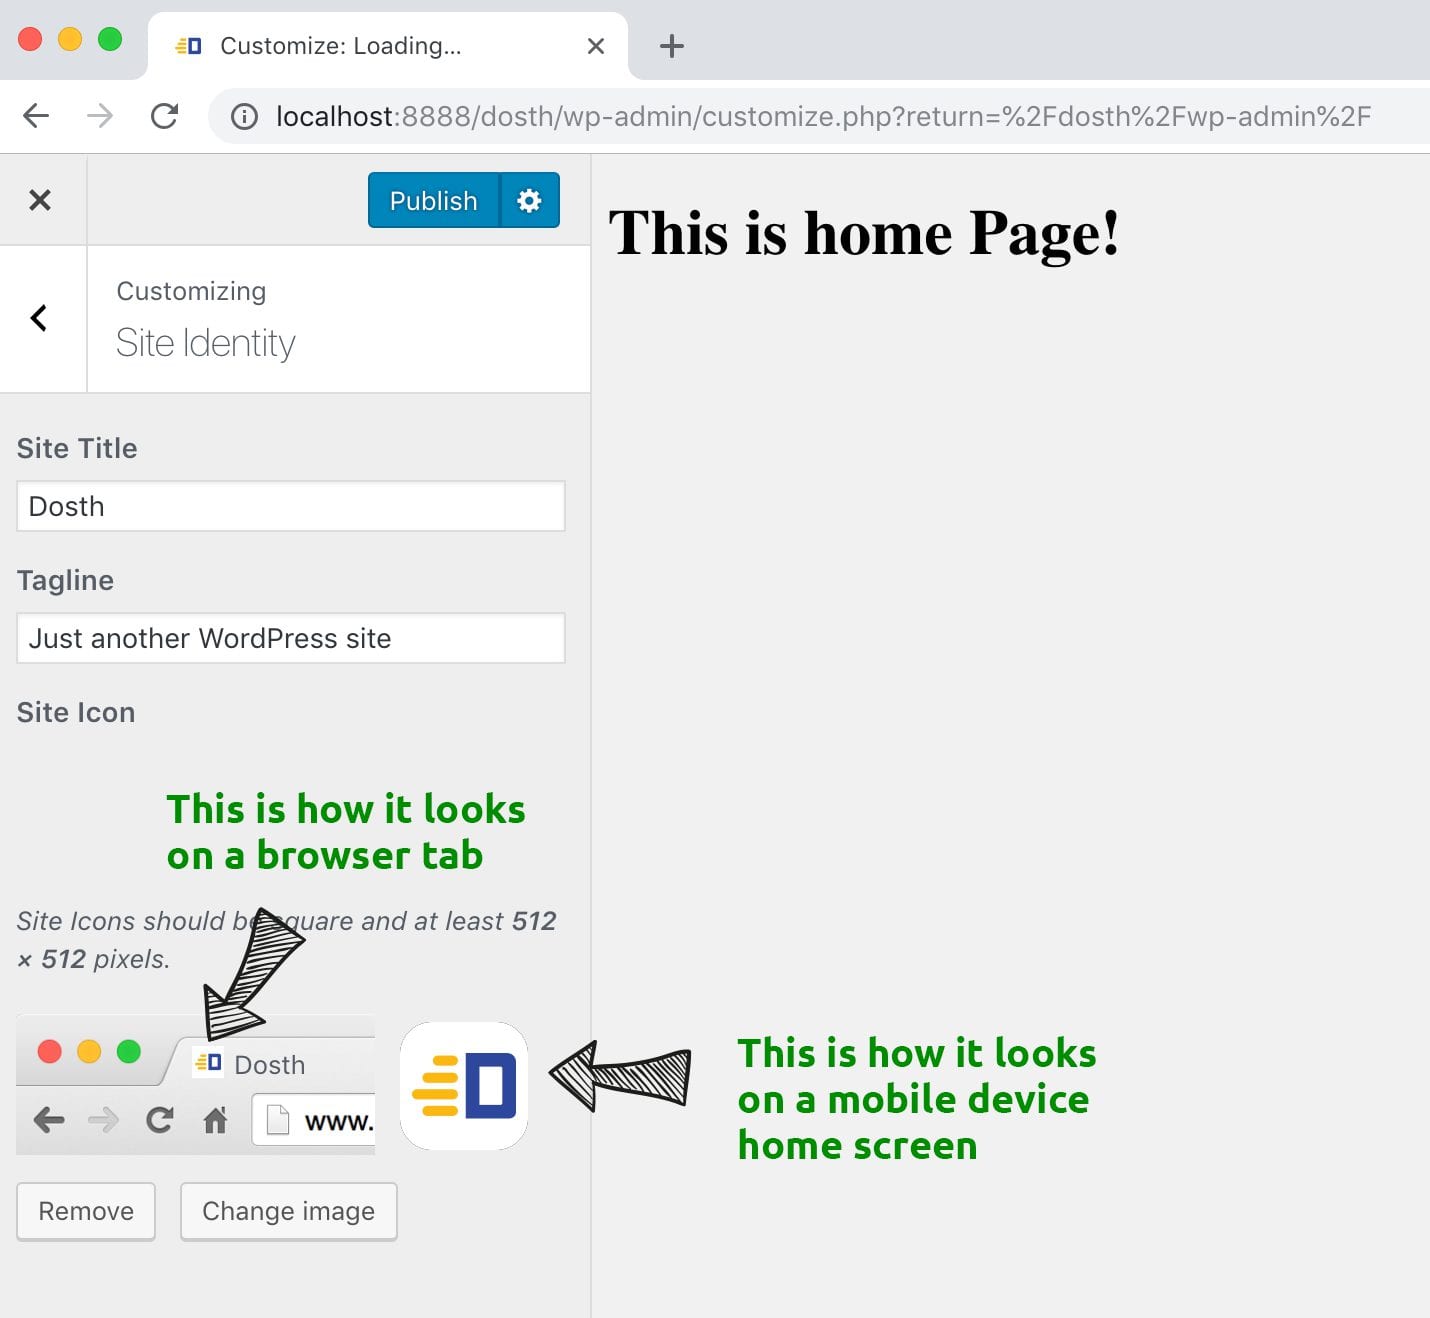
You can see them on the browser tabs. In fact, if you open up 10 browser tabs at the same time, Favicon helps you quickly recognize the tab you want to visit back.
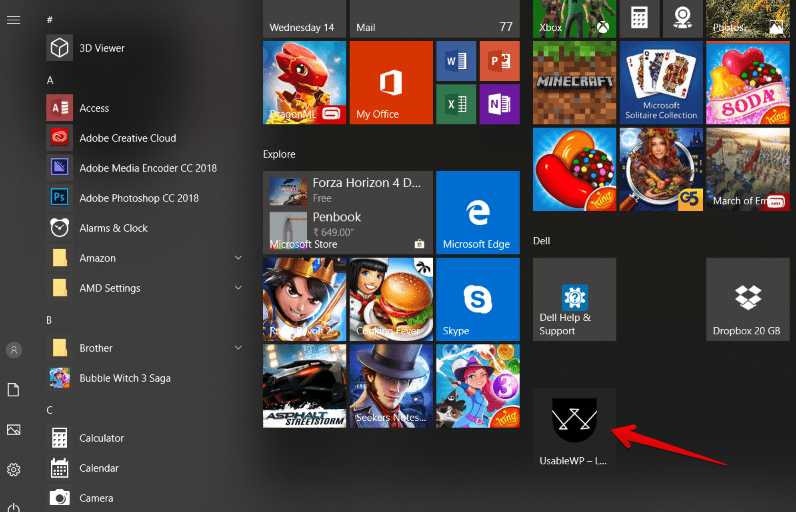
If properly configured, We can also use the favicon as an App Icon on our mobile device’s home screen. It acts as a visual bookmark which allows us to access a web page quickly.
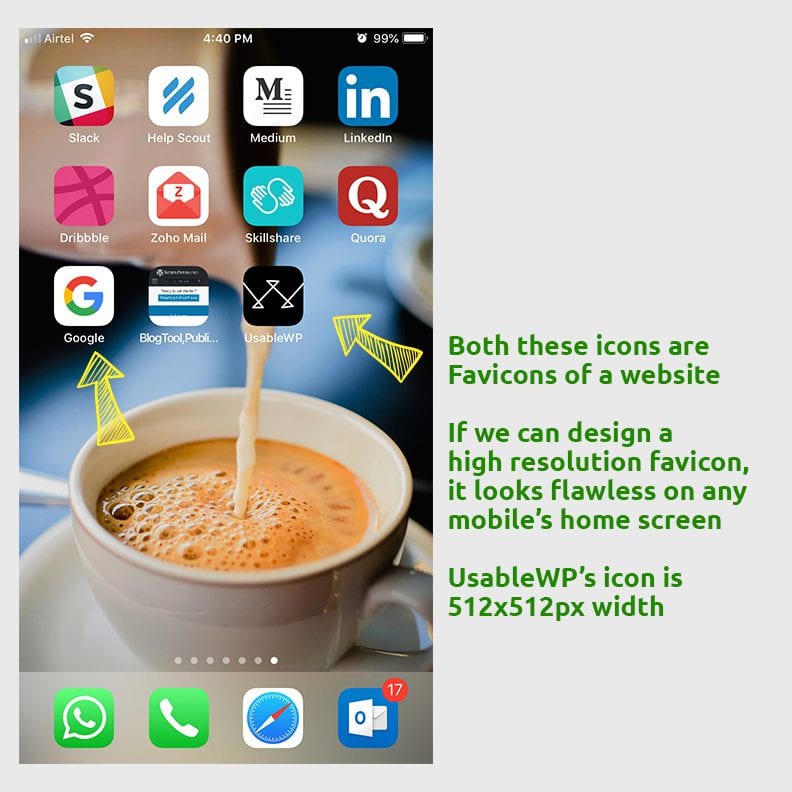
It looks amazing, right? So, how do we add a favicon to our WordPress website?
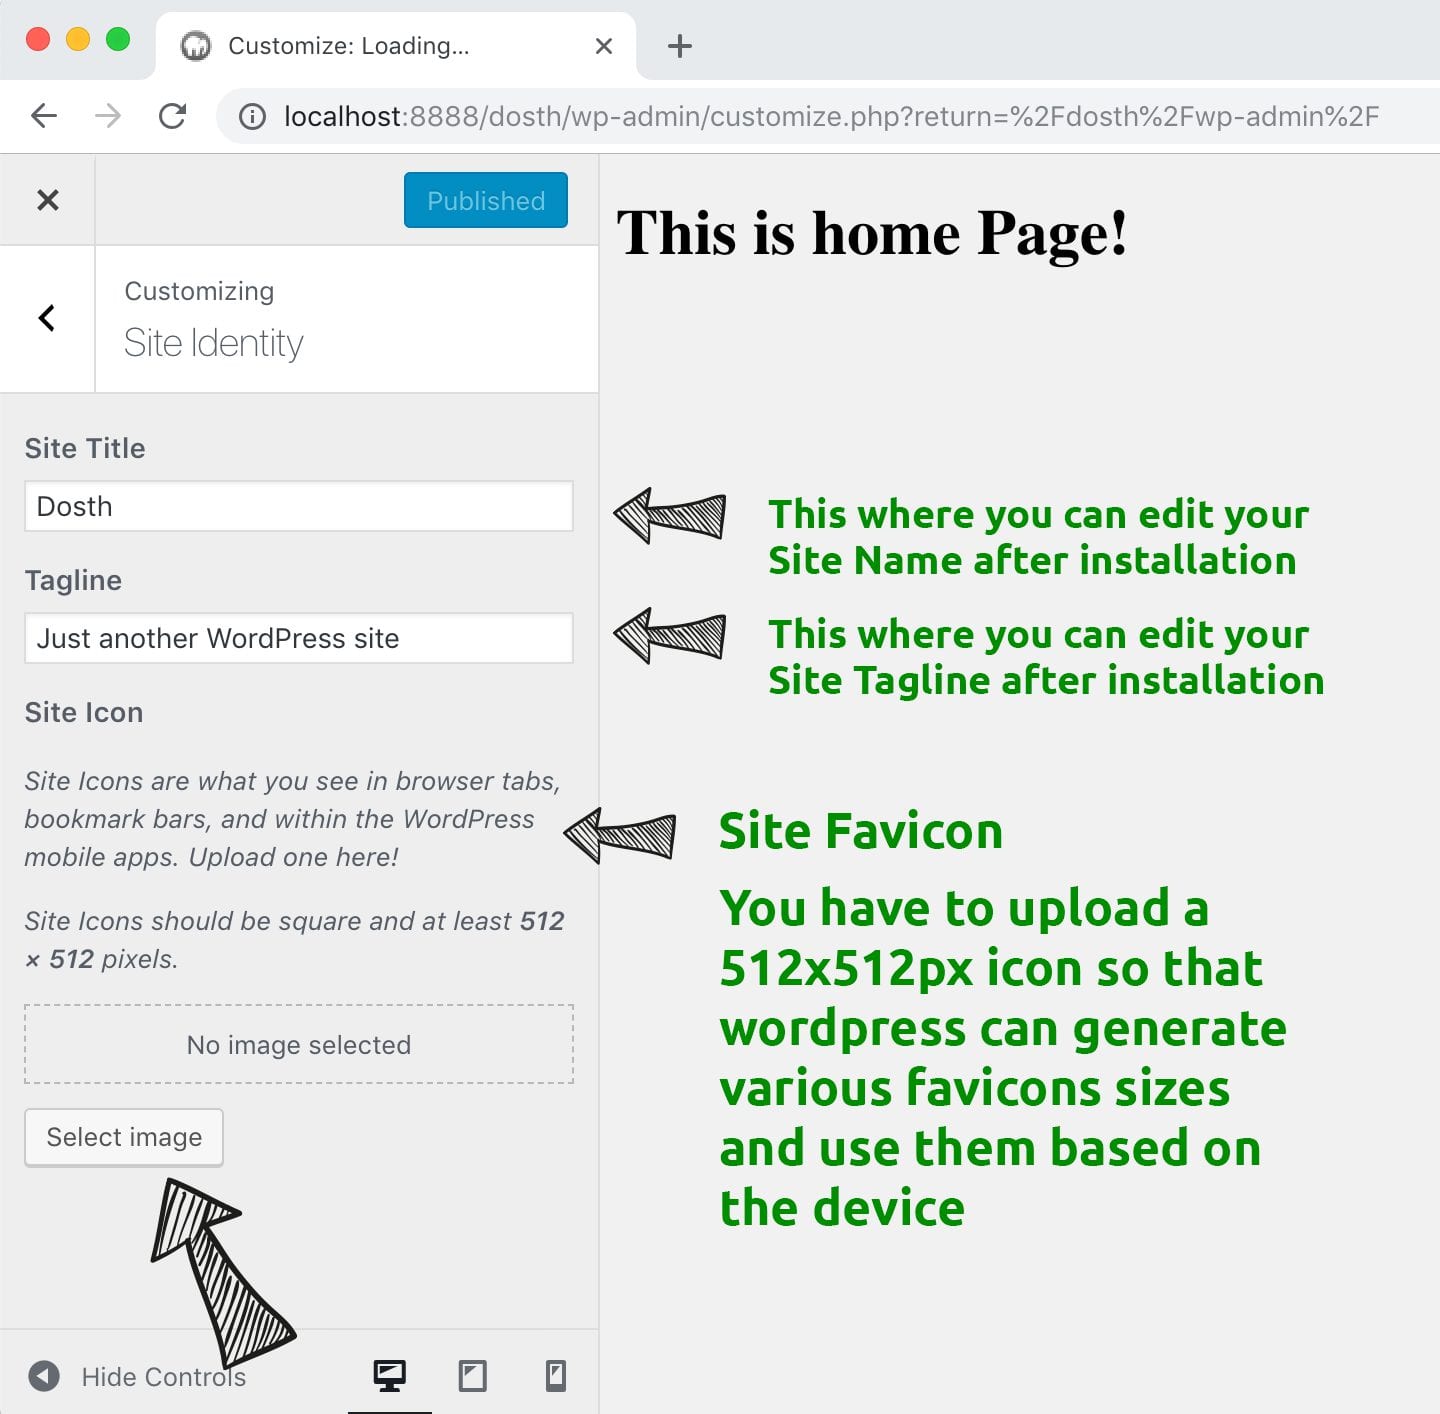
It is simple, all you have to do is go to Admin Dashboard -> Appearance -> Customize -> Site Identity
By default, the Site Identity options panel will let you add or change your website name, Tagline and site Icon. You’ll also learn how to add more options to the panel at a later point in this course.
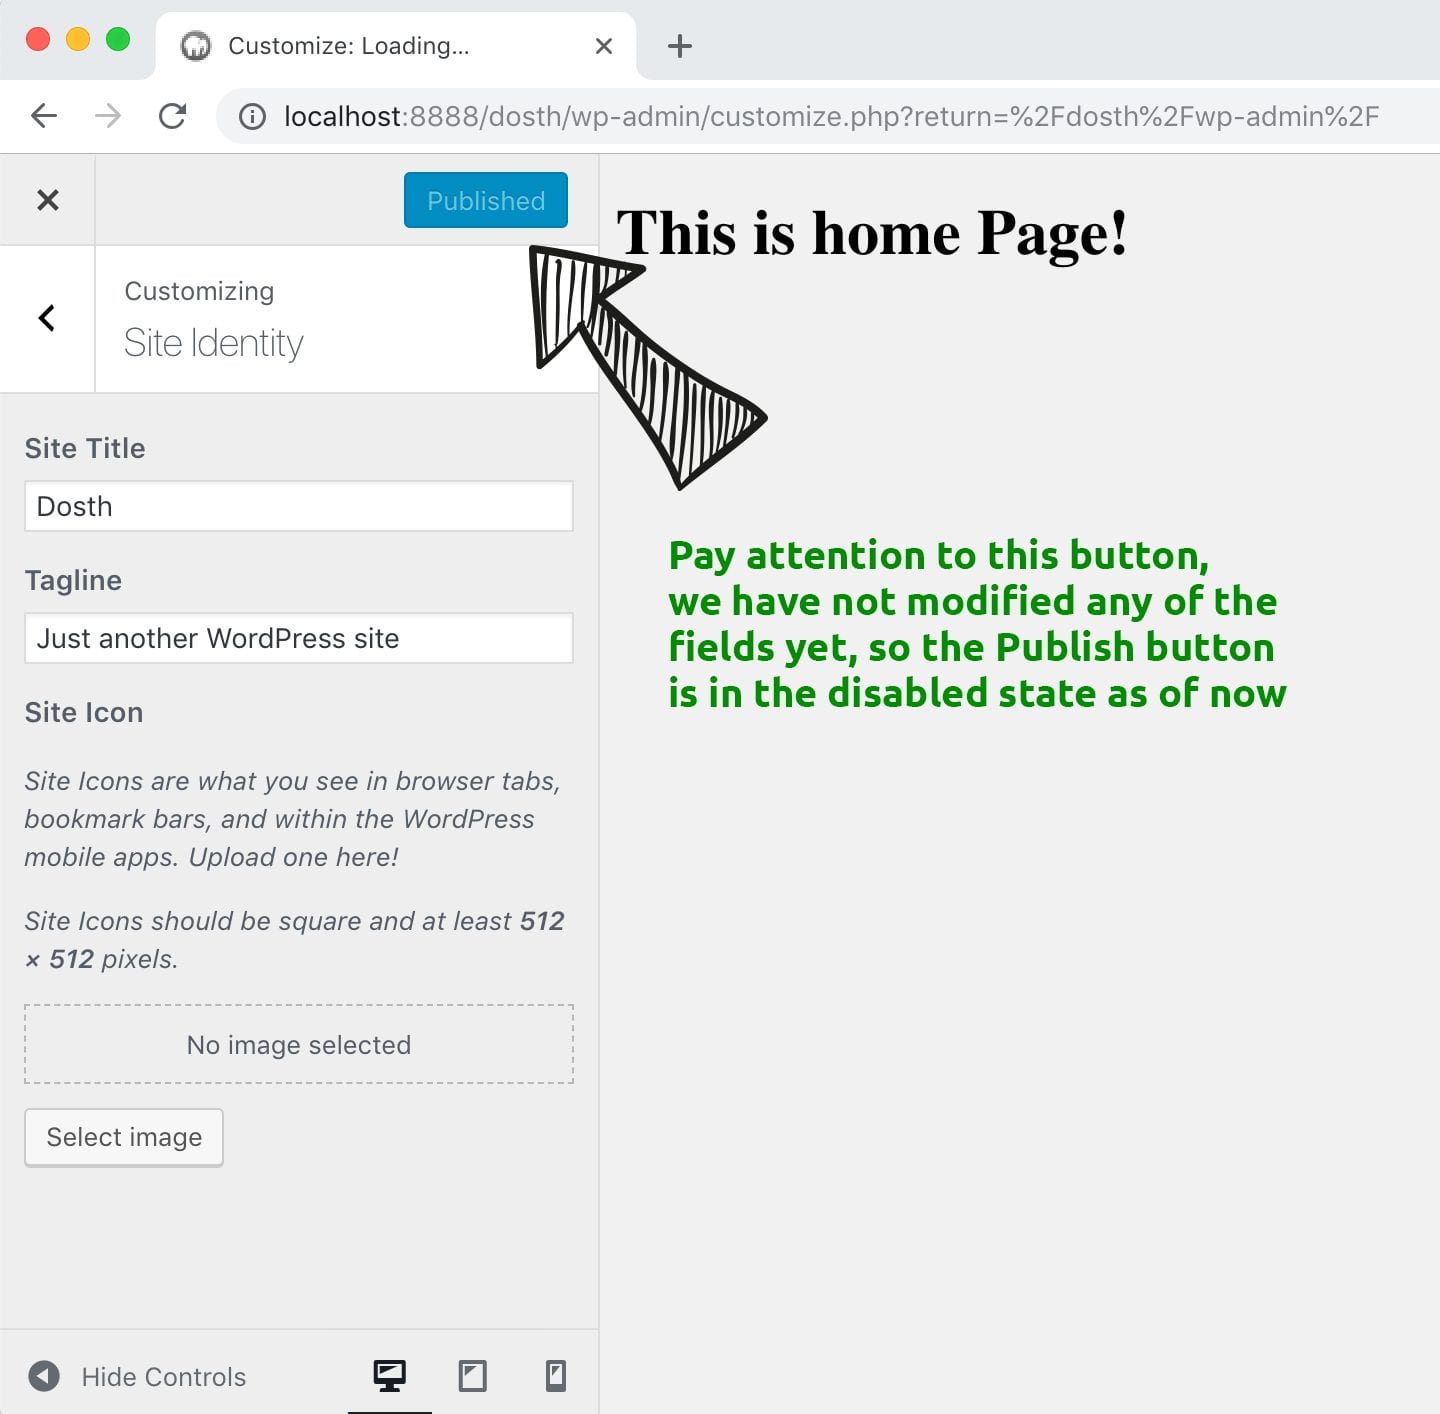
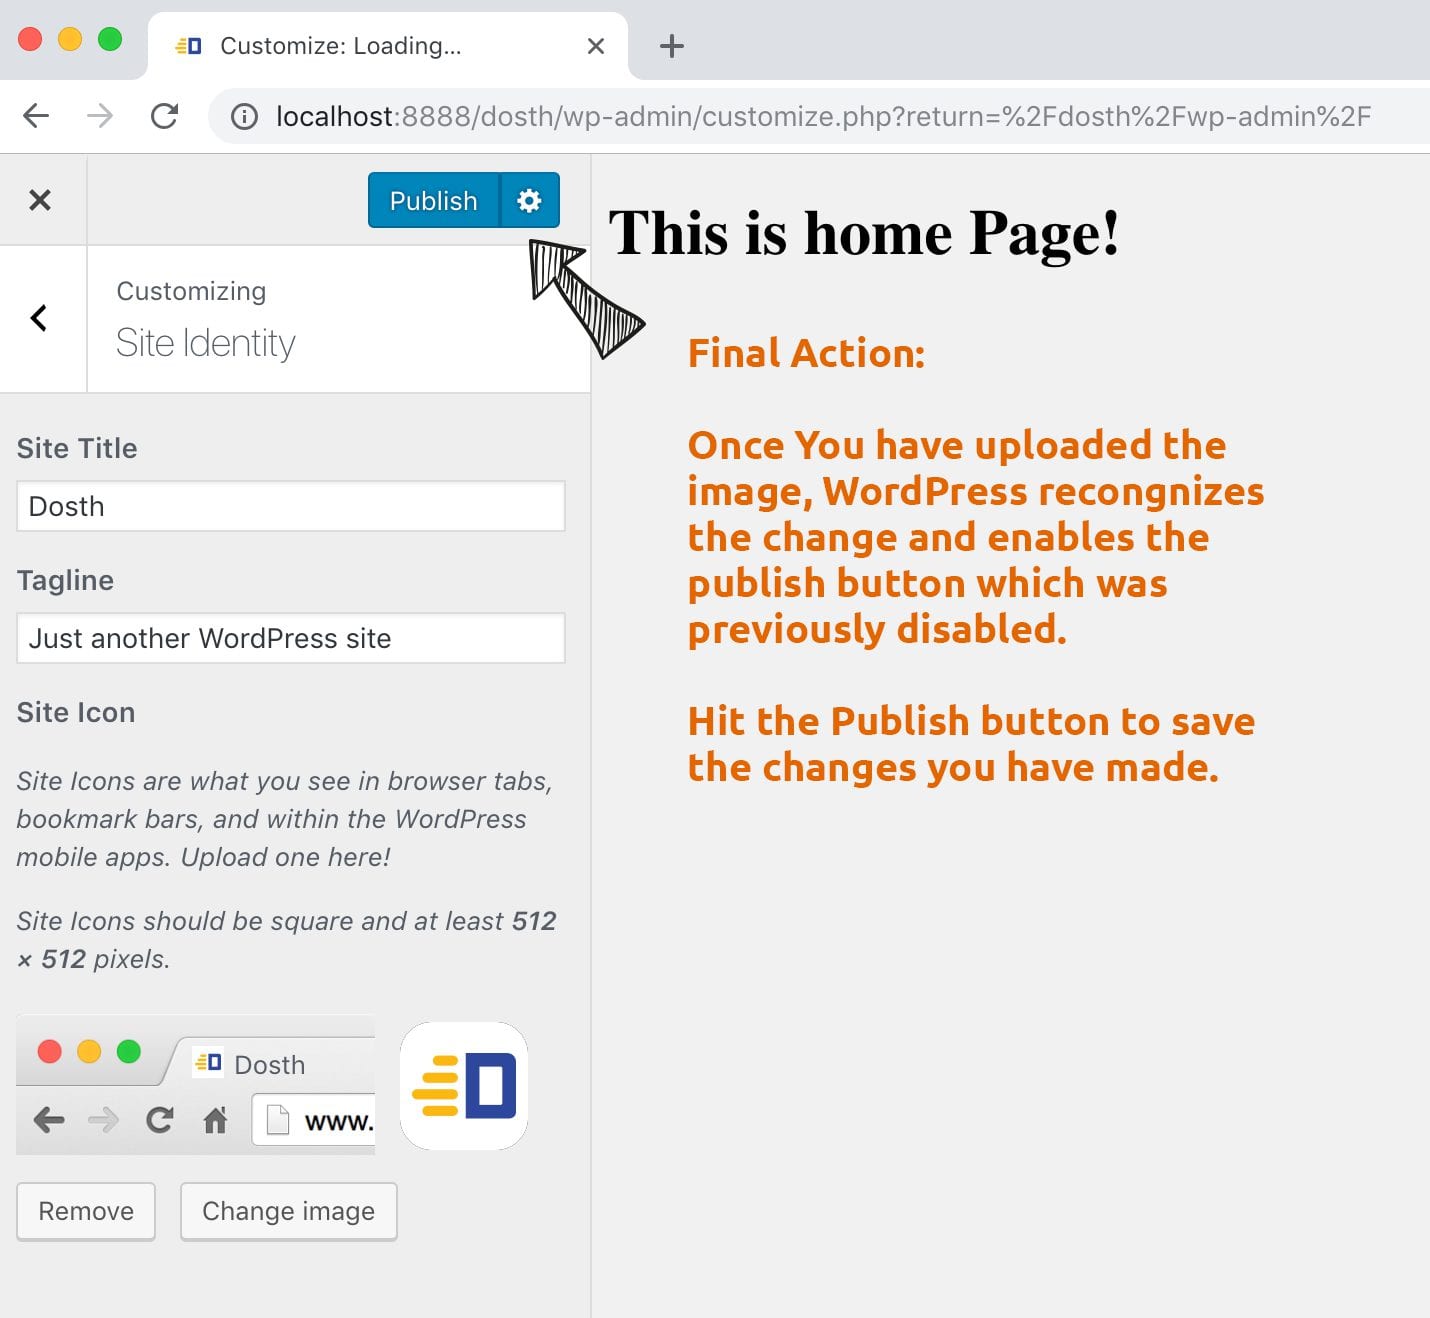
Also, pay attention to the Publish button at the top of the options. We did not modify any of the fields inside the Site Identity options panel yet, so the publish button is currently disabled.
Anyway, Under the Site Icon section, Click on the Select Image button, choose a 512x512px png icon that represents your brand, and click on the Publish button to save changes.
For the purposes of this course, you can download the below image and upload it.

“Hey! A 512x512px icon is quite big both in dimensions and file size. Why does WordPress recommend such a big image size for such a small icon?”
Good question! Visitors access your website using a variety of devices with various screen sizes which demands you to provide various icon sizes for the favicon. Some of them are retina screens and some of them are regular non-retina screens. It could be a mobile, tablet, phablet, laptop or a desktop with various operating systems like Windows, MacOS, Android, IOS etc.
Before 2016, I used to add a code similar to the code that you see below. The following HTML covers every single device that is out there as of 2018
<link rel="apple-touch-icon-precomposed" sizes="57x57" href="apple-touch-icon-57x57.png" />
<link rel="apple-touch-icon-precomposed" sizes="114x114" href="apple-touch-icon-114x114.png" />
<link rel="apple-touch-icon-precomposed" sizes="72x72" href="apple-touch-icon-72x72.png" />
<link rel="apple-touch-icon-precomposed" sizes="144x144" href="apple-touch-icon-144x144.png" />
<link rel="apple-touch-icon-precomposed" sizes="60x60" href="apple-touch-icon-60x60.png" />
<link rel="apple-touch-icon-precomposed" sizes="120x120" href="apple-touch-icon-120x120.png" />
<link rel="apple-touch-icon-precomposed" sizes="76x76" href="apple-touch-icon-76x76.png" />
<link rel="apple-touch-icon-precomposed" sizes="152x152" href="apple-touch-icon-152x152.png" />
<link rel="icon" type="image/png" href="favicon-196x196.png" sizes="196x196" />
<link rel="icon" type="image/png" href="favicon-96x96.png" sizes="96x96" />
<link rel="icon" type="image/png" href="favicon-32x32.png" sizes="32x32" />
<link rel="icon" type="image/png" href="favicon-16x16.png" sizes="16x16" />
<link rel="icon" type="image/png" href="favicon-128.png" sizes="128x128" />
<meta name="application-name" content=""/>
<meta name="msapplication-TileColor" content="#FFFFFF" />
<meta name="msapplication-TileImage" content="mstile-144x144.png" />
<meta name="msapplication-square70x70logo" content="mstile-70x70.png" />
<meta name="msapplication-square150x150logo" content="mstile-150x150.png" />
<meta name="msapplication-wide310x150logo" content="mstile-310x150.png" />
<meta name="msapplication-square310x310logo" content="mstile-310x310.png" />
Imagine If you have to generate all those images, How painful is that? I used to go through that pain. But you don’t have to. You are learning and creating WordPress websites in 2019. Instead of you providing various favicon sizes upfront, WordPress eliminates the burden for you by automatically generating different favicon sizes and the necessary HTML <head> element markup by detecting the device and its properties like OS, screen size etc.
Let’s see it in action. For example, if you are opening up the website in a MacBook Pro Retina model or a Laptop that is running Windows 8 or 10, it will generate the following markup for the favicon.
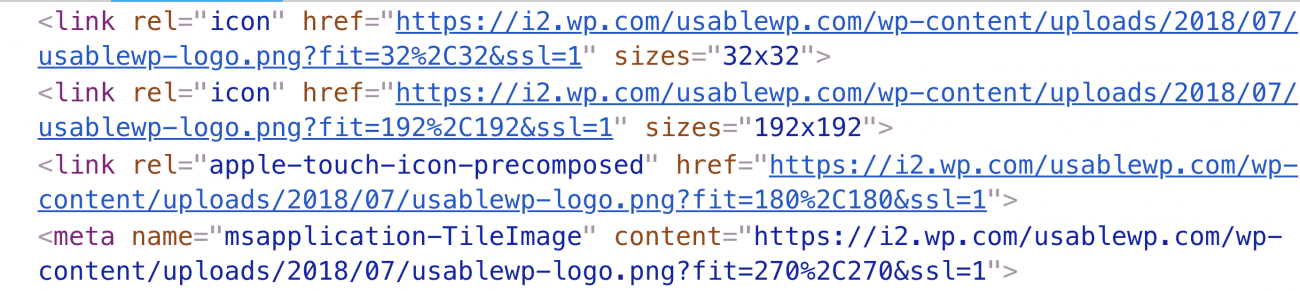
Quick Info: Notice the msapplication-TileImage meta tag? This meta tag is used when we try to pin a website to the Windows 10/8 Start window
Feeling lucky?
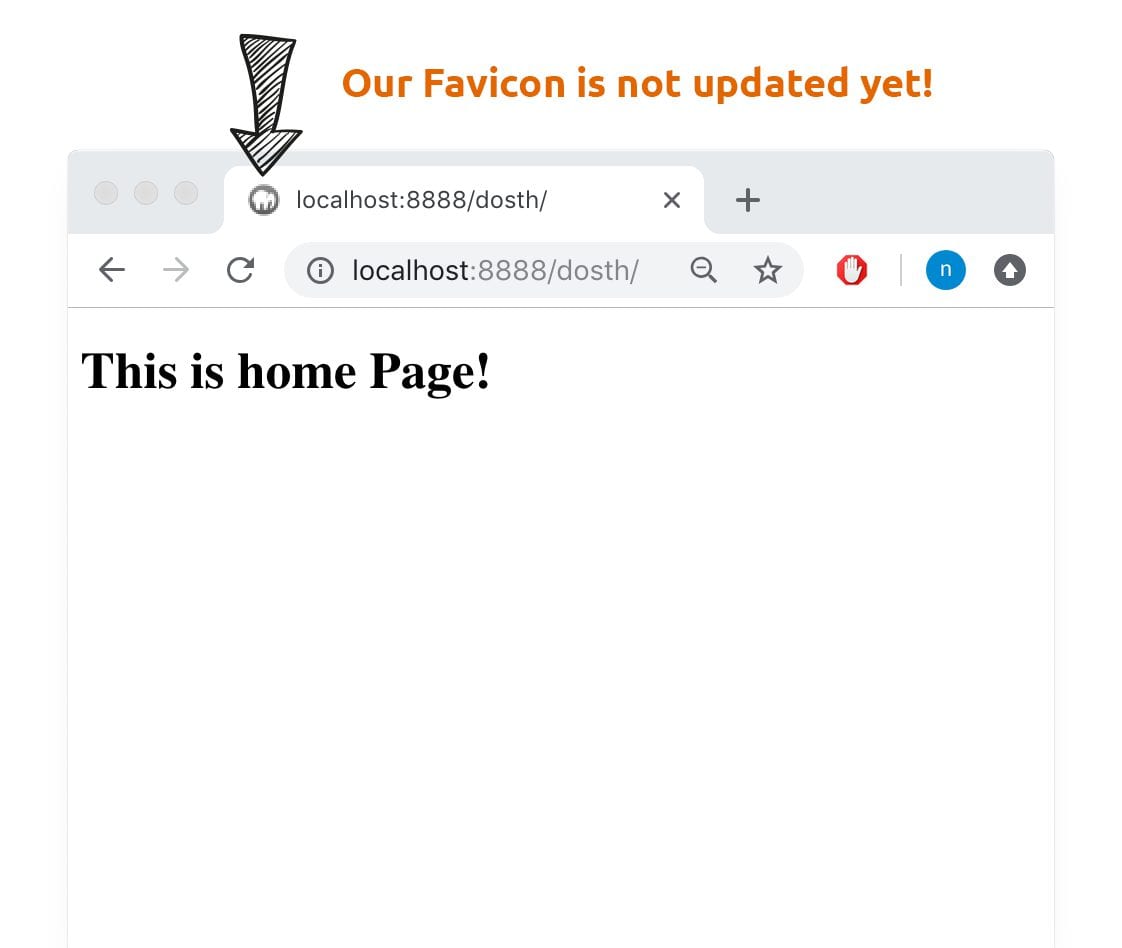
Now, let’s go ahead and test the favicon icon by visiting the Homepage of the website: http://localhost:3000/dosth.
Oh! We can not see the favicon on the browser tab. What could go wrong?
If we view the page source, the favicon markup is not even generated by the WordPress.
And it is happening for a reason! We have uploaded the icon, but, WordPress needs one more instruction from us “The Theme Developers”. Sometimes WordPress relies on certain hooks to generate the markup.
For example, in the case of the favicon, the markup must be present inside the <head> element for the browser to recognize and use the icon. But WordPress doesn’t guess where we put the <head> element. After all, we are the theme developers and WordPress gives us the ultimate control over the HTML markup. So, we need to explicitly tell WordPress that “Hey WordPress, this is the <head> element of the webpage, feel free to generate any kind of HTML markup that goes inside this <head> element”.
And how do we tell that? Introducing the wp_head() function!
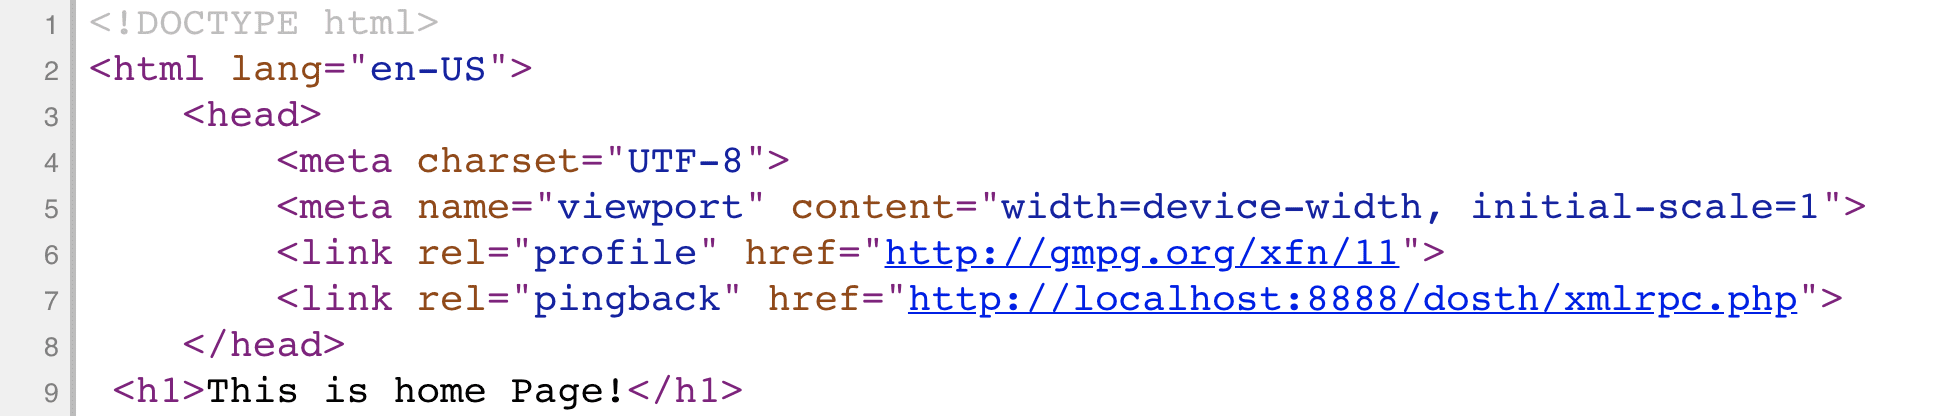
Go back to the Code Editor, open up the header.php file inside the nd-dosth theme, and place the wp_head() function just before the closing </head> tag, like this:
<head>
   <meta charset="<?php bloginfo( 'charset' ); ?>">
   <meta name="viewport" content="width=device-width, initial-scale=1">
   <link rel="profile" href="http://gmpg.org/xfn/11">
   <link rel="pingback" href="<?php bloginfo( 'pingback_url' ); ?>">

   <?php wp_head(); ?>
</head>
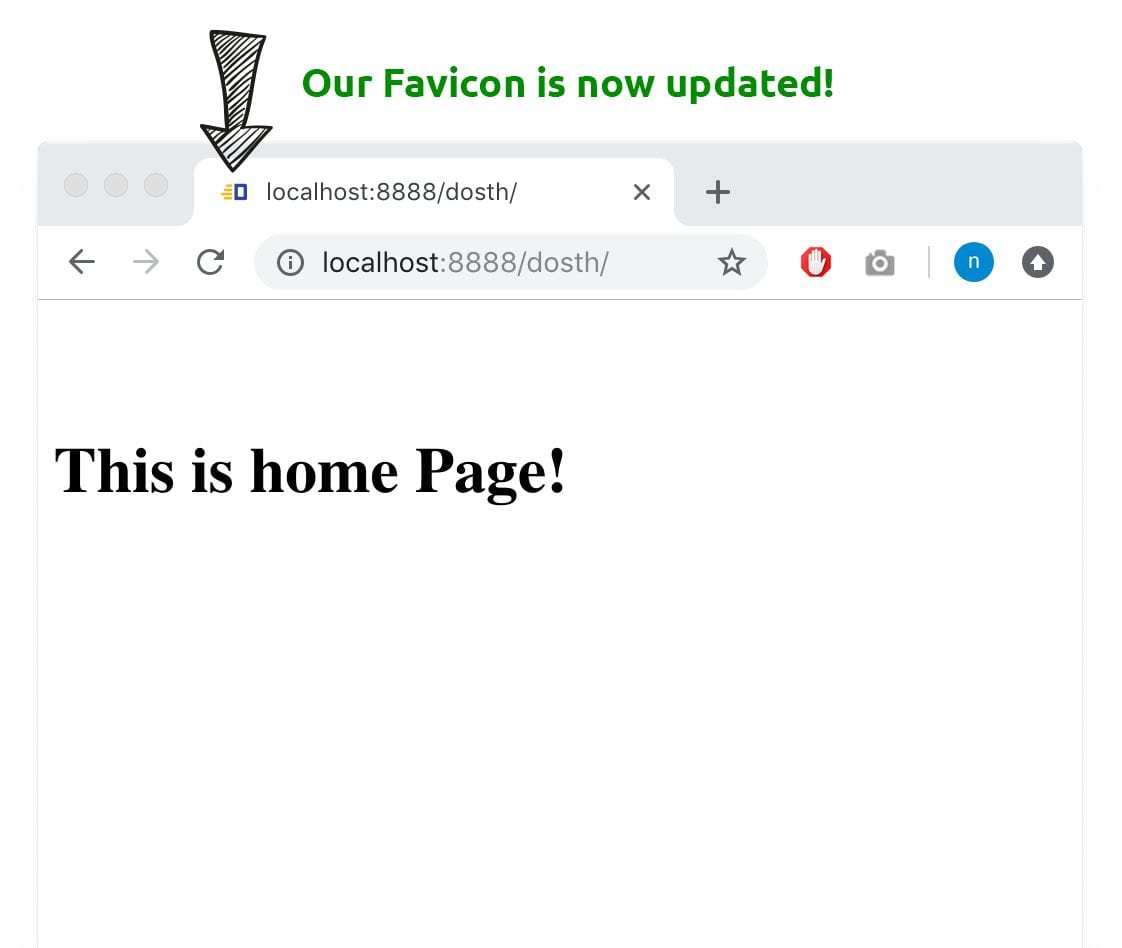
Now, go back to the browser and refresh the Homepage (http://localhost:3000/dosth).
Tada! Now we can see the favicon.
Also, if we take a look at the page source now, we can see the favicon related markup as well as a ton of other scripts and styles.
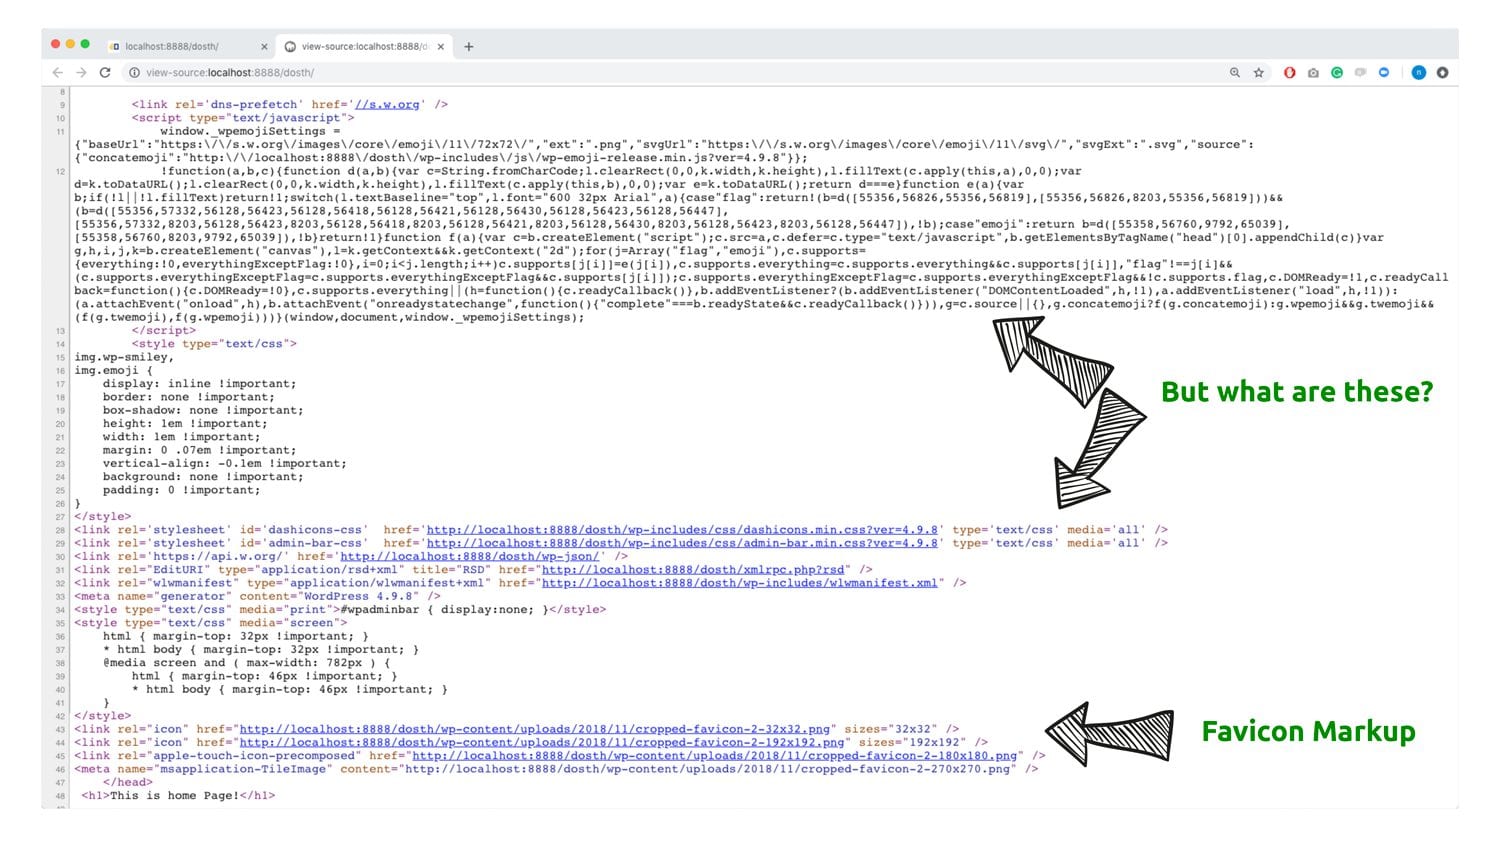
“Hey! Whats happening? WordPress generated all that markup just because I placed the wp_head() function inside the <head> element ?”
You got it right! Yes, WordPress generates all that markup once we place the wp_header() function inside the <head> element. As you can see, there is more to the wp_head() function than just generating the favicon markup and in the next lesson, we will dig deeper into the wp_head() function.
 © 2026 UsableWP. A project by Naresh Devineni.