Beginnings of a WordPress Theme
As I mentioned in the introduction chapter, A WordPress theme is nothing but a bunch of template files, CSS files, Javascript files and few custom PHP files.
So, for a theme to be valid and to function correctly, it must be a folder that contains at least three files.
The three important files
- index.php, a template file that wordpress uses to generate the final web page if no other appropriate template file is found.
- functions.php is optional, but essential as it lets you:
- Create navigation menus,
- Include custom php files for custom functionality
- Control the sizes of images used on the entire website
- Include your CSS and Javascript files in a time-saving yet standard friendly way.
- And a lot more
- style.css, the main stylesheet with theme information in the form of a CSS comment and all the CSS rules you write for your website, should go in here.
Alright, enough theory, let’s start building our first theme.
Since themes reside under the directory wp-content/themes, It is time to open the folder dosth/wp-content/themes inside a code editor. I am using Visual Studio code; you can use your favorite.
How to add a Project folder to the Code Editor Workspace
VS Code Editor
Open up the code editor, go to File -> Add folder to Workspace
Atom
Open up the code editor, go to File -> Add Project folder
Sublime Text
Open up the code editor, go to Project -> Add folder to project
Create the theme folder
Inside the folder dosth/wp-content/themes, create a new theme folder and name it nd-dosth.
Generally, you create themes for a client who might end up downloading other themes from the market. So, it is always a good idea to give a unique name to your theme. I usually keep namespace nd- in front of my theme names, “nd” is my name initial.
Also, a theme name must be URL friendly, So, do not use spaces in your theme names. Use _ (underscore) or – (hyphen instead).
“Hold on! Hold on! Why should a theme name be URL friendly?”
You are familiar with HTML, right? When you link an external CSS file in the head tag, you will use a path that looks something like this http://dosthapp.com/assets/css/style.css
Similarly, for WordPress, since the style.css file resides inside a theme folder, the final link would be http://dosthapp.com/wp-content/themes/nd-dosth/style.css. Not only the style.css file, but this also applies to every file that is publicly accessible on your wordpress website. For example, your theme’s javascript files and images.
Create the index.php, style.css and functions.php files
Now go inside the newly created theme folder and create the index.php, style.css and functions.php files.
Open up the style.css file and write a special comment with the theme information
style.css file is the main stylesheet file of your theme. It should be placed at the root level of your theme ( wp-content/themes/nd-dosth ) and not inside any other sub-directory of your theme.
If the WordPress couldn’t find a style.css file at the root level, It considers your theme as incomplete, and it won’t let you activate the theme, and it also lists your theme inside Broken Themes section of Admin Dashboard -> Appearance ->Themes panel.

The Special Comment
Comments at the top of a file have a special purpose in WordPress and the style.css file must start with a comment with some general information about the theme. Let’s take a look at it.
/*
Theme Name: Dosth
Theme URI: https://www.usablewp.com/themes/dosth
Author: Naresh Devineni
Author URI: https://www.usablewp.com
Description: Dosth App is the theme designed to teach WordPress Theme Development. You can play around and you can use this for commercial and personal projects.
Version: 1.0.0
License: GNU General Public License v2 or later
License URI: http://www.gnu.org/licenses/gpl-2.0.html
Text Domain: dosth
Tags: two-columns, right-sidebar, flexible-header, accessibility-ready, custom-colors, custom-header, custom-menu, custom-logo, editor-style, featured-images, footer-widgets, post-formats, rtl-language-support, sticky-post, theme-options, threaded-comments, translation-ready

This theme, like WordPress, is licensed under the GPL.
Use it to make something cool, have fun, and share what you've learned with others.
*/
Although the above CSS comment is self-explanatory, let’s take a look at the comment line by line. (*) means mandatory.
- Theme Name (*) is the name of your theme.
- Theme URI is the URL where users can find more information (Usually, Documentation ) about the theme.
- Author (*) should be Your name or Your organization’s. You are the person who is coding this theme, right?
- Author URI is the URL where users can find more information about you or your organization.
- Description (*): A short description of the theme.
- Version (*): The version, written in X.X or X.X.X format.
- License (*): The license of the theme. Since WordPress is downloadable under GNU Public Licence, most people would argue a theme must have the same license. But you can go rogue :P
- License URI (*) is the URL where other people can learn more about the theme’s license.
- Text Domain (*) is used to uniquely identify your theme’s text during translation of the website content to other languages.
- Tags: Words or phrases that allow users to find the theme using the tag filter. A full list of tags is in the Theme Review Handbook. This is generally useful If you or your client installed tons of themes or If you are distributing your theme on WordPress.org
Alright, now, let’s see how WordPress puts this information to use.
Open up your browser and Go to the Admin Dashboard:
http://localhost:3000/dosth/wp-admin
Note: From here onwards, when I ask you to visit the admin dashboard, you must visit http://localhost:3000/dosth/wp-admin
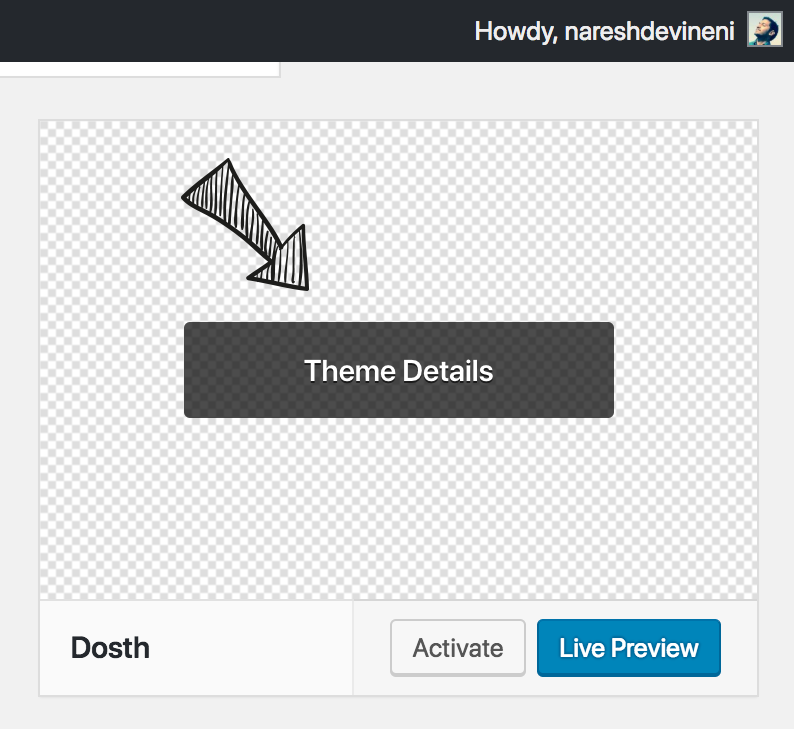
Now Inside Admin Dashboard, Go to Appearance -> Themes. Find the theme that you are developing (Dosth), and put your mouse cursor on it so that you click on the Theme Details button.
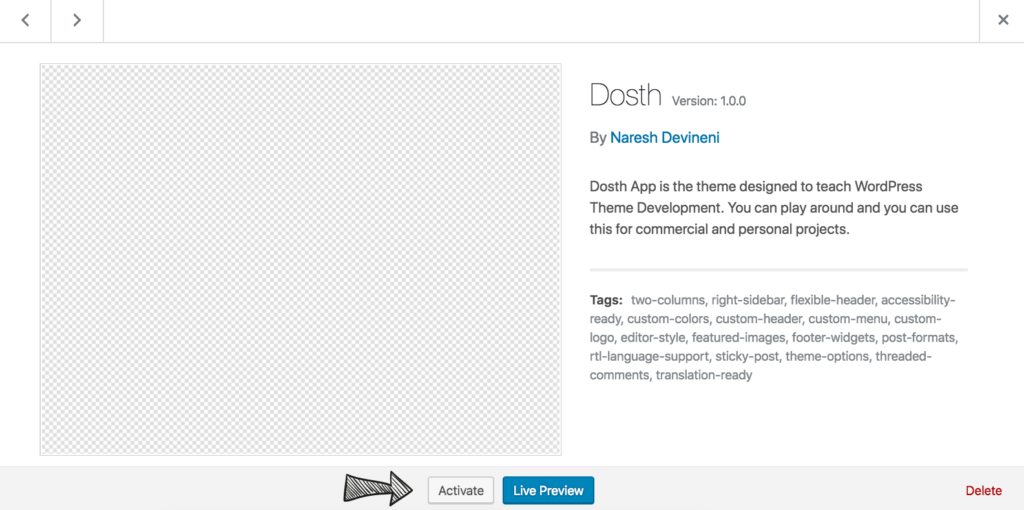
Voila! WordPress is using the style.css file’s comment to display information about the theme for users so that they won’t get stuck.You can also distribute your styles into multiple CSS files. It is not that you are restricted to use a single style.css file.
The purpose of the screenshot and how to use it
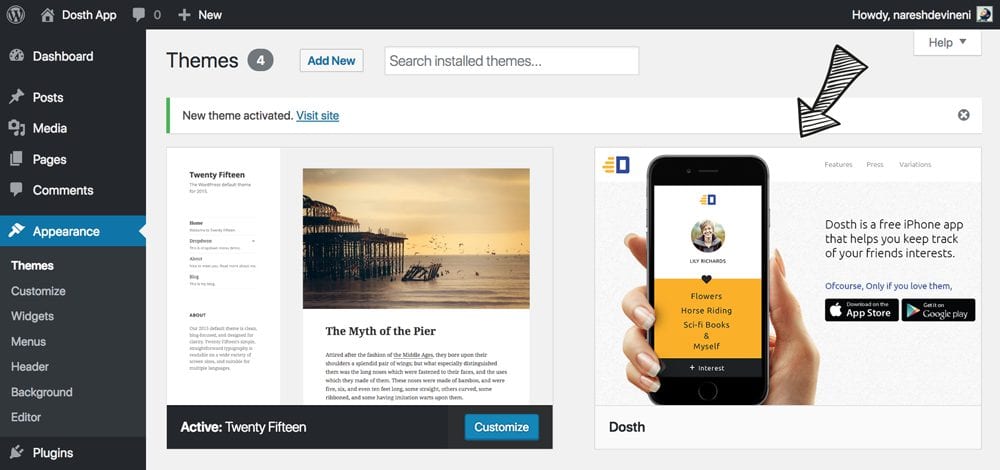
If you notice, other themes in the Themes dashboard panel has a screenshot showing how our website looks when they are activated. You can quickly add a screenshot to your theme by placing a screenshot.png file inside our theme’s root directory ( wp-content/themes/nd-dosth ).
A screenshot must be 880 x 660px png image file.880 pixels wide and 660 pixels in height. You can create the screenshot using your favorite image editor like Adobe Photoshop.
For this course, I have already created a screenshot.png file. So, Download the below image and place it at the root level of your theme.

Now if you refresh the WordPress Dashboard, you can see that the screenshot.png file is put to good use by WordPress.
Activate the theme
Although you have an empty index.php file, Since theme folder has a style.css file with theme information comment at the top, you can technically activate your theme. So, go ahead and activate the theme by clicking on the “Activate” button.
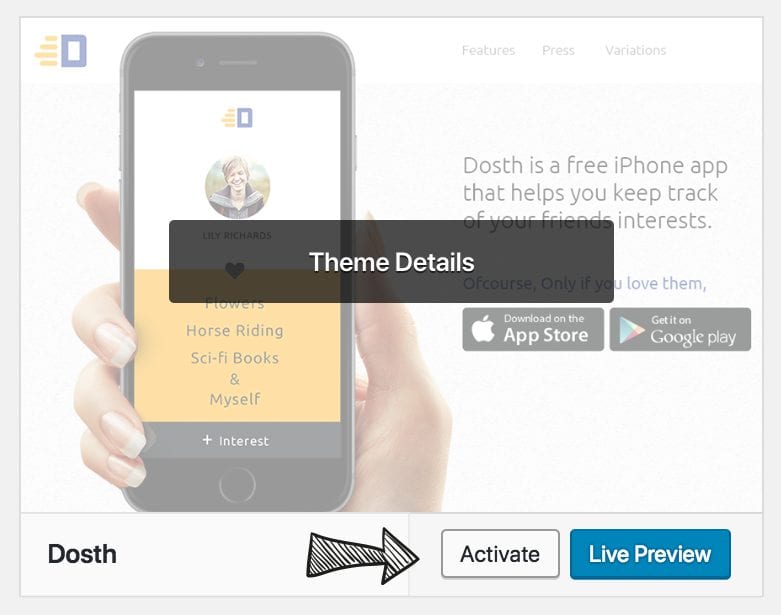
Activated or not, You can also hit “Live Preview” button to find out how a website looks with your theme activated.
If we look at our website by visiting http://localhost:3000/dosth URL, all you would see is a blank web page with no content. The reason is simple, the theme’s index.php file is empty. So, to test if our theme’s index.php file is indeed used by WordPress, let’s put some basic HTML inside it, you can copy and paste the below code.
<!DOCTYPE html>
<html lang="en-US">
    <head>
        <title>Dosth App - Home Page</title>
        <meta charset="utf-8">
        <meta name="viewport" content="width=device-width, initial-scale=1">
        <style>
            body{
                background-color:teal;
                color:white;
            }
        </style>
    </head>
    <body>
        <h1>Hi, Howdy! This is the website's home page</h1>
    </body>
</html>
Now, refresh the browser.
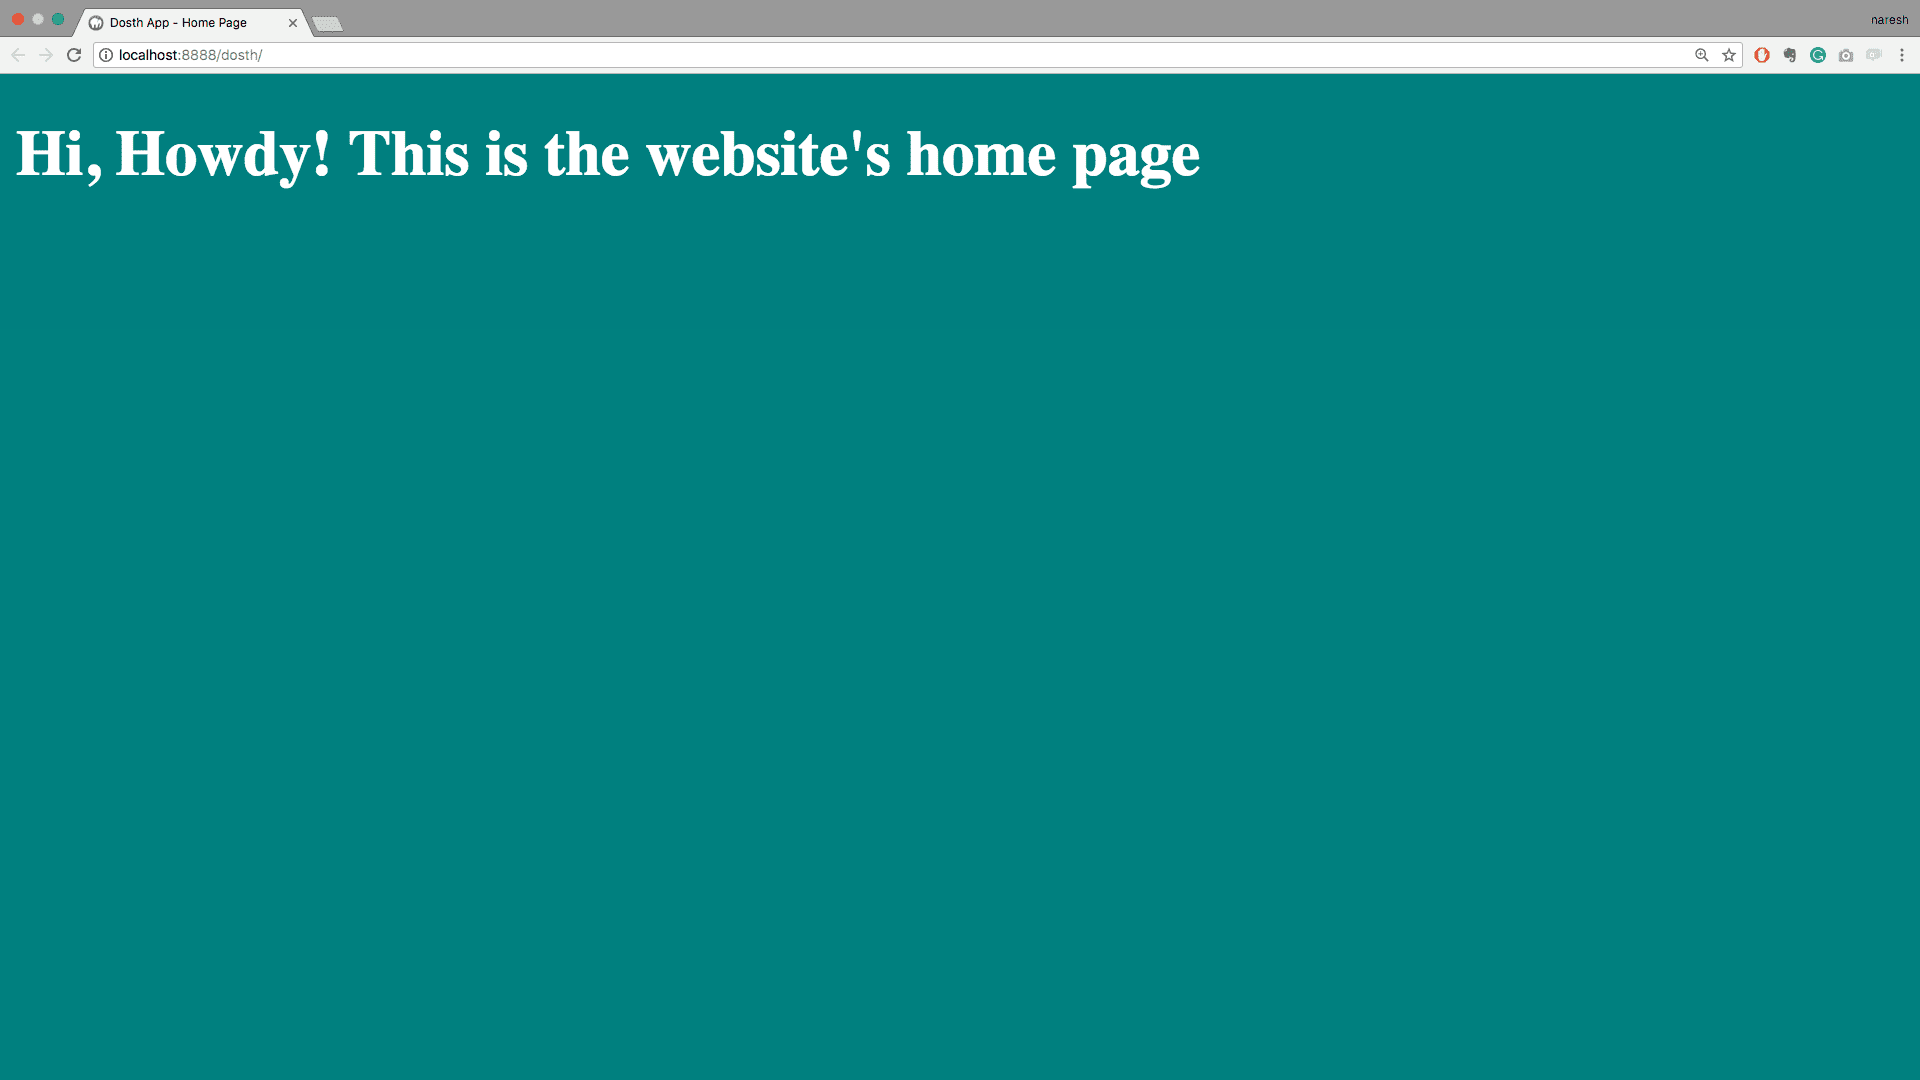
Did you see that? WordPress is processing and displaying the contents of the index.php file to the visitors of our dosth website.
Although you could technically use index.php to render every page on your website, It is just a backup file that wordpress uses to generate the final web page if no other appropriate template file is found.
To give you the ultimate the control on HTML markup and visual presentation of your website, WordPress expects you to create specifically named template files to render your website’s homepage, internal pages, blog page and so on.
For example, When a user visits our site homepage, WordPress looks for front-page.php at the root level of an activated theme. If wordpress fails to find front-page.php inside our theme folder, then and then only It uses index.php file to render our home page.
Almost every WordPress website you create would have pages for different purposes and understanding how to deal with them in a WordPress way helps us code better and more controllable WordPress websites.
Just to recap, we have created four files in this lesson, so your theme directory ( wp-content/themes/nd-dosth ) should contain the following files:
- index.php
- style.css
- functions.php
- screenshop.png
In the next lesson, you’ll learn how WordPress works when someone visits our website and we’ll also take a look at the WordPress template hierarchy( List of WordPress template files and the order that WordPress follows to choose one ).
 © 2026 UsableWP. A project by Naresh Devineni.
Your all articles have most informaticle knowledge for all beginers and developers. You are the best author for wordpress theme development. Please write articles with full details for each hooks and functions also. Please make youtube vidieo’s also.