How to change WordPress site name
To achieve this, go to the “General” Settings screen:
Admin Menu -> Settings -> GeneralThe first option you’ll find is the “Site Title” option:
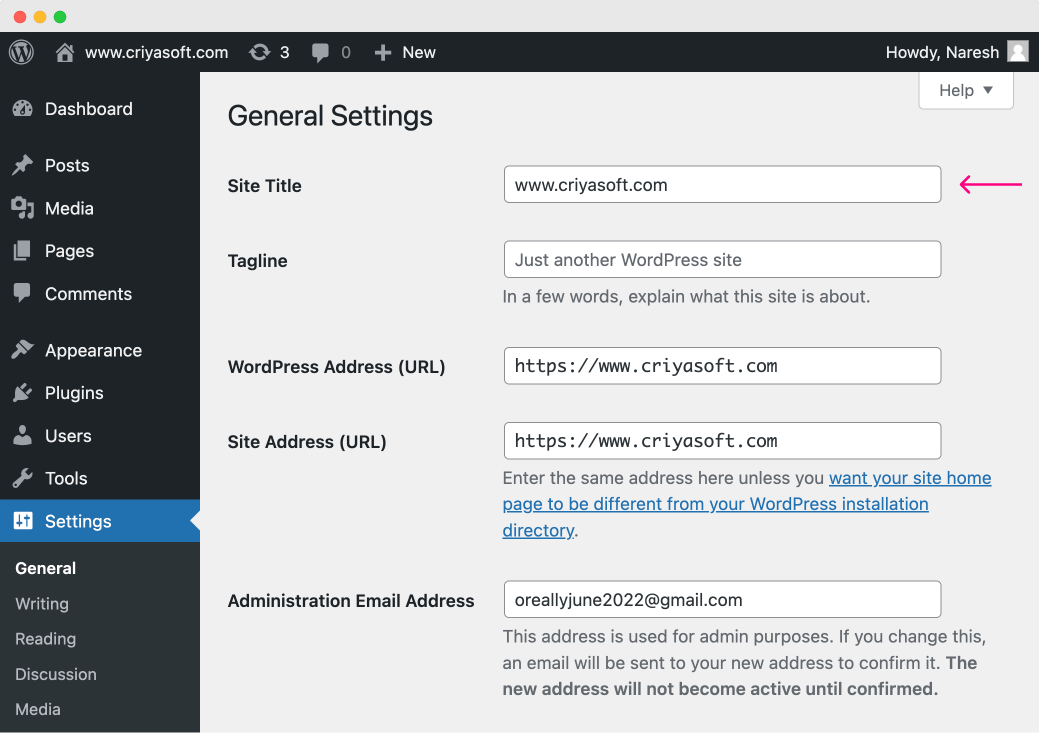
Replace it with any name you want.
Once you are done, scroll down to the bottom of the page and click the “Save Changes” button.
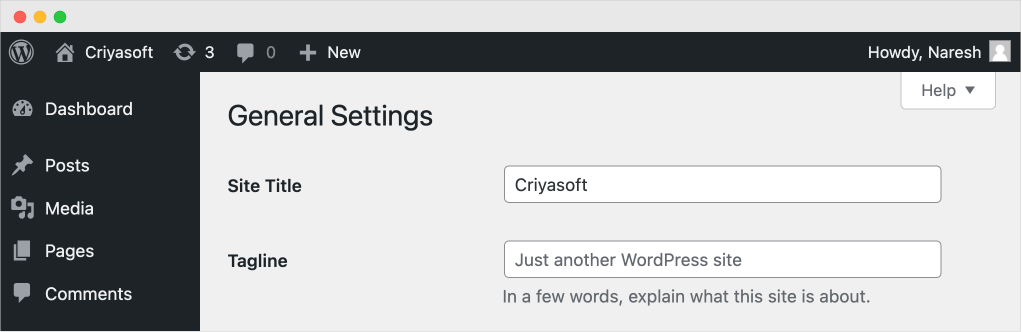
That’s all you need to do to change the site title, and it reflects everywhere on the frontend automatically:

Nice!
Next…
If you have changed the site title, you might also benefit from the changing the site tagline.
Edit WordPress Site Tagline
I see most WordPress sites forget to change the default tagline that says “Just another WordPress site”.
This is a really bad idea because the Site Tagline helps connect the company with its audience.
And, if other companies provide similar products, a tagline will help you stand apart from the lot.
Most importantly, a tagline has a lot of marketing benefits.
So, make sure to write a distinguishable and powerful tagline for your site.
Our site doesn’t have a tagline yet.
If you want to add a site tagline, here is how to change/add the tagline for your site.
Go to:
Admin Menu -> Settings -> GeneralAnd the second option that we’ll find is the site tagline:
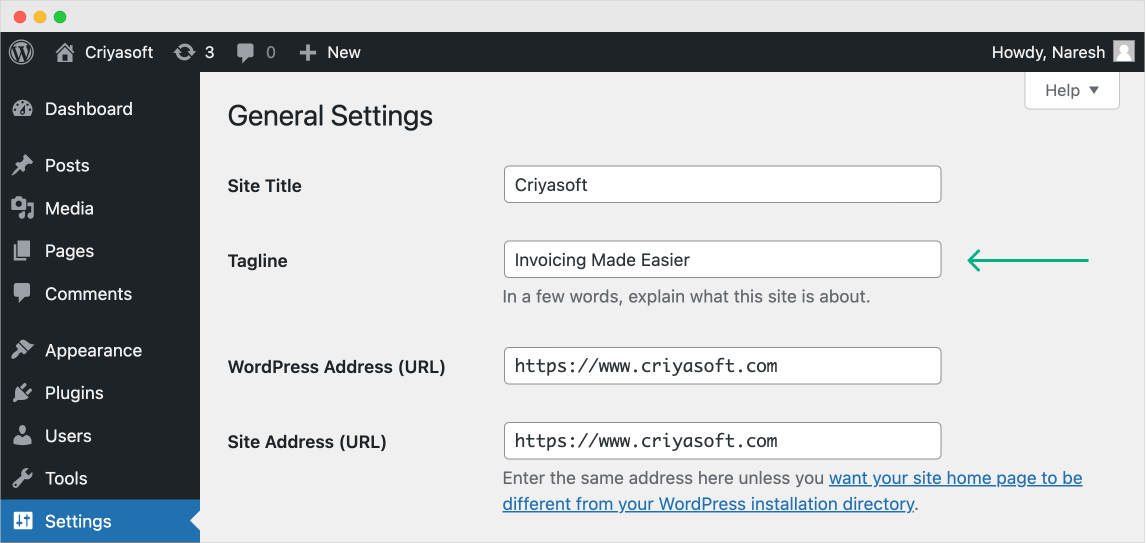
Add a meaningful tagline that represents your business.
I changed it to “Invoicing Made Easier” because that is what my fictional site, “Criyasoft” is all about. It is fictional software that eases the pain of invoicing.
Finally, scroll down and click on the “Save Changes” button.
Anyway, now that you are getting comfortable with changing your site’s settings, in the next lesson, we will see how to change your admin account’s name, email address, and password.


 © 2026 UsableWP. A project by Naresh Devineni.