Understanding the “Customize” screen
No matter what theme you pick and install, if it is a classic theme, it comes with a good number of customization options.
But those customization options change from theme to theme because:
- Themes are built by different developers with different mindsets
- Each theme’s purpose is different
- WordPress didn’t standardize any rules about what options should be inside the “Customize” screen.
Because of this, if you know how to customize one theme, it doesn’t mean you 100% know how to customize other themes in the market.
But a good thing is most classic themes have one common thing.
They use the “Customize” screen to let you customize the website’s design.
The “Customize” screen is created by WordPress to let developers add customization options for their themes.
So, if you can understand how to use the “Customize” screen properly, chances are you’ll be able to customize any theme with some trial and error.
Isn’t that a good skill for a website owner or a developer?
And that’s the purpose of this lesson.
How to access the “Customize” screen
Admin Dashboard -> Appearance -> Customize- Make sure you’re inside the Admin Dashboard.
- Next, from the Admin menu on the left, go to “Appearance” and click “Customize”.
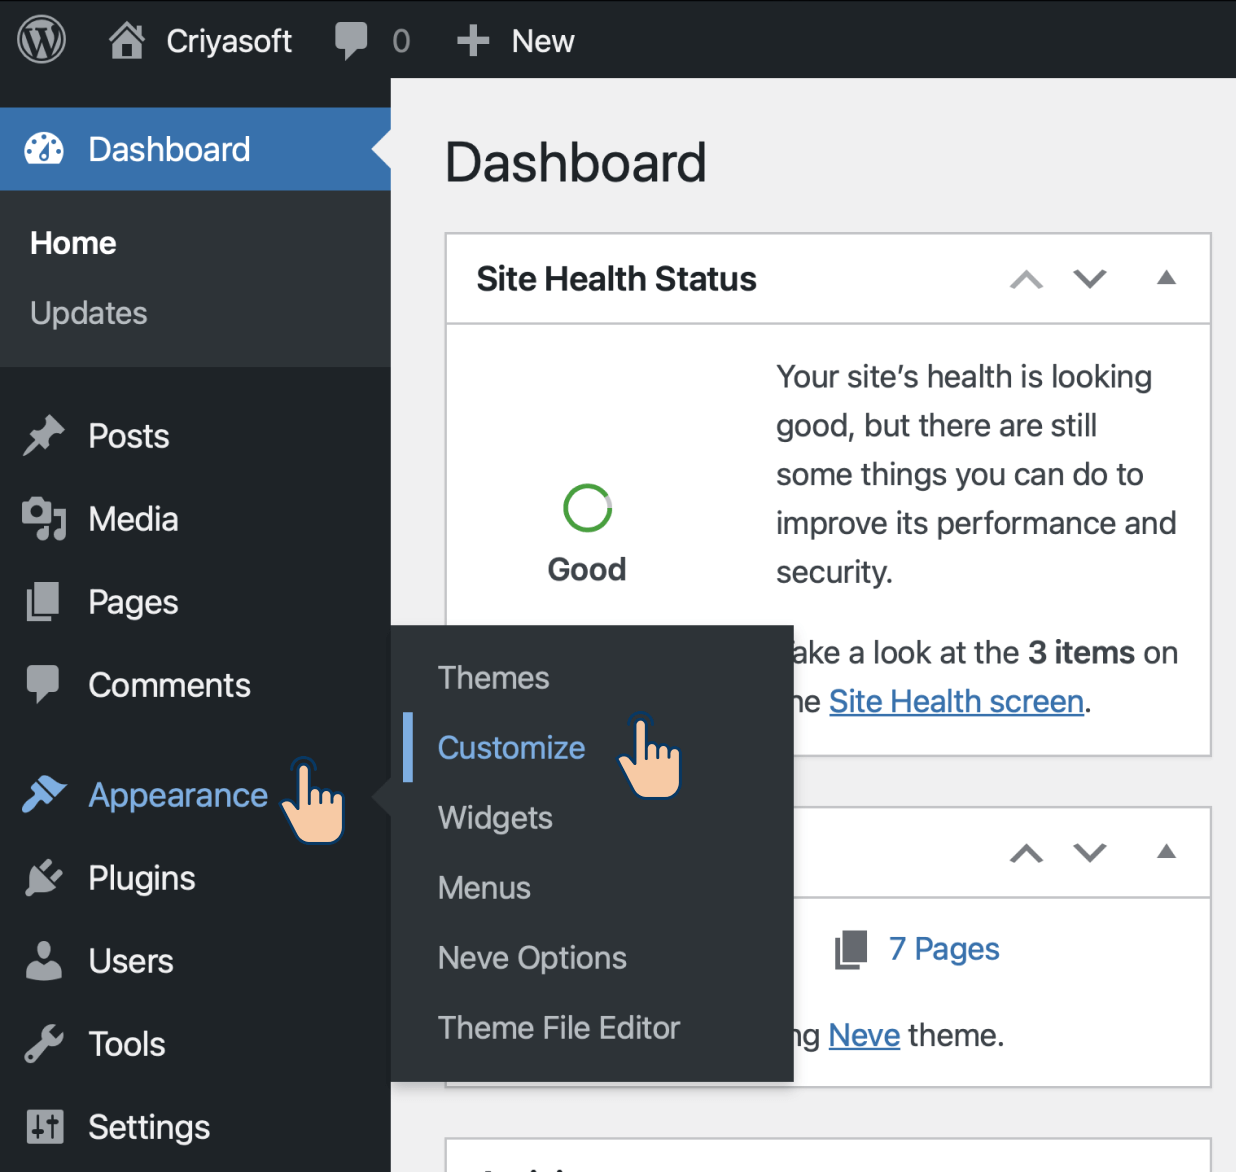
This will take us to the “Customize” screen:
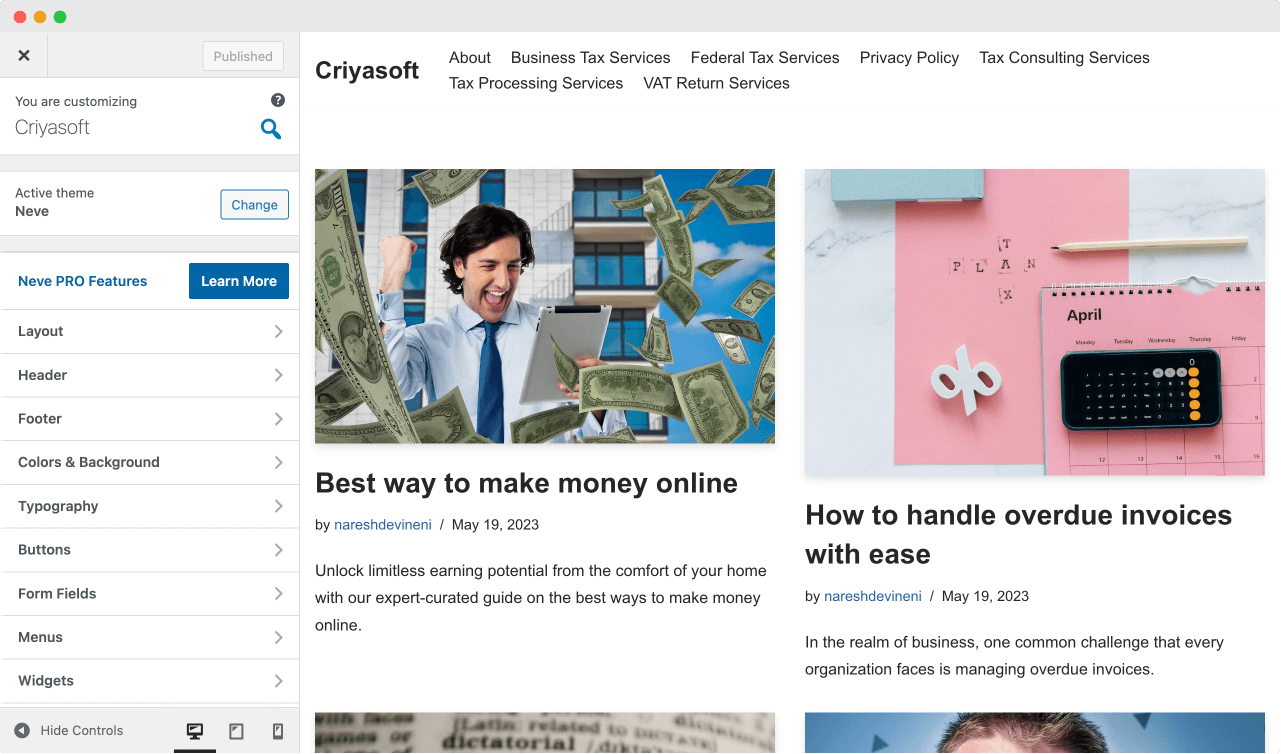
Understanding the interface of the “Customize” screen
If you notice, the “Customize” screen is divided into two parts.
Customization Settings are located on the left-hand side, and the site preview panel is on the right.
And when you change the settings, you can preview those changes on the right-hand side of the screen.
For example, changing the “Blog Layout” setting by going into the “Layout” section lets us see how the new layout looks inside the preview panel on the right.
This helps us perform the customization fast and visually.
If you are happy with the changes, click the “Publish” button to save these changes.
Introducing Setting Sections
The customization settings are organized into multiple sections.
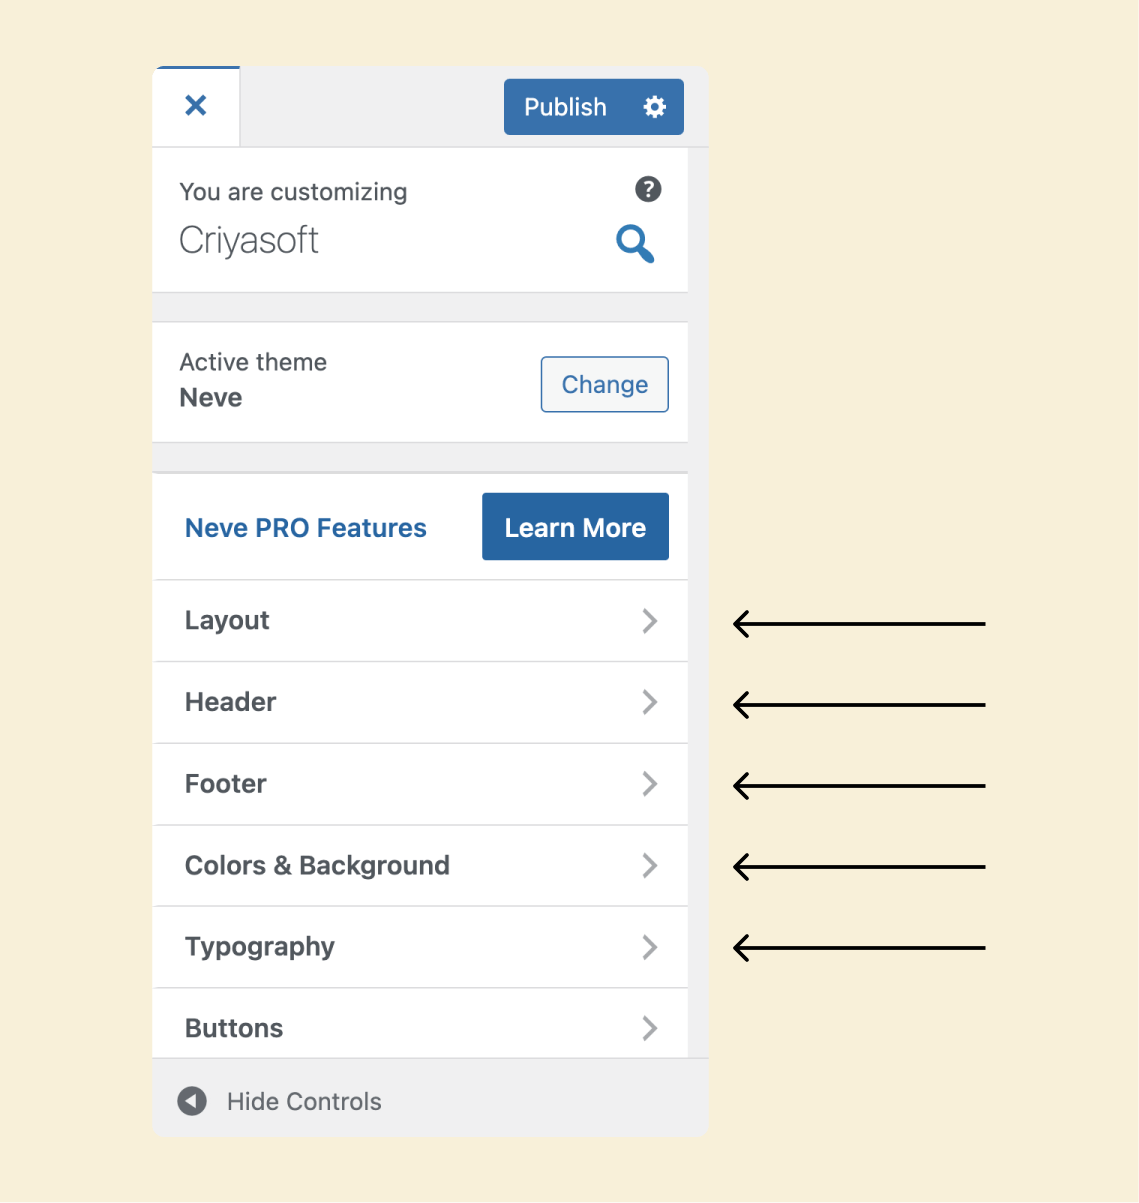
And each section has a self-explanatory label.
For example, if the section is labeled “Colors”, you can expect that you can change the colors of the website by using that section.
Similarly, if the section is labeled “Layout”, you can find the layout customization settings inside it.
Most themes follow almost the same labeling standards, making adapting a new theme easier.
For example, observe the section labels of the Neve theme and the GeneratePress theme:
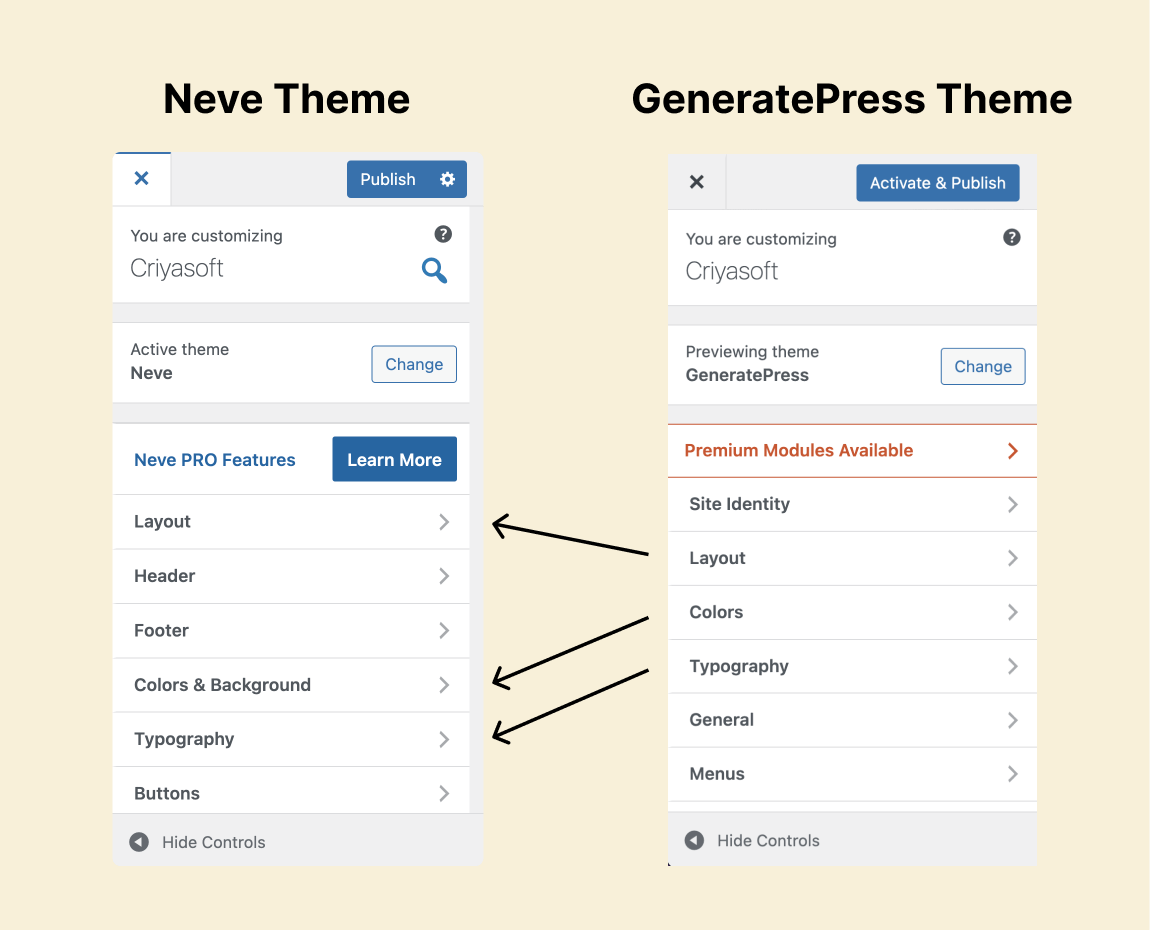
Almost the labels of the three sections match, and you can expect similar settings inside those sections.
Introducing the types of settings
Once you are inside each section, you’ll find settings that are easy to use.
Depending on the section, these settings will let you:
- Change the font size
- Change the text color
- Remove certain sections of the website
- Upload an image
- Select a layout option
- The list goes on and on
We will learn to use some of these settings in the upcoming exercises.
The Preview panel is smart.
I am calling it smart because it provides an edit icon for some parts of the website.
Inside the preview panel, if the edit icon (pencil icon) shows up when you put your cursor over a particular element, it means that the element is editable via the “Customize” screen.
And if you click on the edit icon, you’ll be directly taken to the customization settings related to the particular element.
For example, when I clicked on the edit icon for the “Site Title” in the above video, it took me to the settings where I could upload the logo.
The same thing happened when I clicked the edit icon for the entire header.
This edit icon will help us avoid the time we spend searching for settings.
Cool, isn’t it?
So, try to use the edit icon as much as possible to save time.
The Conclusion
Now that you understand how to use the “Customize” screen, starting from the next lesson, we will perform some exercises about how to change:
- The layout of the website
- Fonts of the website
- The font size of the body text
And from the next module, we will learn how to customize the website’s header, footer, and sidebar.
 © 2026 UsableWP. A project by Naresh Devineni.