Exercise: Using Google Fonts for our website
The website I am building a software-related website and a start-up.
So, I have decided to go with the following Google Fonts:
- Source Sans Pro – For the body text
- Inter – For the headlines
Changing the font of the body text
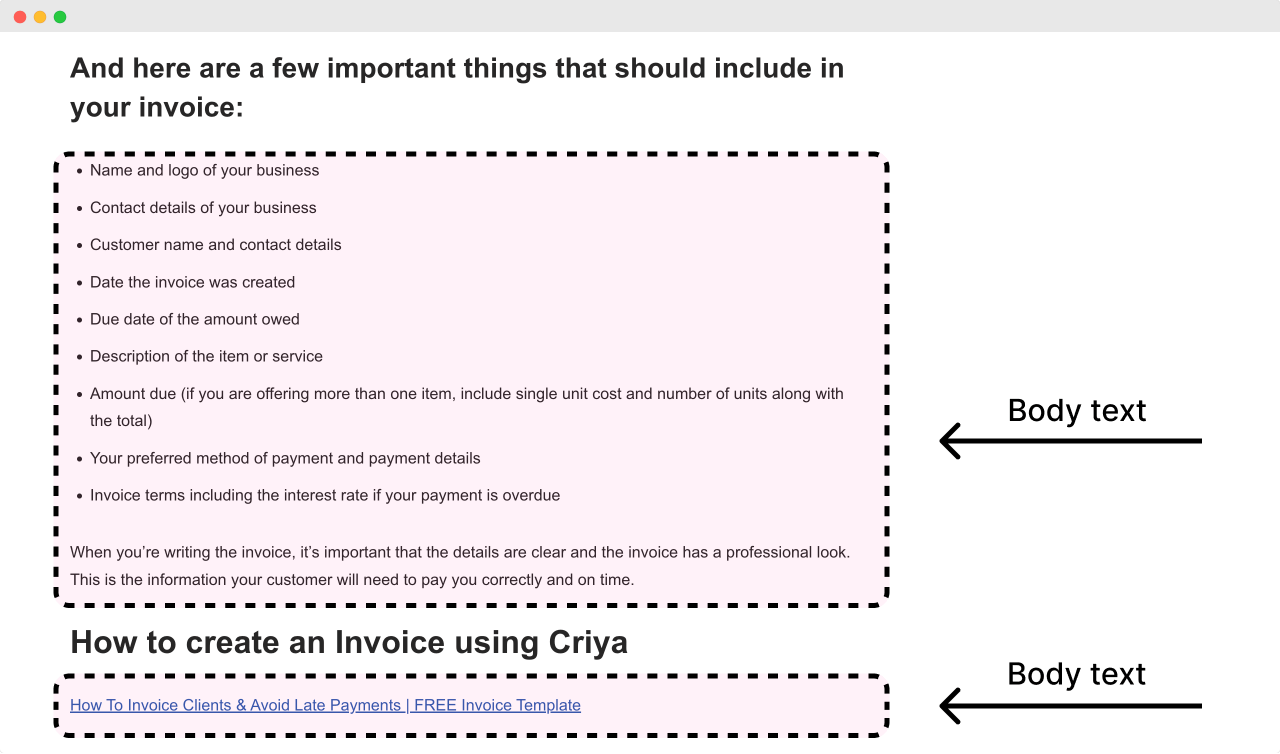
Anything that is not a headline is considered body text.
For example, the content of your blog post can be called body text:
Similarly, the menu on the header and the text inside the sidebar are considered body text too:
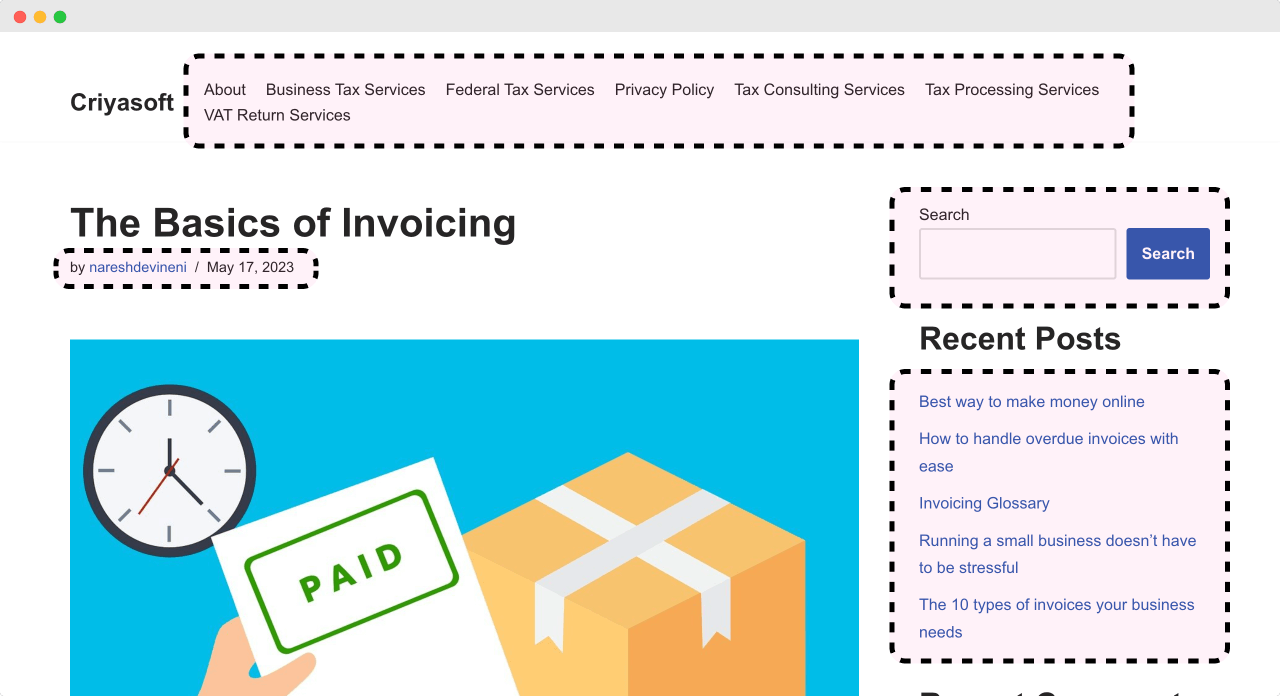
The body text is usually displayed in small font sizes such as 16px
So, you must choose a legible font for the body text.
This is why I prefer the “Source Sans Pro” font. It is excellent for displaying text in small font sizes.
But feel free to explore other fonts that fit the purpose of your website.
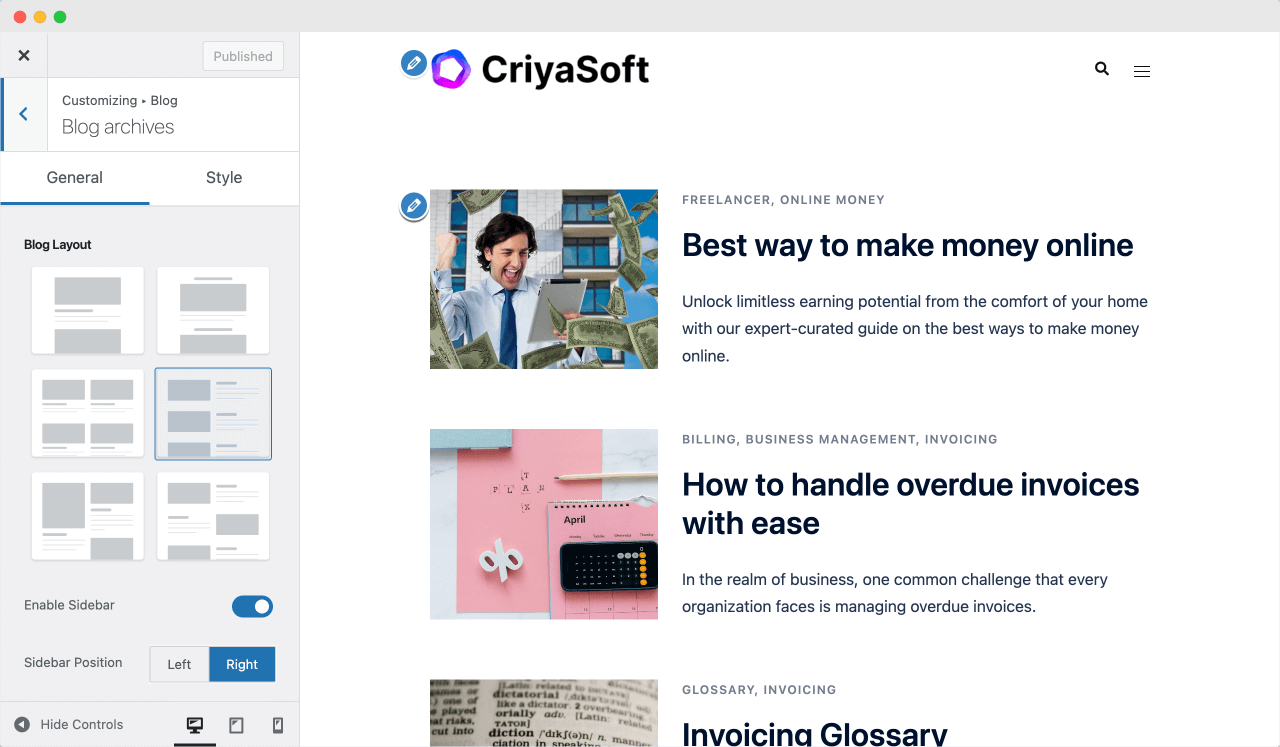
Anyway, to use “Source Sans Pro” or any other Google font for your body text, go to:
Customize Screen -> Typography -> General
Then, for the “Font Family” option, choose the “Source Sans Pro” font.
Finally, click the “Publish” button to save the changes.
That’s how themes make it easy for you to use any Google Font.
Amazing, isn’t it?
Challenge: Changing the font of the headline text
Because we changed the font using the “General” section, the “Source Sans Pro” font also got applied to the headlines.
But for the headlines, I want to use the “Inter” font.
So, here is your challenge.
Go inside the “Typography” section of the “Customize” screen and change the headlines font to use the “Inter” font or to something other Google font that you prefer.
Solution:
Go to:
Customize Screen -> Typography -> HeadingsThen, for the “Font Family” option, choose the “Inter” font.
Finally, click the “Publish” button to save the changes.
There we go!
From my perspective, the site’s typography looks so much better now.
The Conclusion
Anyway, that’s how you change the fonts on your website.
Most themes will provide similar typographic options inside the “Customize” screen.
So, if you’re using a different theme, you have to find the right setting, and you’re good to go.
In the next lesson, we will learn how to change the line height of our website’s text.
 © 2026 UsableWP. A project by Naresh Devineni.