Understanding the need for screen options
Changing the number of posts per page
When we are managing blog posts, sometimes it is helpful to view all the posts at the same time.
But by default, WordPress only displays ten posts at a time.
How do we change this number to display all the posts?
This is where “Screen Options” come in.

The “Screen Options” button is at the top-right-hand corner of the “All Posts” screen.
If you click on it, it will open up the “interface modification” settings related to the “All Posts” screen.
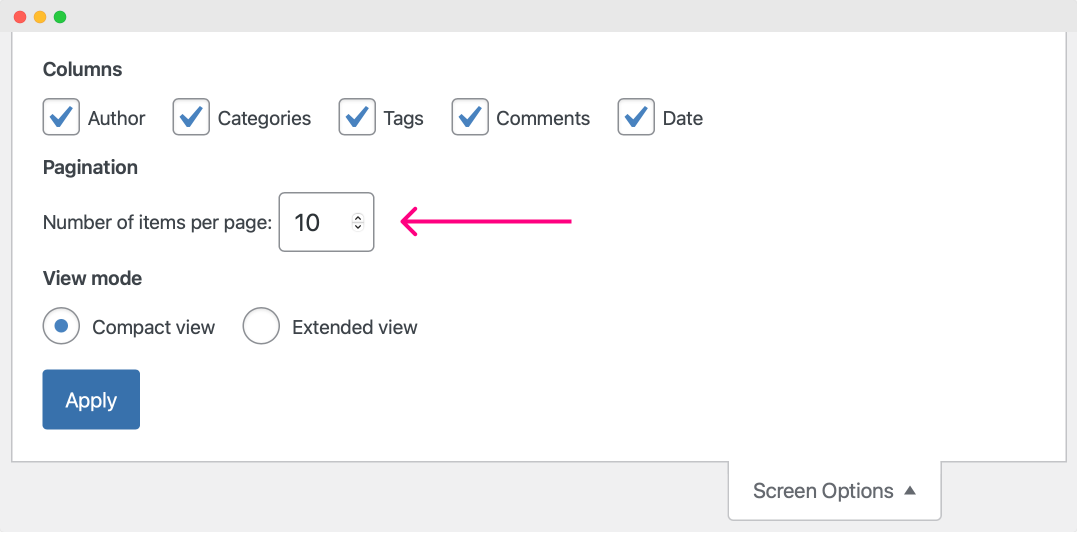
If you notice, there is a setting name called “Number of items per page” and it is currently set to 10.
If you want to display all your blog posts on a single page, change the “Number of items per page” value to 20, 30, etc., depending on your current post count.
Finally, hit the “Apply” button to save the changes.
You should now see all the blog posts on a single page.
In my case, I have published eleven blog posts, so I set the “Number of items per page” as 15.
Now, I can see all my blog posts at the same time.
That’s all.
Next…
The “Columns” setting
If you notice the “Screen Options”, there is another important setting called “Columns”.
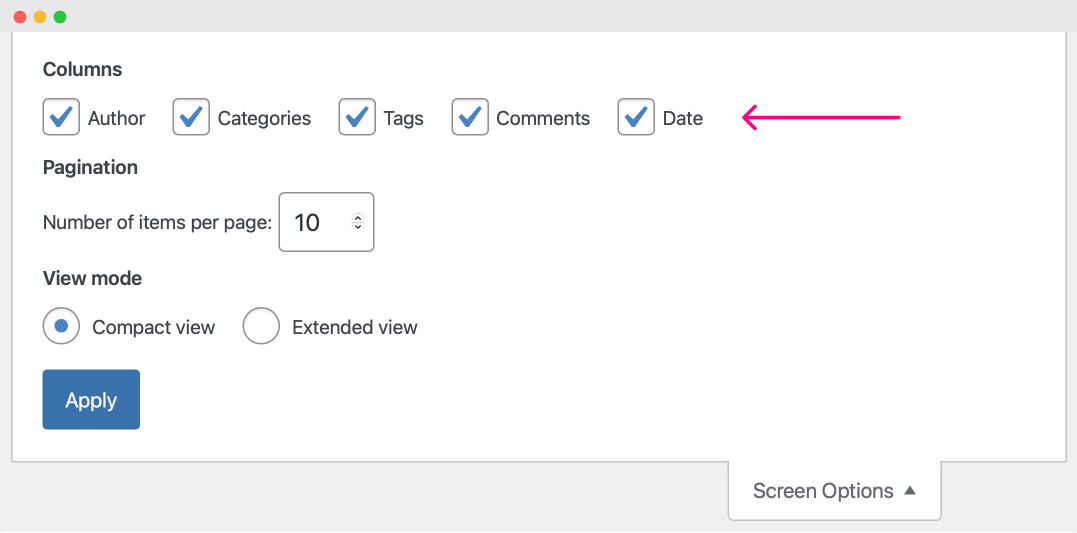
The “Columns” setting will help us show/hide the columns inside the “Post List” table.
For example, currently, for the “Columns” setting, all the following columns are active:
- Author
- Categories
- Tags
- Comments
- Date
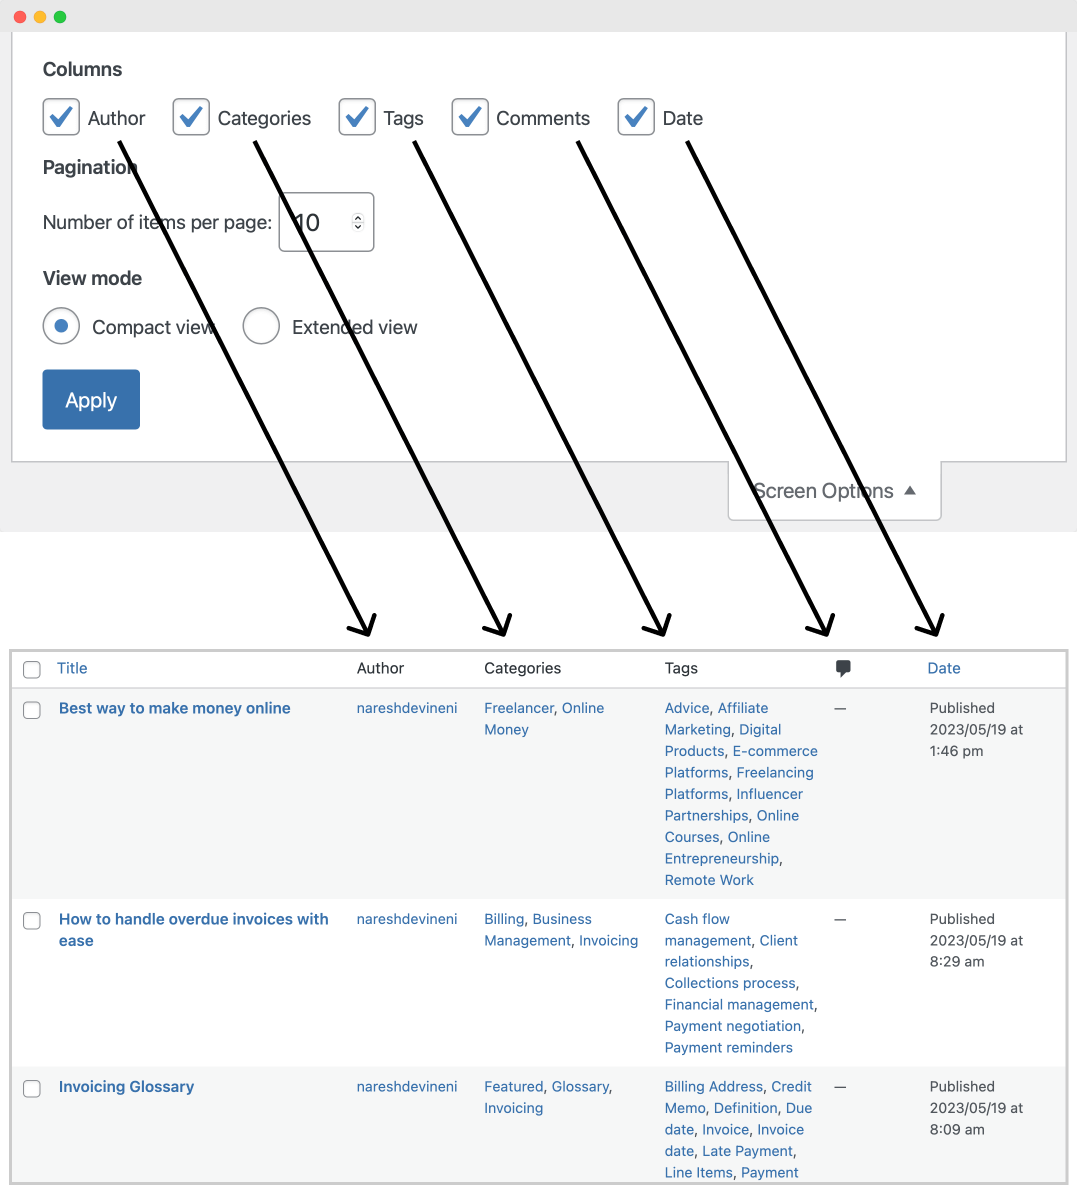
So, the “Post List” table displays all the columns.
But for my case, I don’t want the “Comments” and “Date” columns.
And I can easily hide them by unchecking the “Comments” and “Date” options.
Did you see that?
That’s the power of screen options.
The “Screen Options” is also present for the other screens of the WordPress dashboard and functions similarly for them.
We will talk about them when the need comes.
For now, I think we are in a good place to start performing some real blog management exercises, and we will start doing them in the next lesson.
 © 2026 UsableWP. A project by Naresh Devineni.