Exercise: Restoring a blog post
Intentional or not, with buttons and links everywhere inside the Admin dashboard, it is easy to hit the trashing button accidentally.
And when that happens, don’t worry.
You can quickly restore the trashed blog post.
To do that, go to the “All Posts” screen and click on the “Trash” filter.
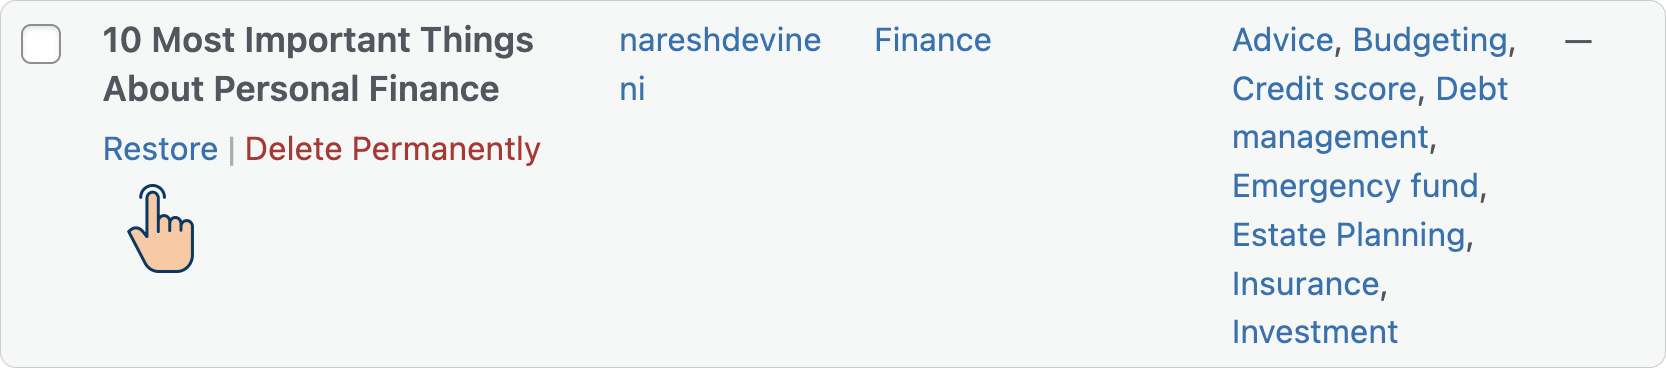
Next, hover your cursor on the blog post to bring up the “Restore” button.
Finally, click on the “Restore” button.
Now happens an interesting thing.
WordPress restores the post in the draft mode
If you remember, every post could have one of these statuses:
- Draft
- Published
- Pending review
The thing is, when a post is trashed, WordPress removes the existing status of the post.
So, when the post is restored, it is set to draft mode irrespective of its previously published status.
Because of this, unless the post was in draft mode before getting trashed, we have to adjust the post to its previous status manually.
In my case, I trashed a post with a ” Published ” status, so I manually changed the status to “Published” to make the post go live again.
That’s how trashing and restoring the posts work.
In the next lesson, we will learn how to perform bulk actions on our blog posts.
 © 2026 UsableWP. A project by Naresh Devineni.