How to install a premium plugin
Installing a premium plugin is slightly different from installing a free plugin.
This is better shown than explained.
In the last challenge, I told you I will go with the Novashare plugin for adding social sharing icons for my blog.
It is a premium plugin and here is how we can install it in four easy steps.
Step 1: Purchase the premium plugin from its official website
We can’t purchase a premium plugin from within the admin dashboard.
We have to visit an external website where the plugin is being sold officially.
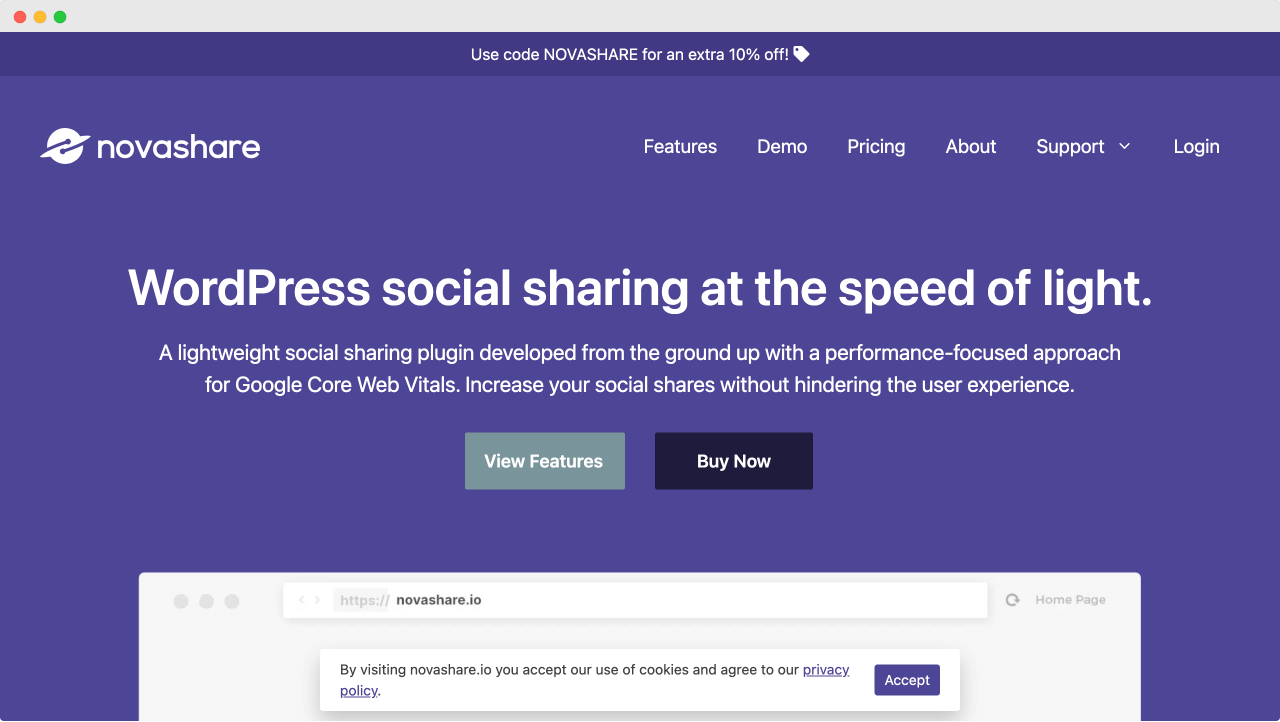
In the case of Novashare, it’s novashare.io.
So, I went to novashare.io and purchased the plugin by clicking the “Buy Now” button.
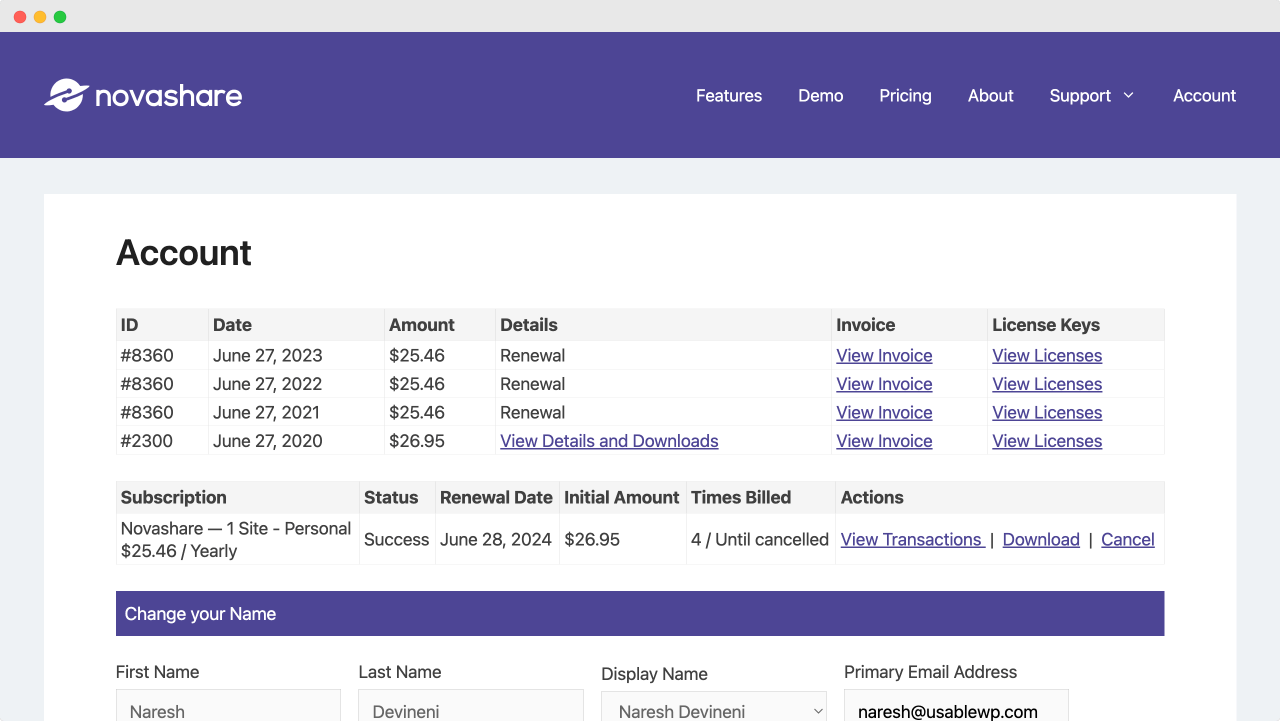
After the purchase, the next step is to download the plugin.
To download the plugin, we must log inside the website where the plugin is purchased.
We have to do it this way because premium plugins can’t be searched and downloaded from the “Add New Plugin” screen.
So, I logged into Novashare’s website and downloaded the plugin.
Step 2: Manually uploading the plugin to the WordPress dashboard
To install and activate a premium plugin, we need to upload the plugin to our website manually.
We must go to the “Add New Plugin” screen to do this.
Yep, the same “Add New Plugin” screen that we use to install free plugins.
Only this time, we will use it to upload the premium plugin.
So, go to:
Admin Dashboard -> Plugins -> Add NewAnd click on the “Upload Plugin” button.
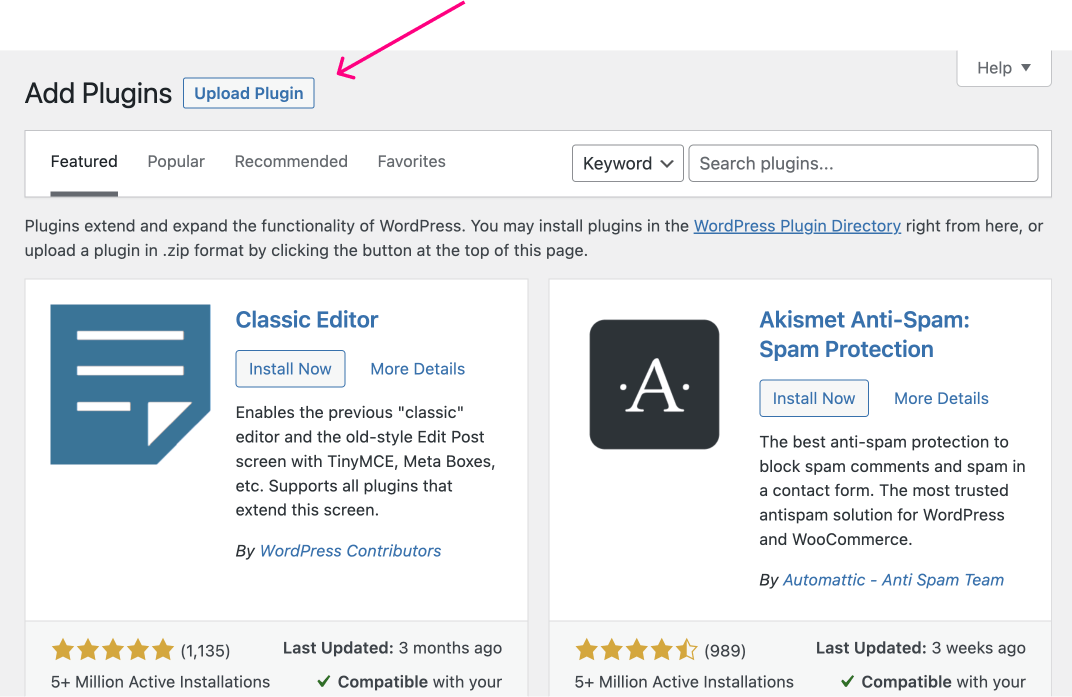
This will bring up the form for choosing the plugin file from your computer system.
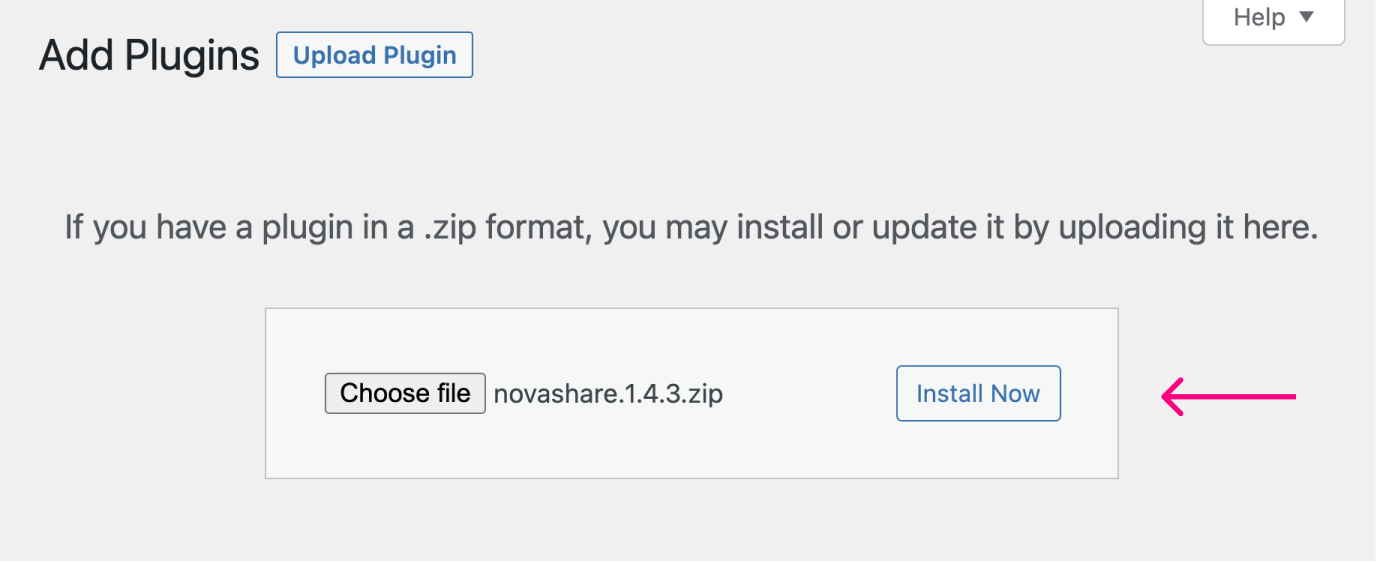
Click the “Choose File” button, select the plugin’s zip file, and click the “Install Now” button.
Step 3: Activate the premium plugin
Once the plugin is installed, you’ll be redirected to the screen where you can “Activate” the plugin.
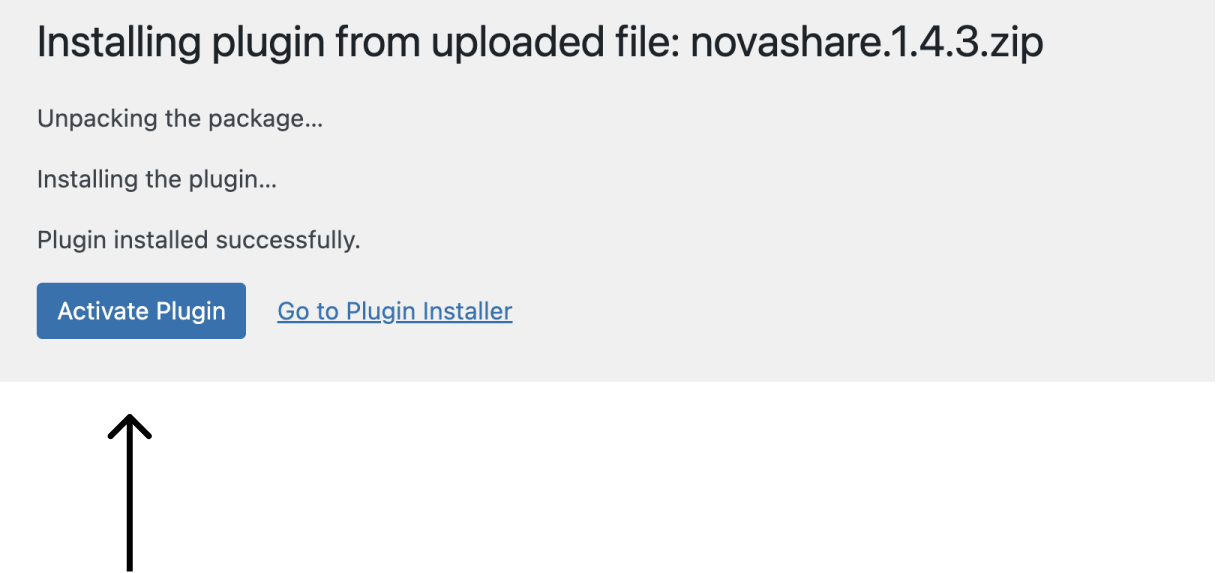
If you see the “Activate Plugin” button, it means the installation is successful. So click on it to activate the plugin.
Step 4: Activating the plugin’s license to receive future updates
Unlike installing a free plugin, we need to perform one additional step to finish activating the premium plugin.
And that is, we need to activate the license for the premium plugin.
Here is how you can do it in four easy steps:
Step 1: Find the “License key” by logging into the site where you have purchased the plugin and copy it
Step 2: Comeback to the admin dashboard of your WordPress website
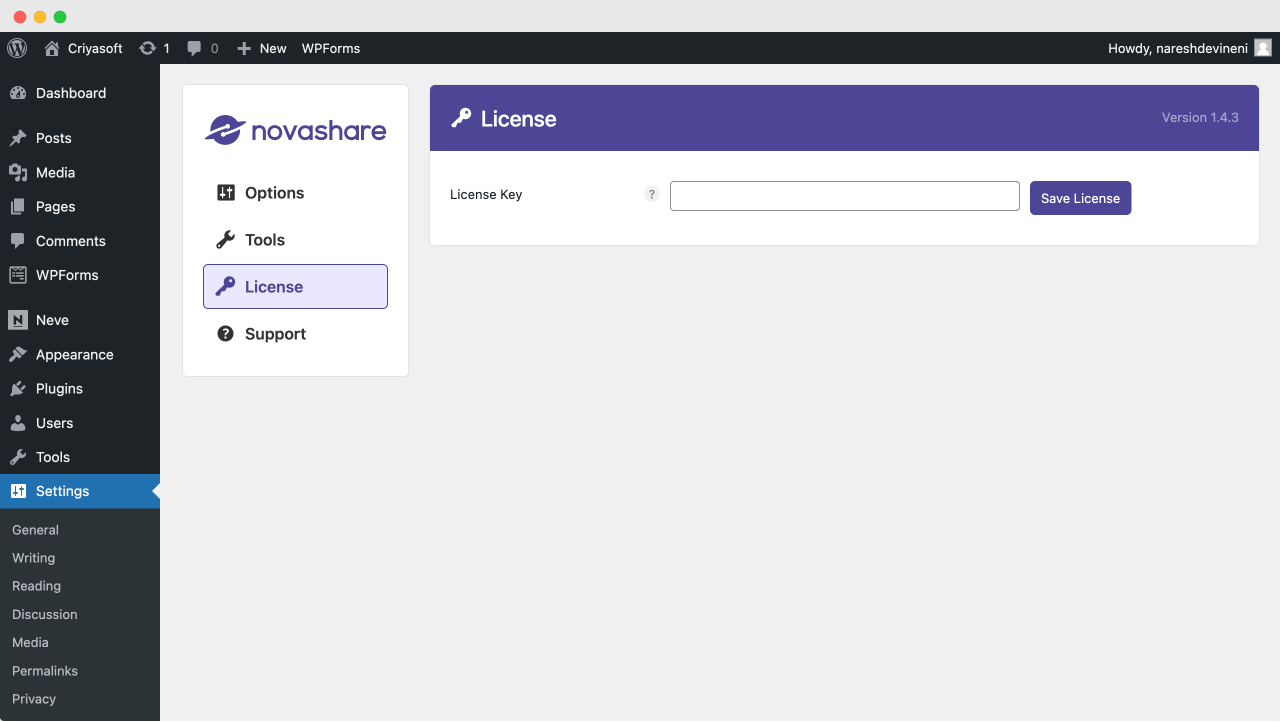
Step 3: Access the settings page of the premium plugin to which you’re trying to activate the license for
Step 4: Find the “License Key” setting and paste the license inside it.
Finally, save the changes.
This process could slightly differ from plugin to plugin, but the overall process is similar.
But why do we need to activate the license though?
The thing is, be it a free plugin or a premium plugin, a plugin is like just any other software.
The plugin developer will release newer versions of the plugin every now and then by fixing bugs and adding new features.
For a free plugin that is installed, if there is a newer version, WordPress will notify us and let us download the more recent version of the plugin easily.
But if it is a premium plugin, unless we activate the license key, WordPress will not let us download the newer version of the premium plugin.
It will just say that the download failed:
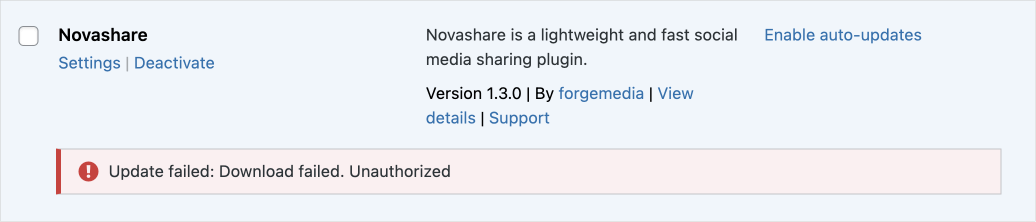
So, we must activate the license key.
What if we don’t update the plugins at all?
If we don’t update, chances are our site will get hacked.
There are many hackers on the internet waiting to exploit older and vulnerable plugins.
Knowing this, the plugin developers will keep releasing newer versions with security fixes.
So, performing these updates is important, and there is no what if 🙈
Sorry to say that.
Anyway, we will learn how to update the active plugins in the next lesson.
 © 2026 UsableWP. A project by Naresh Devineni.