How to copy and replace the content inside the blocks
Once you start building complicated layouts inside the Block Editor, you’ll realize that you are creating the same kind of layout again and again.
And honestly, it could become tedious if you are adding a lot of content.
The Testimonials section we are currently building is the best example of this.
You need to repeatedly add the same kind of content for the remaining columns.
But don’t worry.
When building similar content across multiple columns, we can speed up things using the “Copy, Paste, and Replace” technique.
The Copy, Paste and Replace technique.
We can easily implement this technique in three easy steps:
Step 1: Copy the blocks
What follows is the only reliable way to copy content inside the block editor.
Come on, open up the “List View” sidebar and access the first “Column” block inside it:
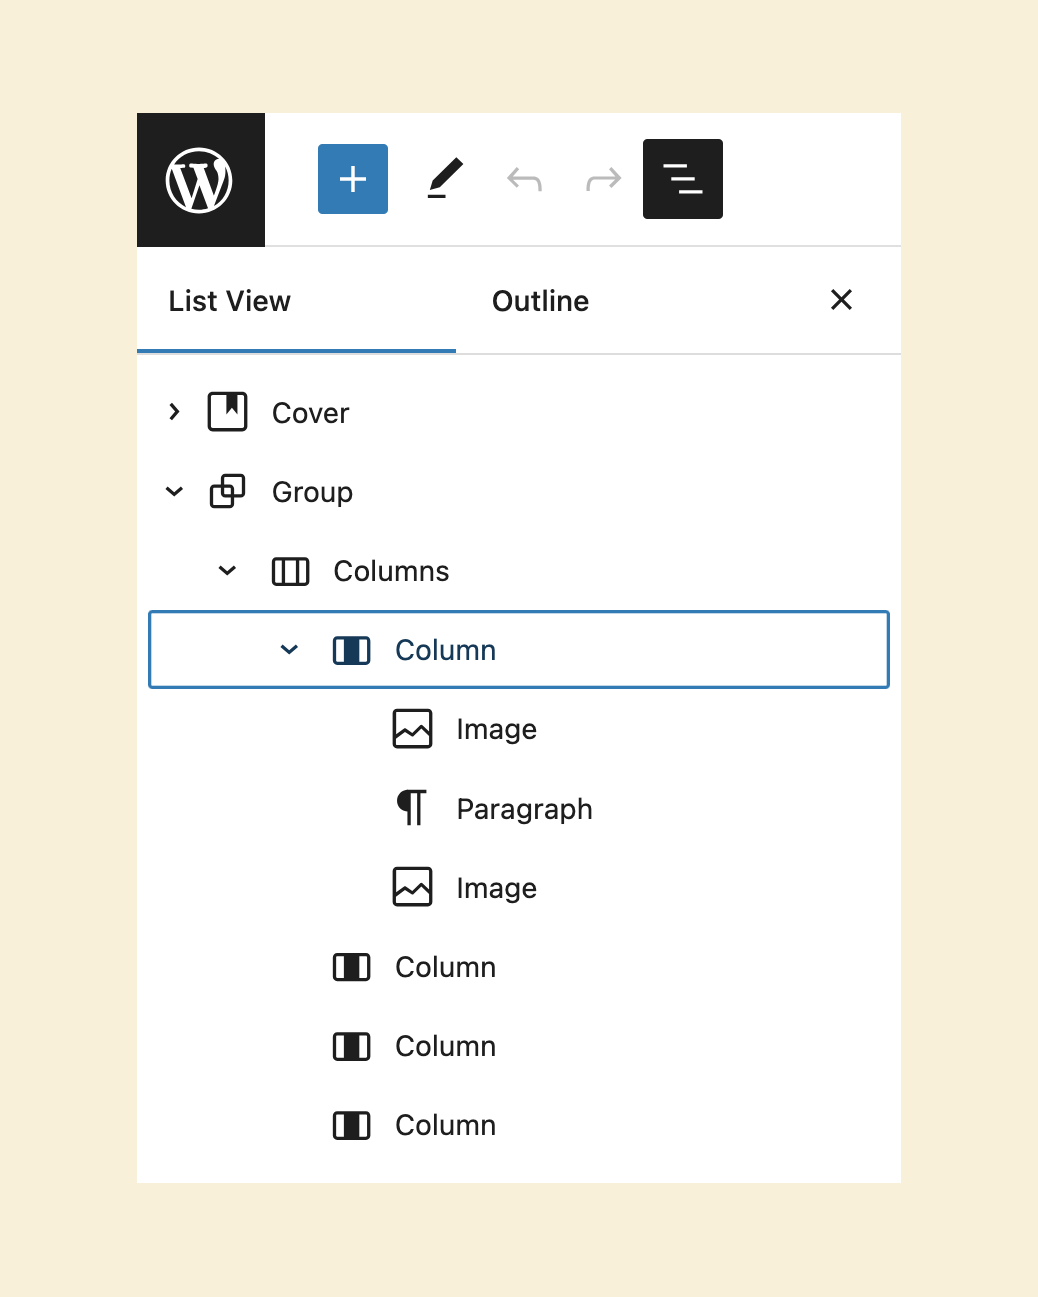
Next, we need to copy all three blocks inside the first column.
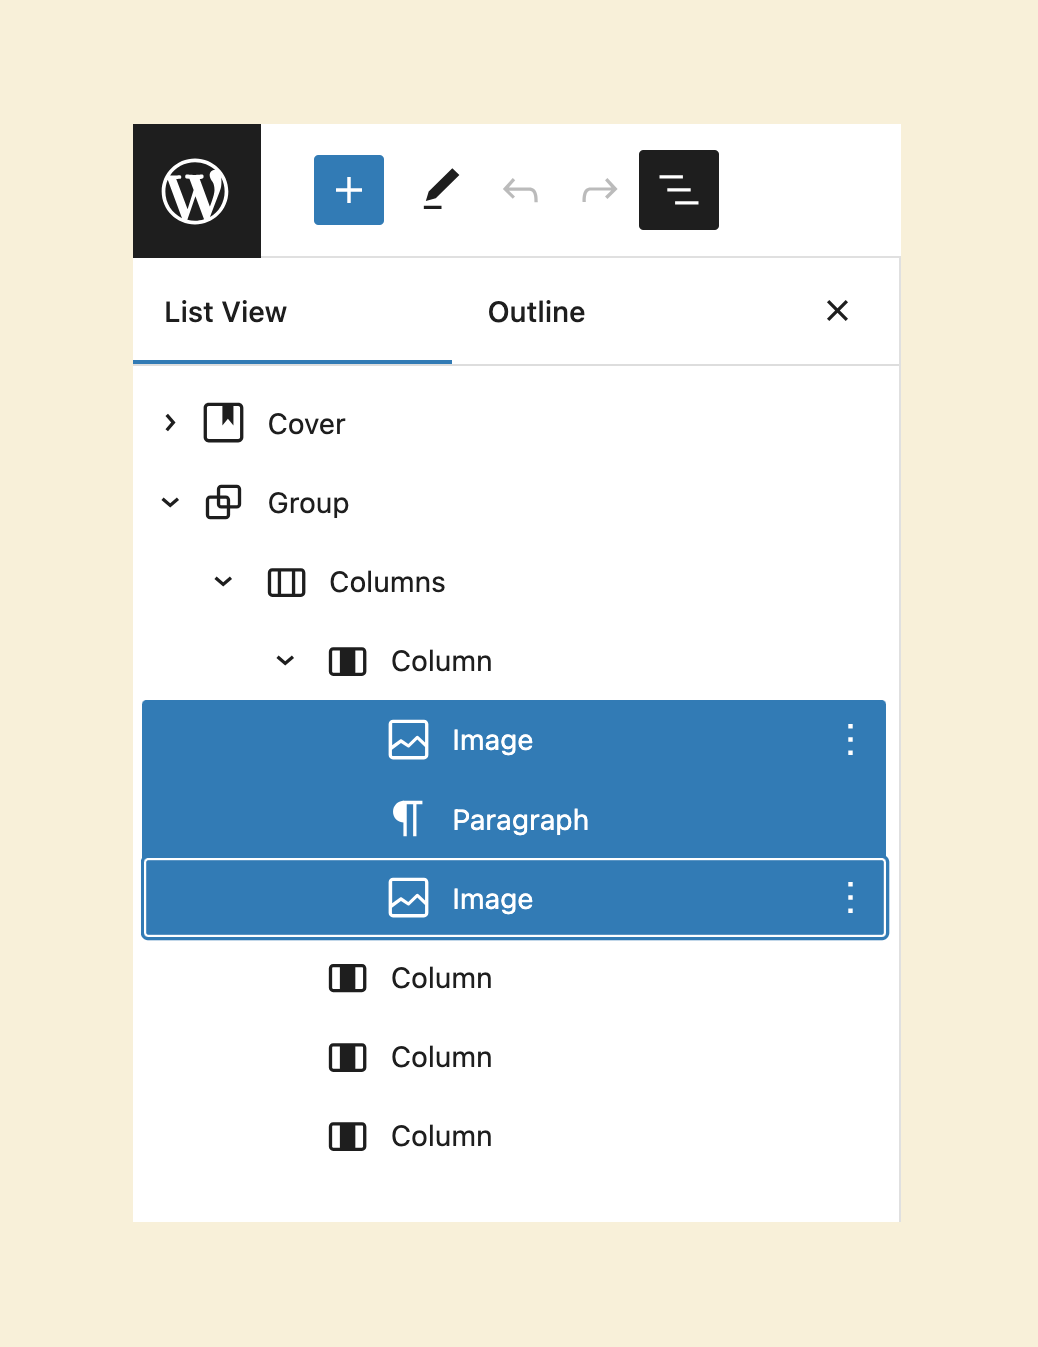
To do this, click on the first image block and then select the remaining two blocks by holding the shift key on the keyboard.
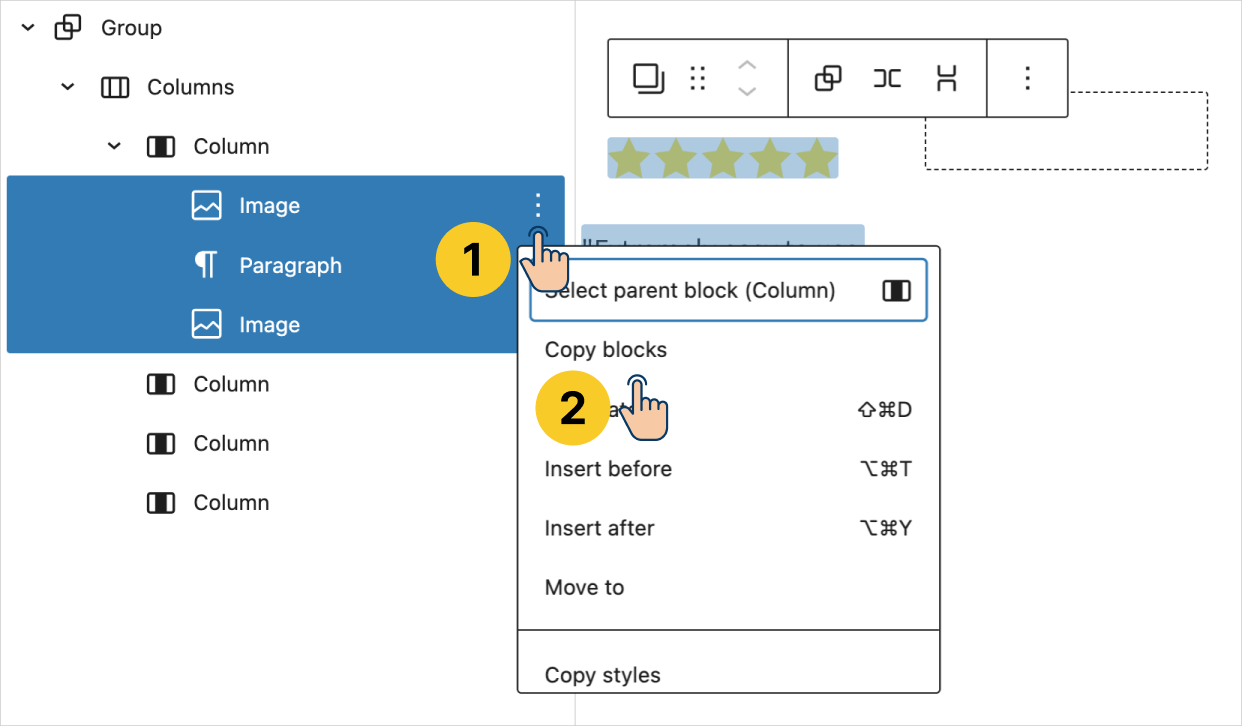
Next, click on the “More options” icon for any of the selected blocks and then click the “Copy blocks” option.
Step 2: Paste the blocks
To do this:
- Click on the “Add Block” button inside the second “Column” block
- And then add the “Paragraph” block
- Finally, paste the previously copied blocks inside it
When pasting blocks inside the Block Editor,
we must create a “Paragraph” block first because it is the only block that allows us to paste other blocks inside it.

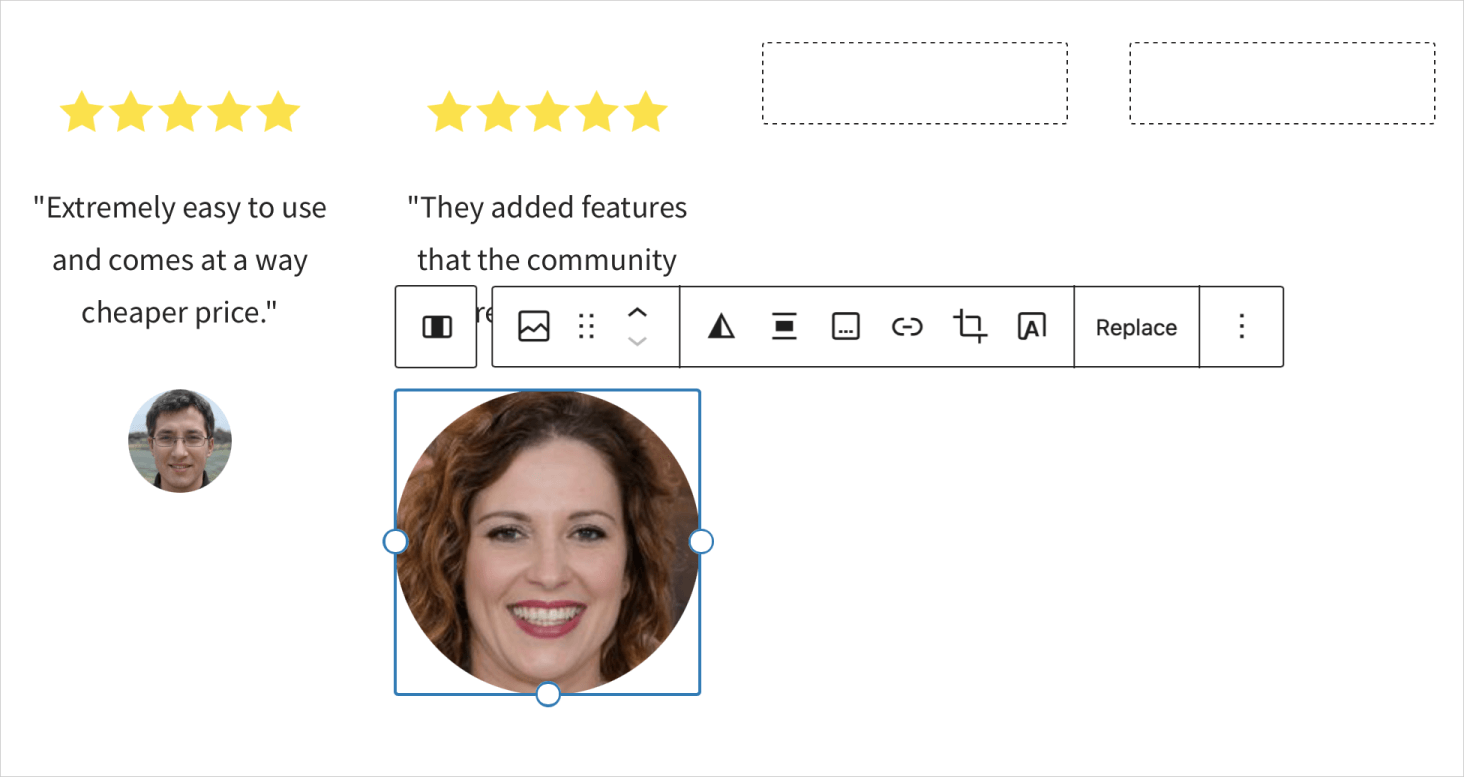
Step 3: Replace the content
After the paste, the content inside the second column looks exactly the same as the first column.
We must fix this by replacing it with content specific to the second column.

Now, don’t mindlessly replace everything.
If you compare the content of the second testimonial with the first one, only the quote and author image are changing.
The five-star image is the same. So we don’t have to re-upload the star image.
Anyway, to replace the quote, remove the existing quote and type the new one.
To replace the image, select the image and use the “Replace” button.
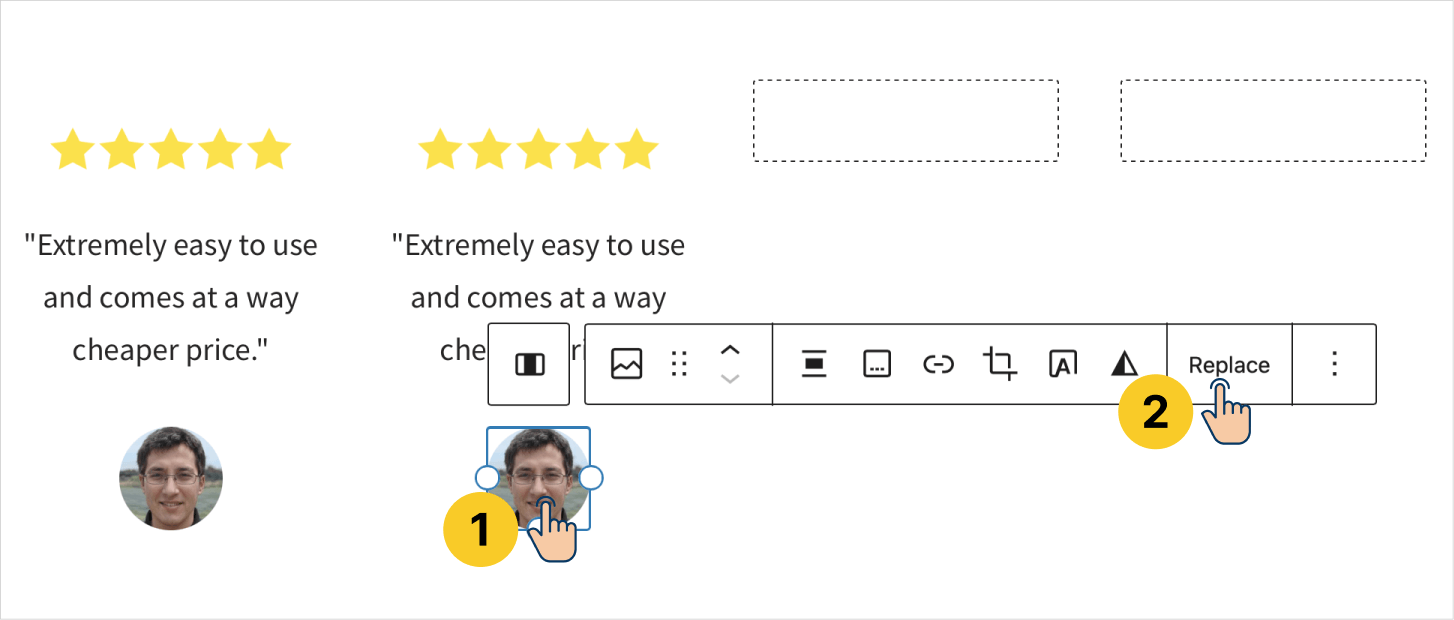
When you replace the image, you have to adjust the width of the image again.
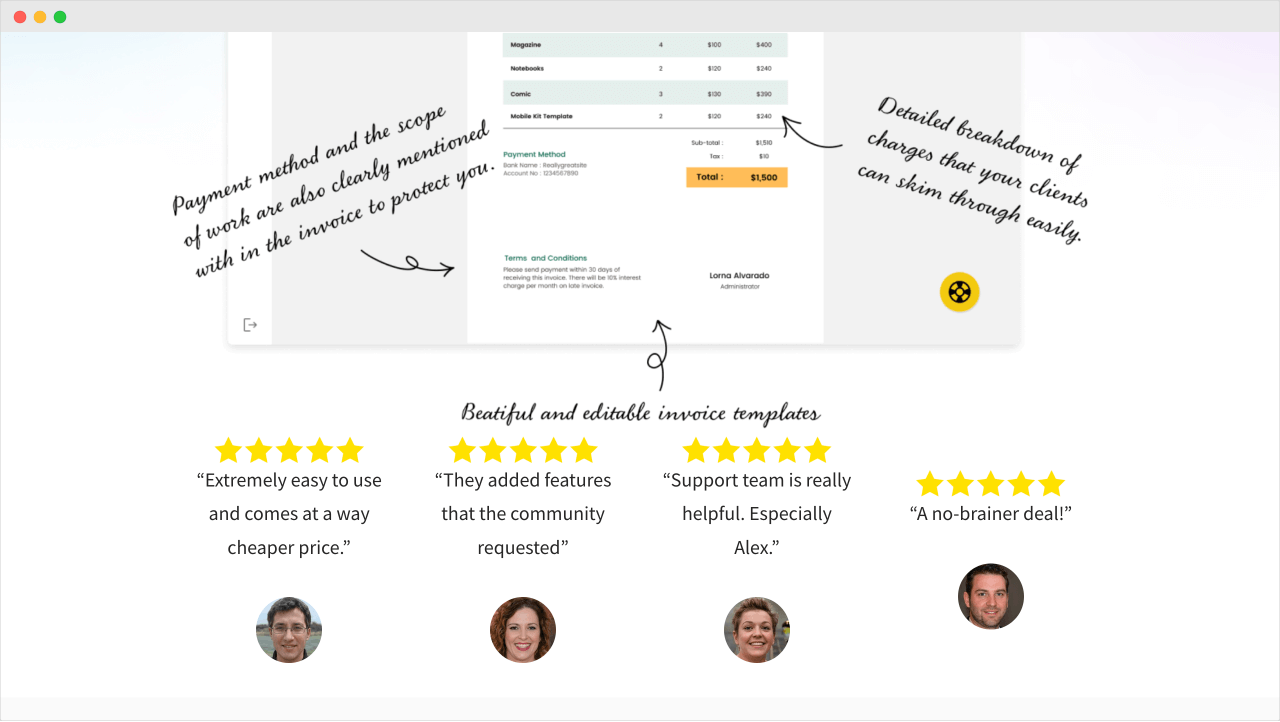
Finally, repeat the same process for the remaining two columns to finish building the testimonials section.
Here is how my finished testimonial section on the frontend:
Woah! Woah!
There are many spacing issues here, and the font size of the quotes is too big.
You already know how to fix these issues, right?
So, I have a challenge for you in the next lesson.
 © 2026 UsableWP. A project by Naresh Devineni.