Building the content for the sidebar using the blocks
Here is the content I want to build for my website’s sidebar:
- A section that promotes the download of a fictional software
- An image that promotes an upcoming online event

And here is what my current sidebar looks like:

I deleted the search bar during the last lesson.
But the sidebar still contains the “Recent Posts” and “Recent Comments” sections.
So, here is the plan for building our new sidebar:
- First, let’s remove the “Recent posts” and “Recent Comments” sections from the sidebar because they are not part of the design
- Then let’s create the content that is part of the new sidebar design
Step 1: Remove existing sections from the widget area
Let’s remove the “Recent posts” and “Recent Comments” sections.
First, go to:
Admin Dashboard -> Appearance -> WidgetsNext, make sure the “Sidebar” widget area is open; if not, open it:
Now, here is the thing.
It is not easy to select and delete a particular section in the widget area.
This is because a section is built with multiple blocks.
So, we have to use the “List View” sidebar to delete the blocks reliably.
To open up the “List View” sidebar, click on its button that is located at the top-left-hand-corner of the “Widgets” screen:
Now, as soon as the list view opens up, it displays the widget areas as a list:
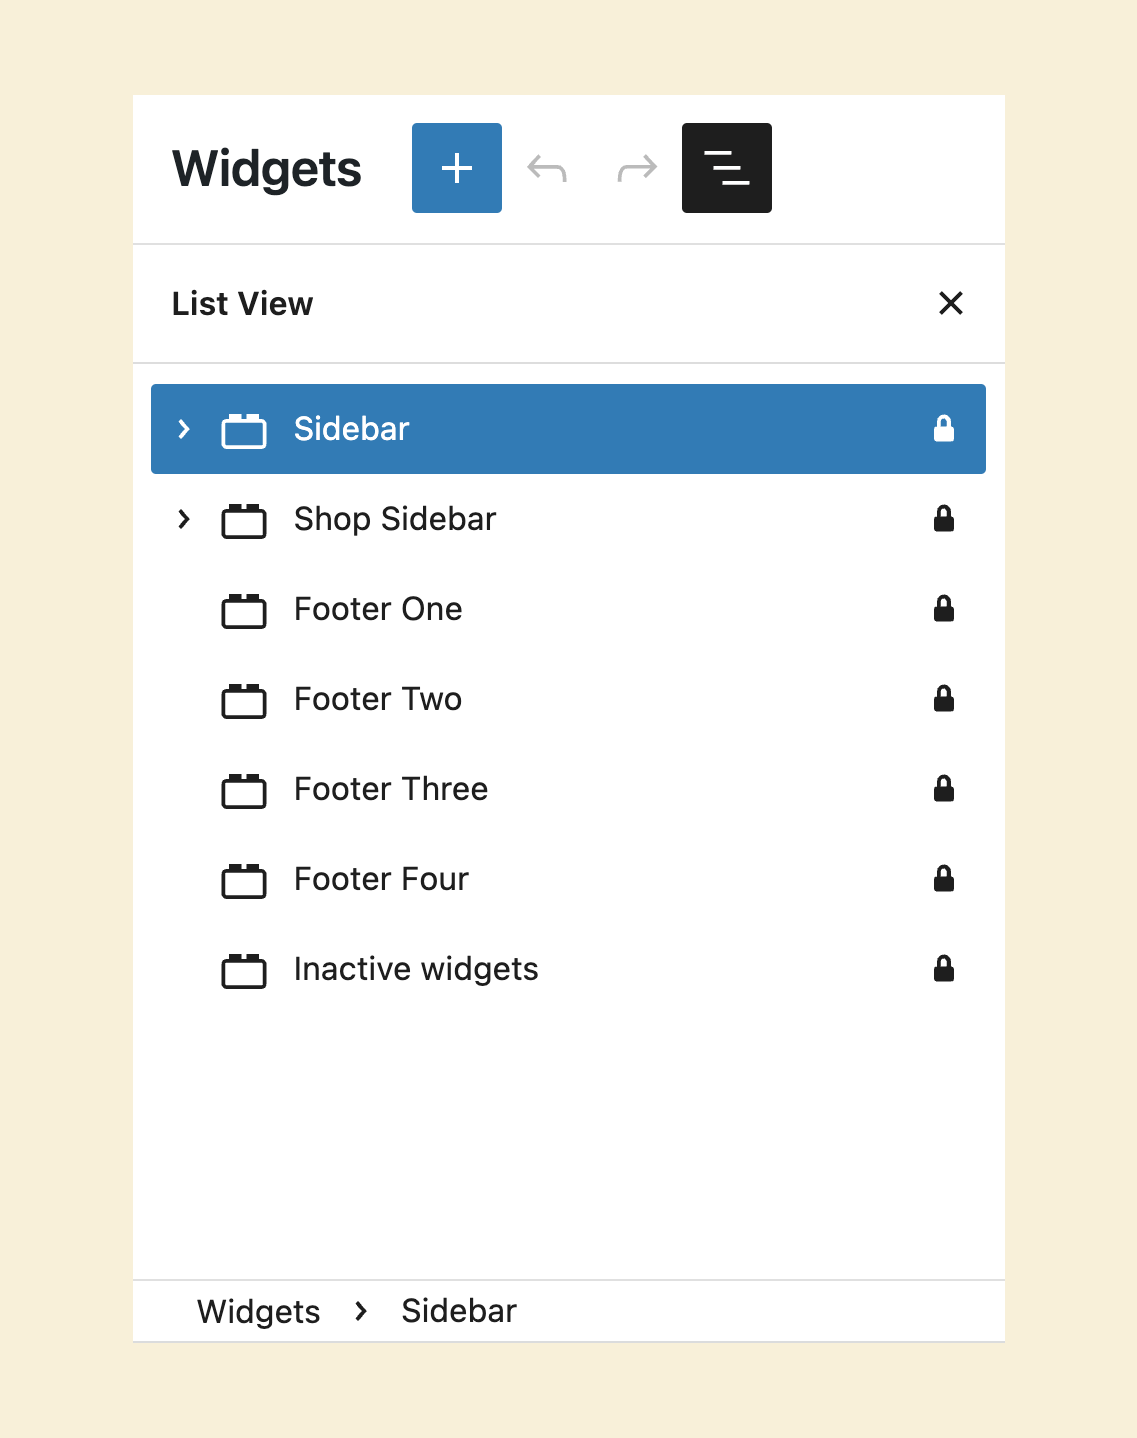
We want to remove sections from the “Sidebar” widget area, right?
So, open up its content by clicking on the little “arrow icon” that is located right before the name of the widget area:
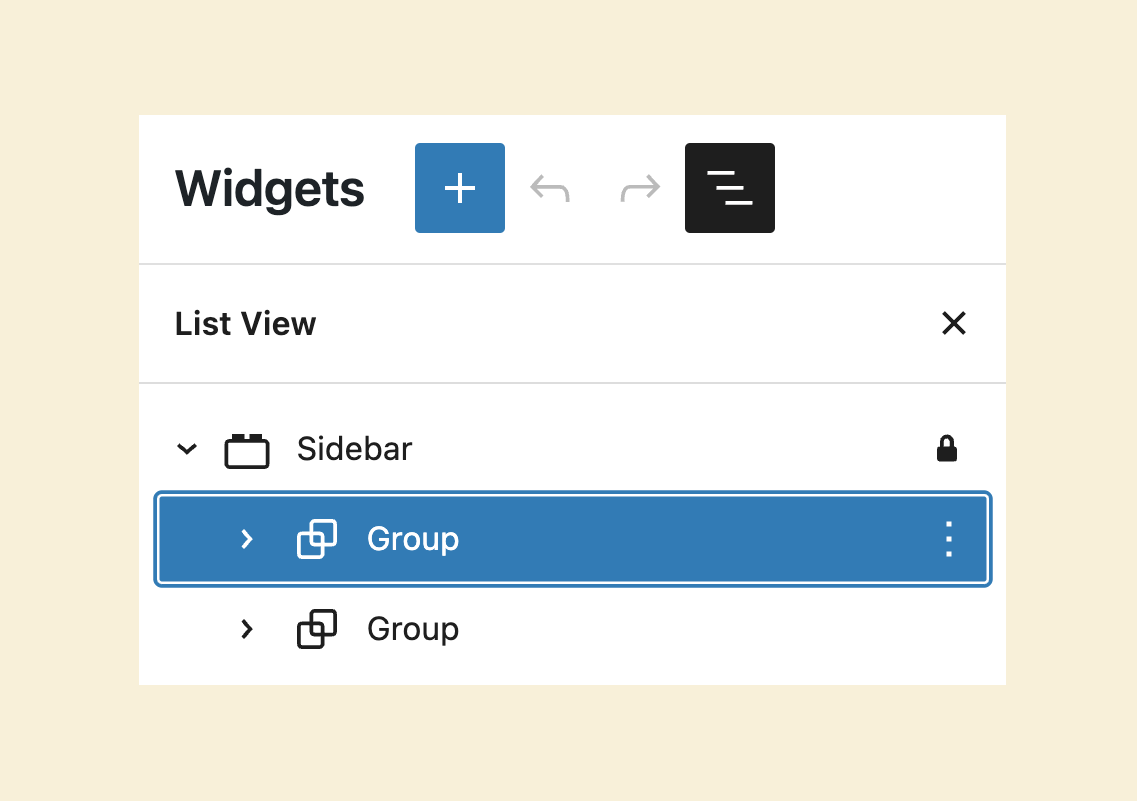
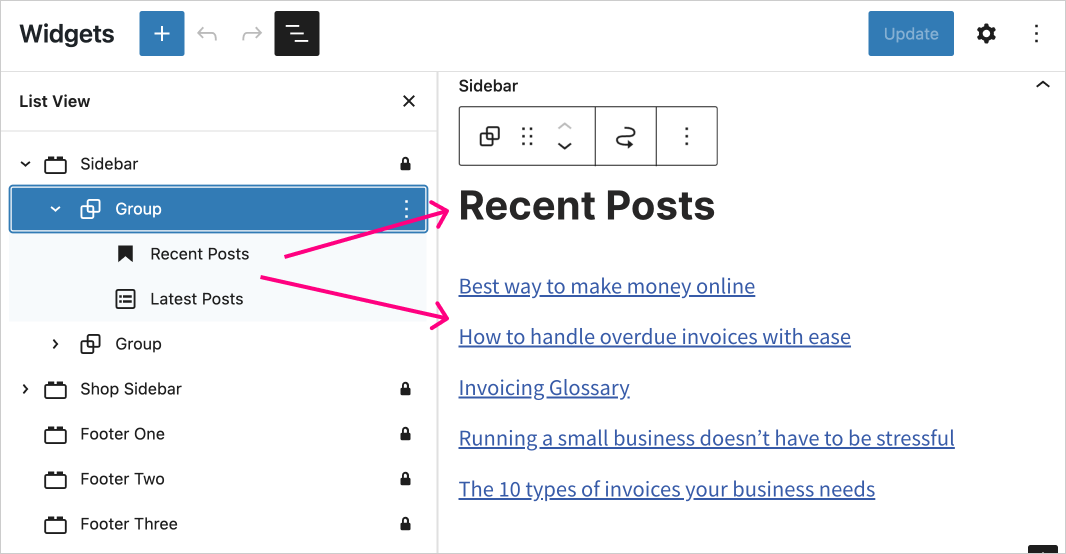
Once you open up the widget area, you’ll see two “Group” blocks.
The first “Group” block represents the “Recent Posts” section inside the sidebar.
The second “Group” block represents the “Recent Comments” section.
So, let’s delete these two groups of blocks to remove the “Recent Posts” and “Recent Comments” sections from the sidebar.
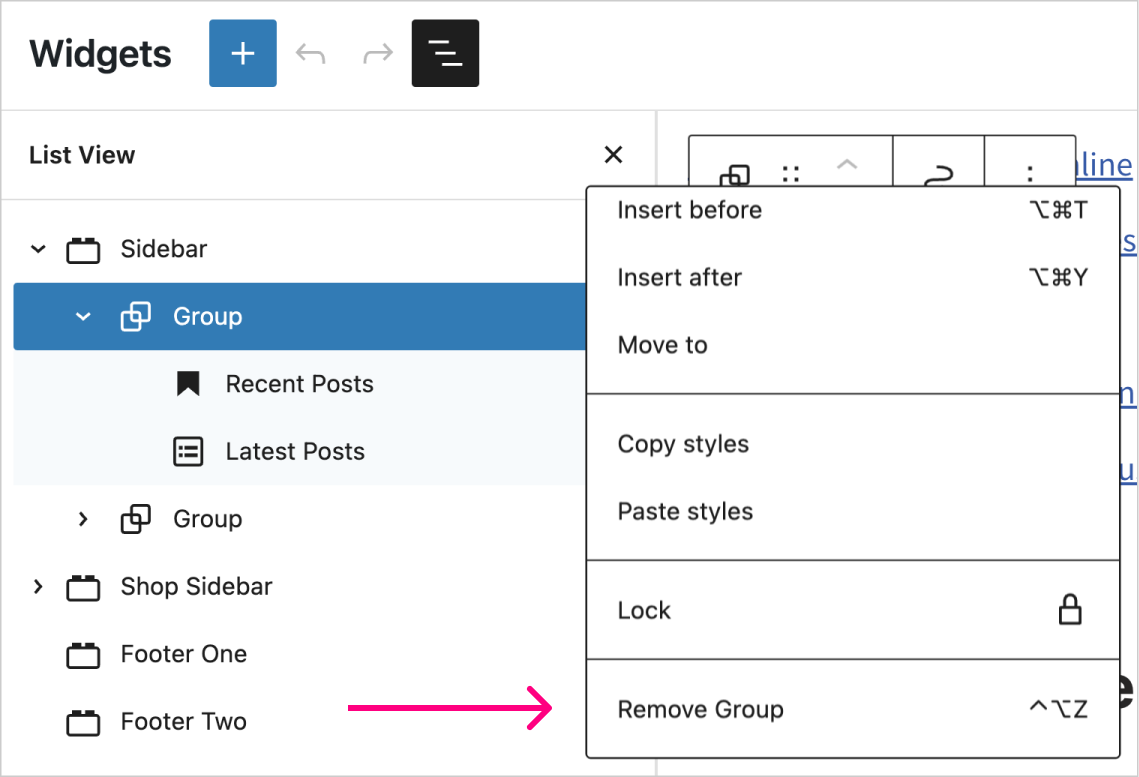
As you can see in the video, to remove any block, click on its “three dots” icon to bring up its options and then click on the “Remove Block” link.
Here is how the “Sidebar” widget area looks after all the existing sections are removed from it:
Step 2: Building the new sidebar content
You already know how to use blocks to create the blog post’s content.
Using the “Sidebar” widget area, creating the content for the sidebar is no different.
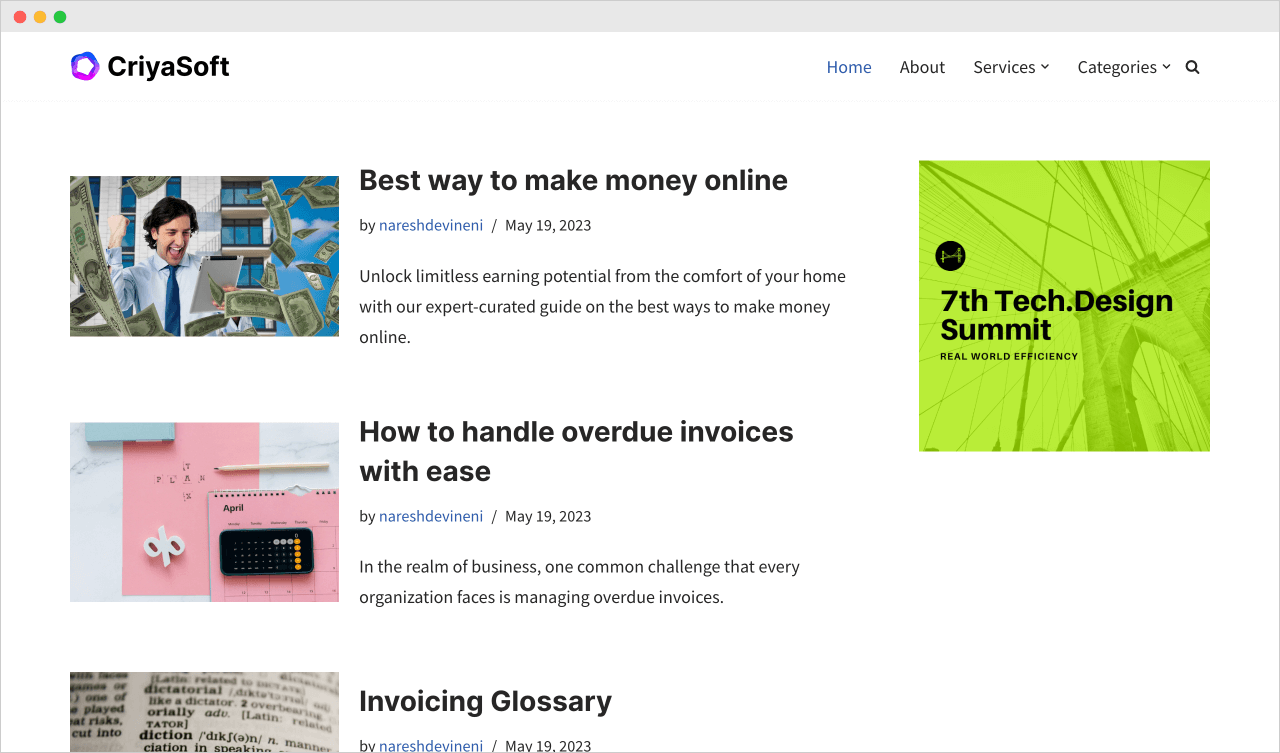
First, I want to add the following image to the sidebar:

If you are building a dummy website by following along with me, use the above image.
But if you’re building your own website, feel free to follow along with your own images and content.
Anyway, to add the above image to the sidebar:
- Click on the “add block” button inside the “Sidebar” widget area
- Choose the “Image” block and upload the image
- If you want to make the image clickable, select the image and use the “Insert Link” option to provide the URL
- Save the changes by clicking on the “Update” button
That’s all.
Here is how the sidebar looks on the frontend:
Anyway, feel free to explore what other blocks are available for building the sidebar’s content.
In the next lesson, we will learn how to build a complex sidebar section.

 © 2026 UsableWP. A project by Naresh Devineni.