How to install a WordPress theme
For this course, we will be going with the free version of the “Neve” theme:
 Themeisle
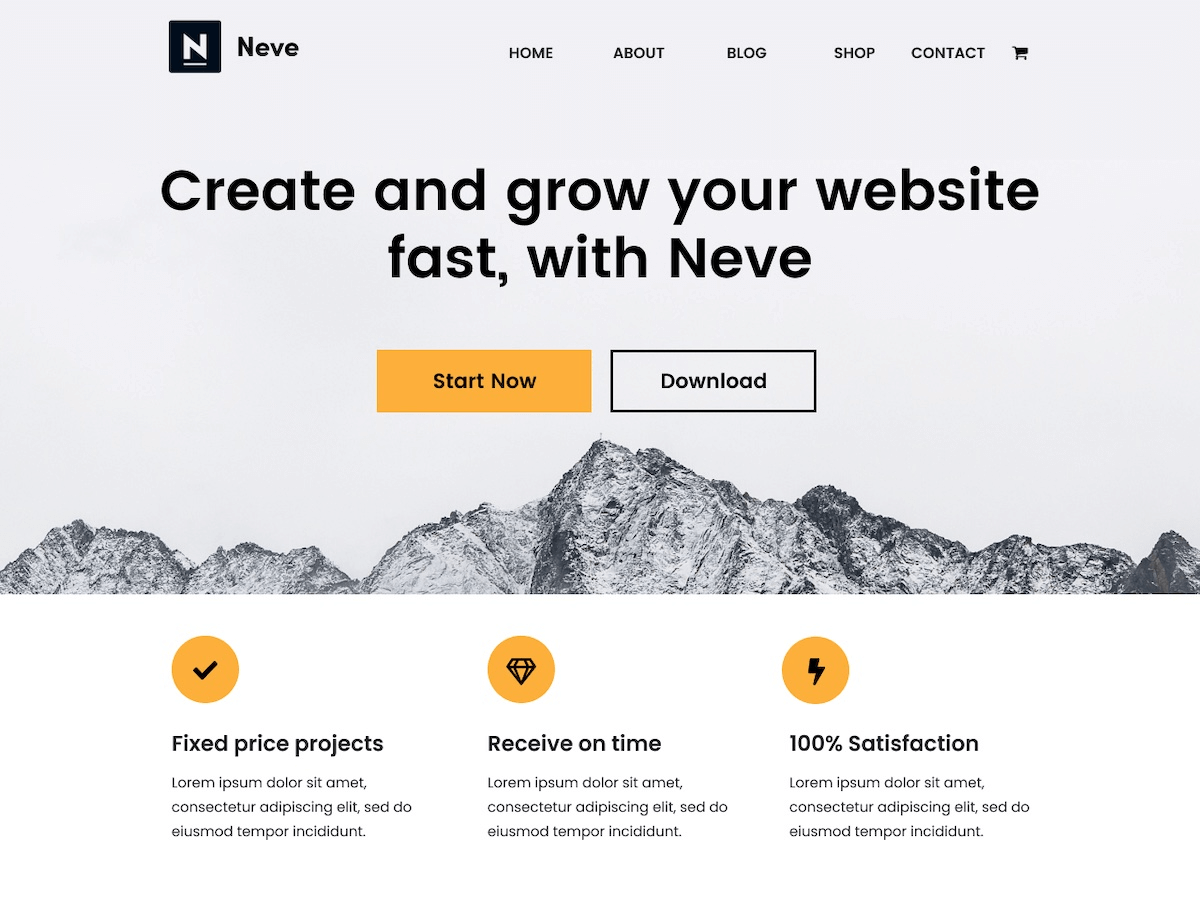
Neve is a classic theme that satisfies all the good qualities of a WordPress theme we discussed so far.
In fact, according to my design taste, Neve is the only free theme with a good design for a blog.
All other themes looked not so great to me.
Go ahead and explore other free blog themes to understand what I mean.
To be on the same page, Neve has:
- Five-star rating
- Been updated less than three months ago
- It looks closer to the design we saw in the last lesson
- Performance benefits. In fact, Neve is one of the few highly performant WordPress themes alongside Astra, GeneratePress, and Kadence themes.
But please remember that the customization options between your theme and the Neve theme will look and function differently.
Anyway, let’s see how to install it in four easy steps.
Step 1: Go to the “Themes” screen inside the dashboard
Make sure you are logged inside the WP Admin and go to:
Appearance -> ThemesThis will bring up the “Themes” screen.
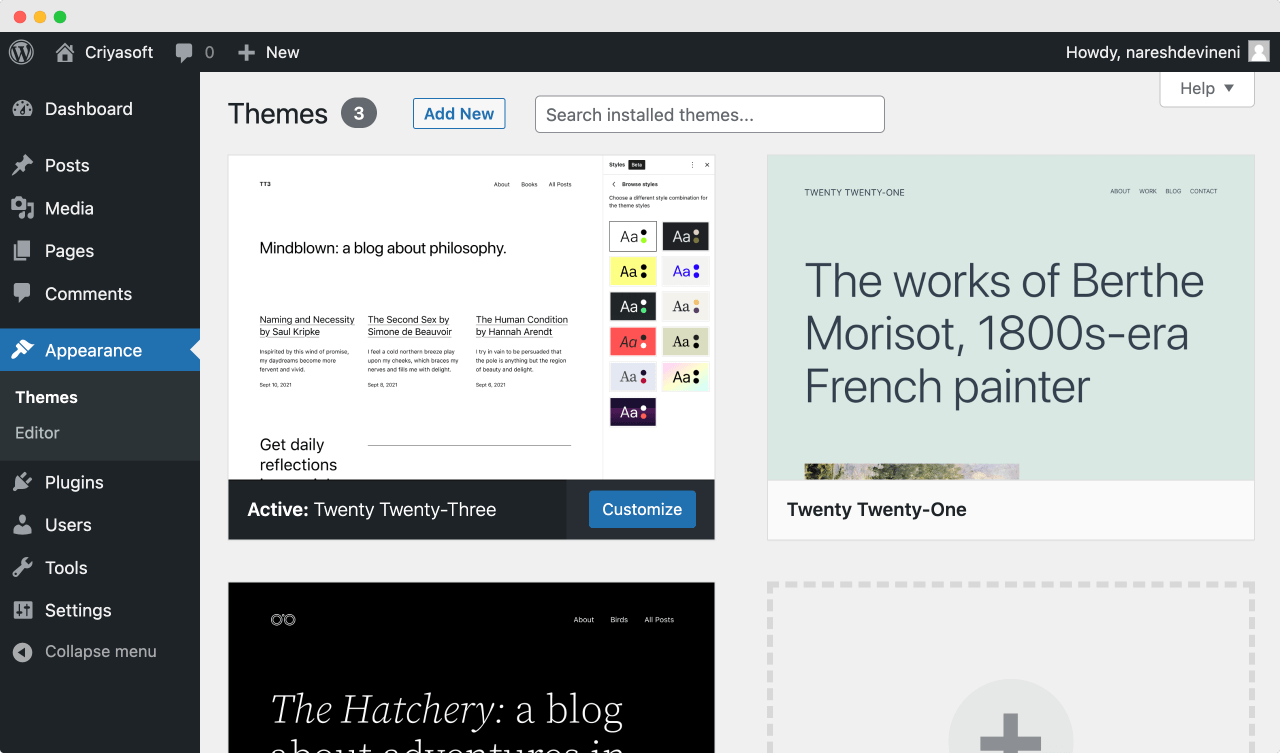
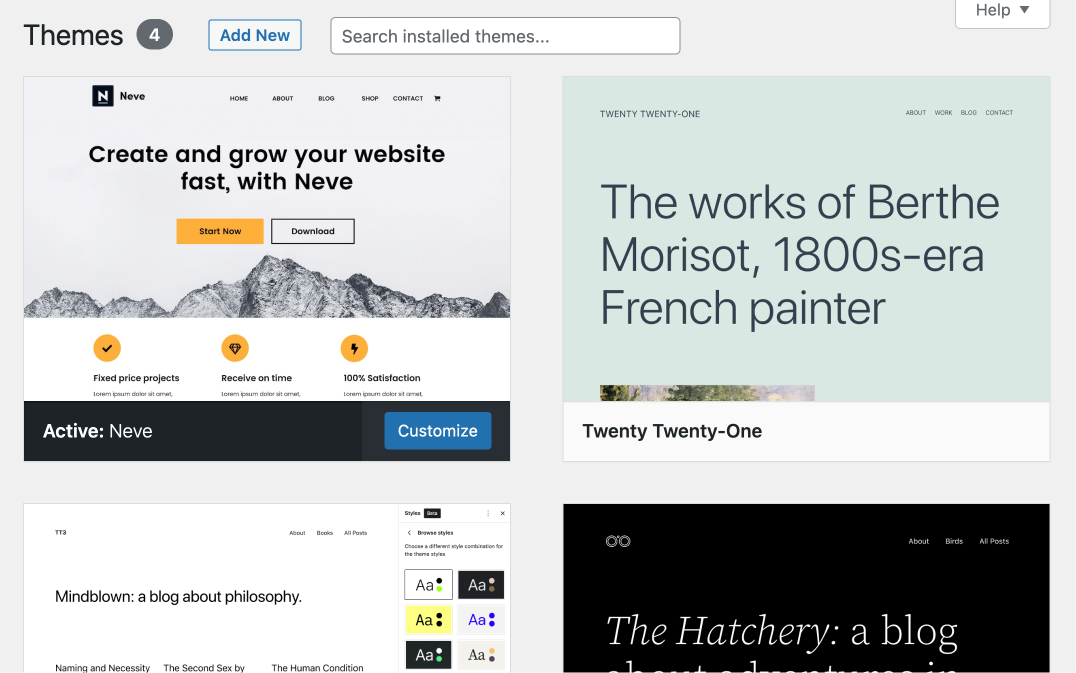
On this “Themes” screen, you can find the currently active WordPress theme alongside other installed themes.
As you can see, the currently active theme is the default “Twenty Twenty-Three” theme.
Next…
Step 2: Click on the “Add New” button
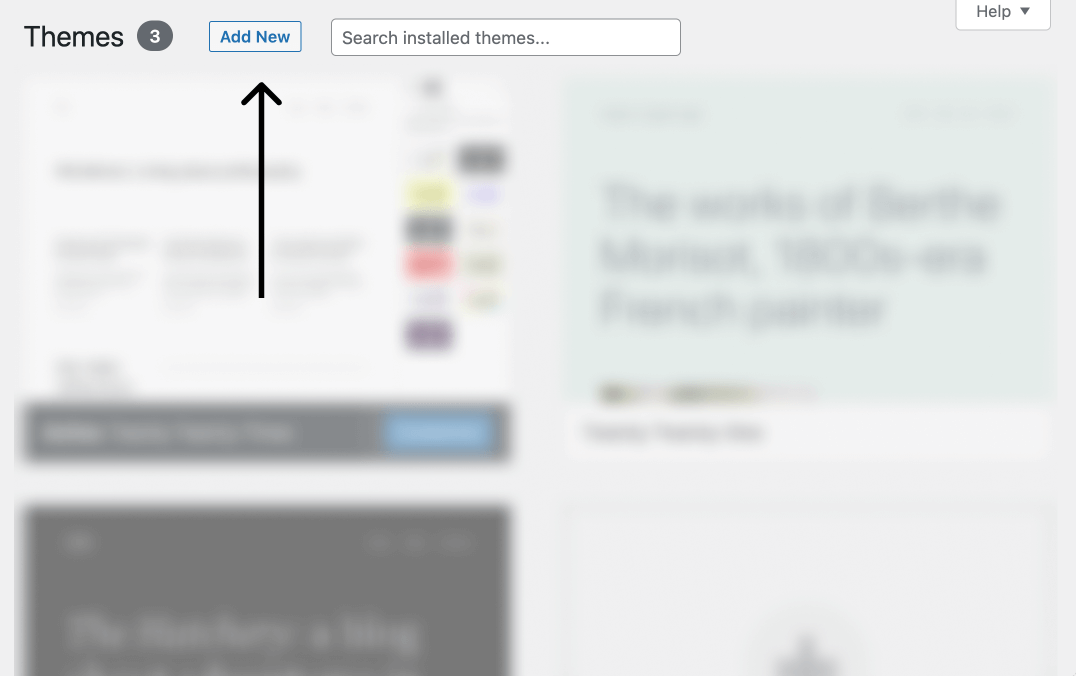
On the top-middle part of the “Themes” screen, you’ll find the “Add New” button.
Click on it to bring up the “Add Themes” screen.
Step 3: Search for “Neve”
There are two ways to add a new theme.
- You can upload the theme by clicking the “Upload Theme” button. This option is helpful if you want to download the theme from a third-party website like ThemeForest and upload it to your website. We will utilize this option in an advanced course in the future.
- Search, download, and install a theme from within the WordPress dashboard.
For this course, we will be taking the second approach.
On the top-right-hand corner of the screen, you’ll find a search bar for searching themes.
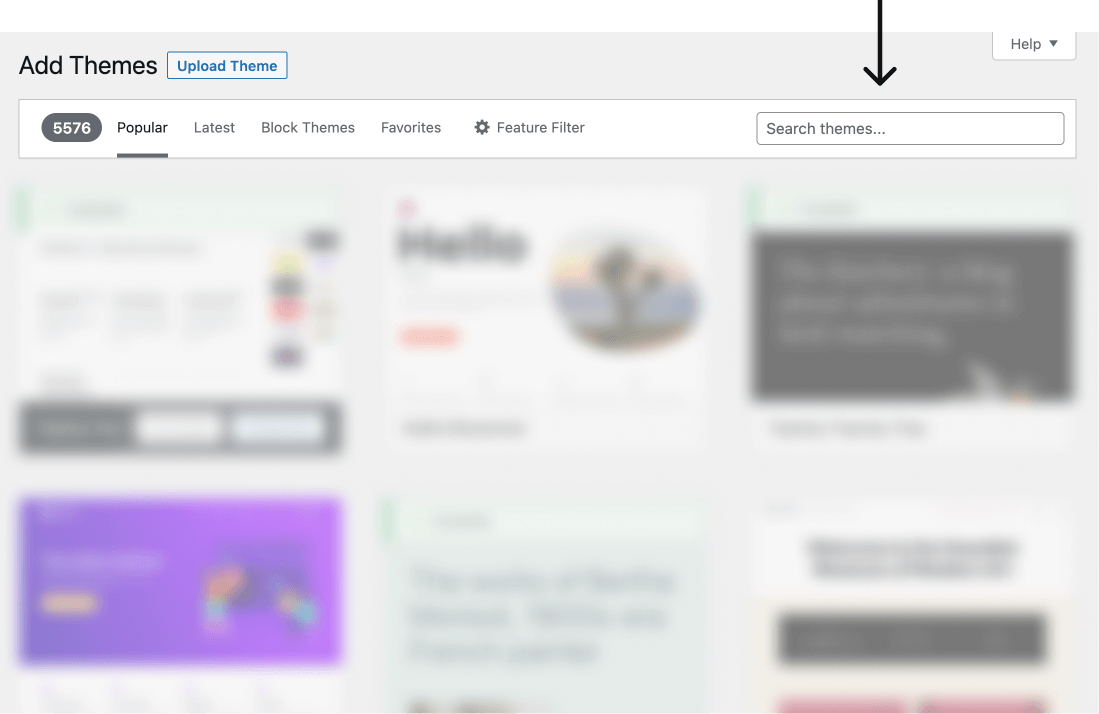
Type “Neve” in the search box.
WordPress will bring up the search results with the Neve theme.
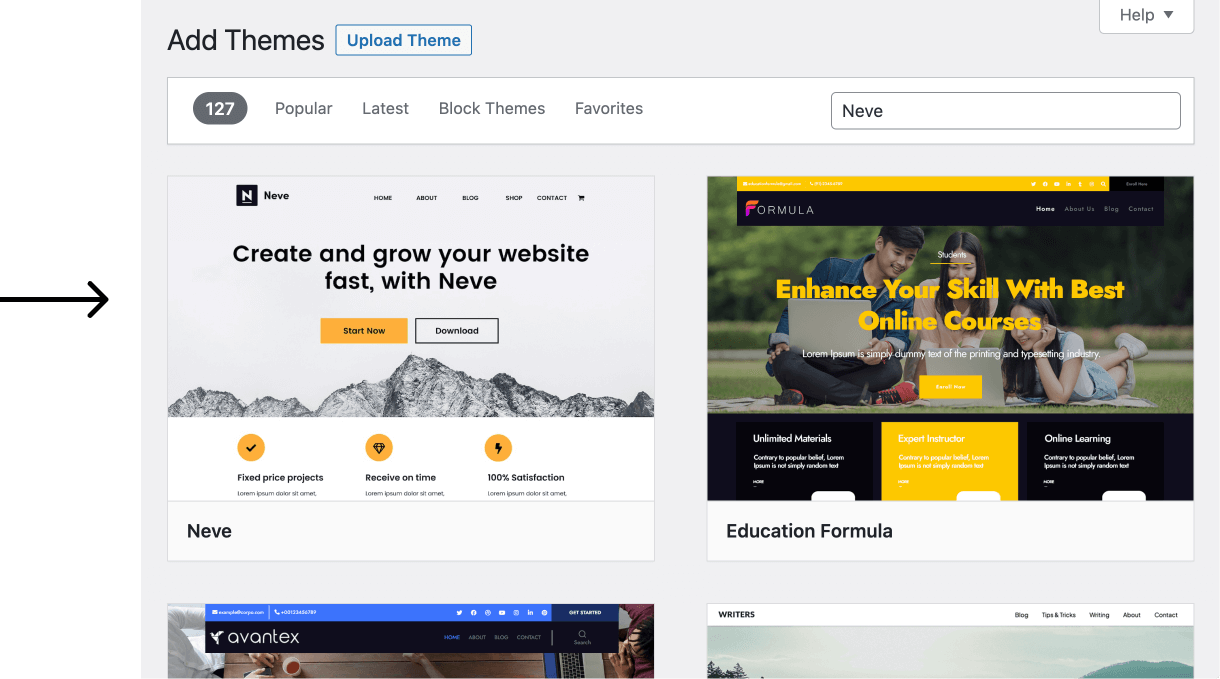
Look for the box that says “Neve” and click on it.
Step 4: Installing the Neve theme
As soon as you click on it, WordPress will open up the details of the Neve theme with a preview panel on the right-hand side of the screen.
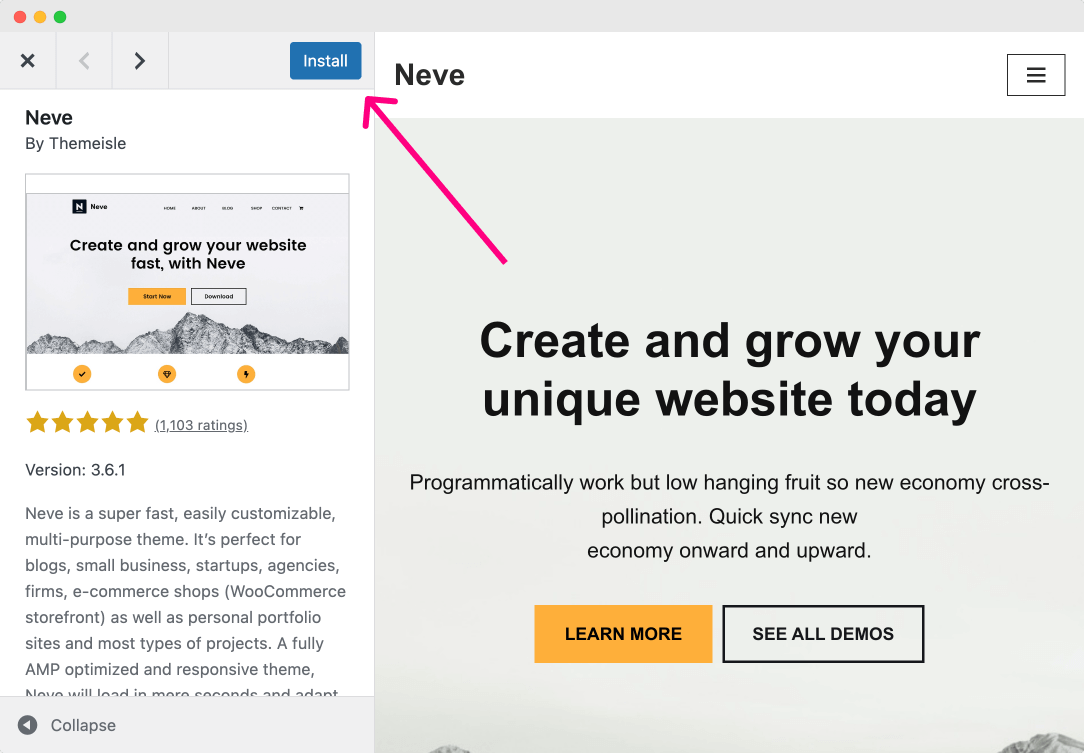
Before installing the theme, I want you to wander around the theme using the preview panel on the right.
The links inside the preview panel are clickable.

Hey! It looks nothing the like design that we are trying to build. Are you sure this is the right theme for the job?
Yep!
I know that but hold on with me.
Now, click the “Install” button to install the theme.
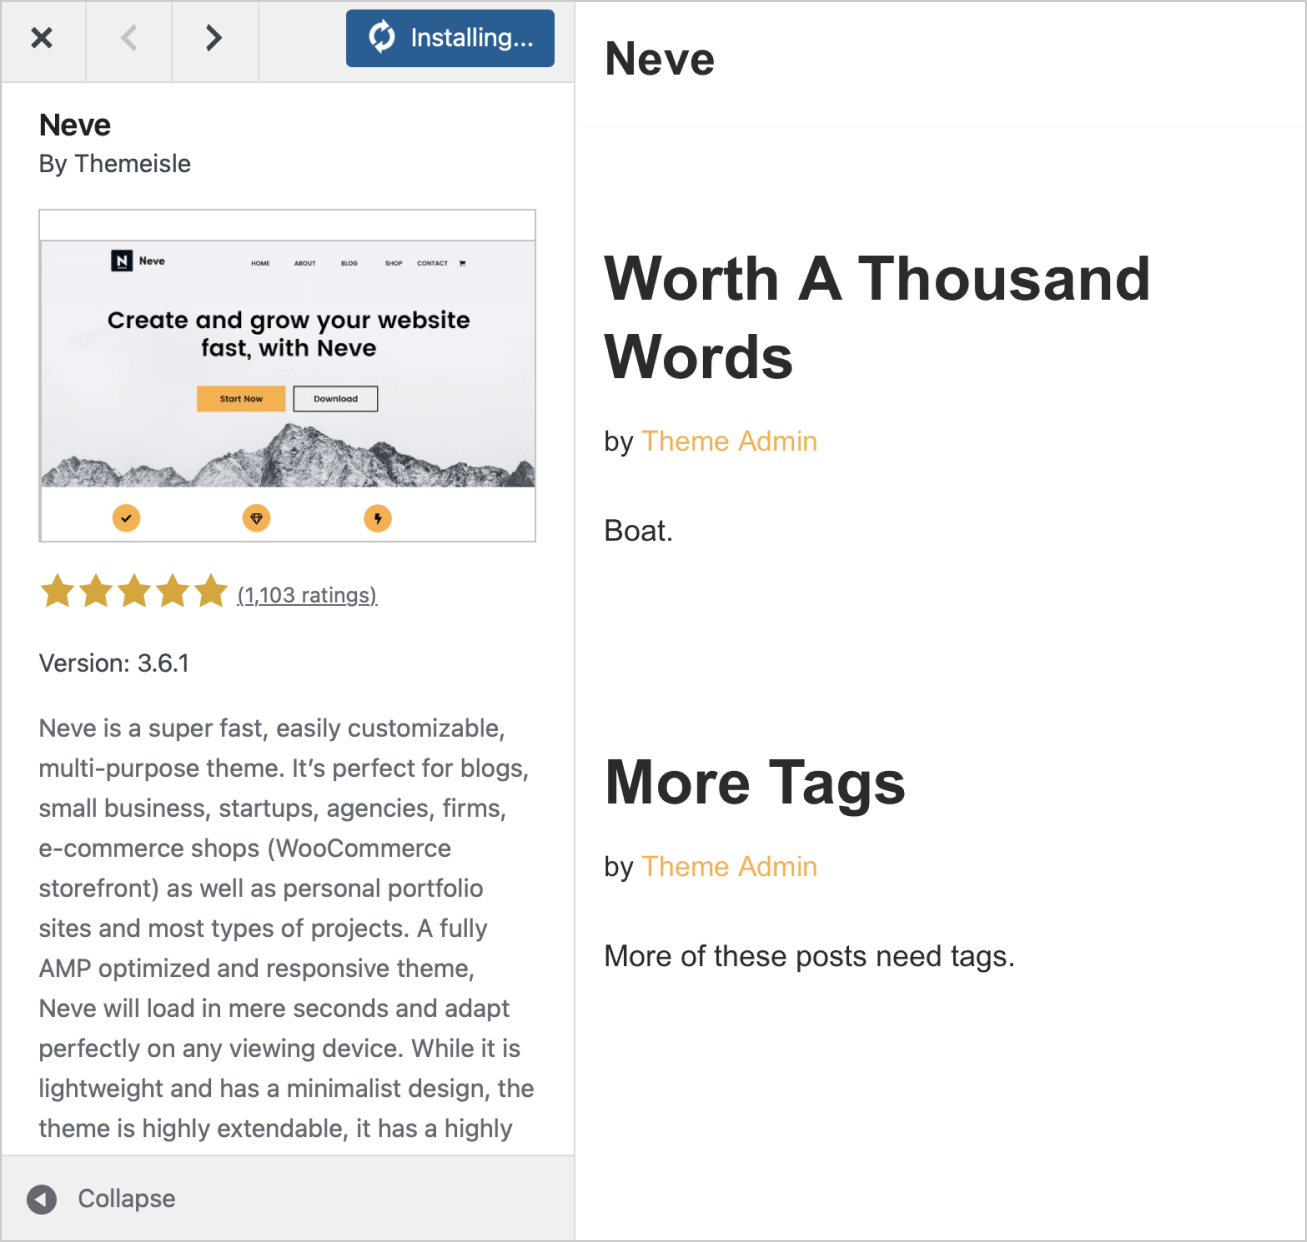
WordPress will now go ahead and download the Neve theme from WordPress.org servers.
Once the download is complete, the “Install” button will be replaced with the “Activate” button.
Step 5: Activate the theme
Using a particular WordPress theme on our website is a two-step process:
- First, the theme must be installed
- Then, it must be activated
Installing a theme means keeping it as a spare for future purposes.
But activating a theme means using it for the design of the website.
WordPress lets you install many themes, so you can easily switch between them.
So, click the “Activate” button to use the Neve theme to design our website.
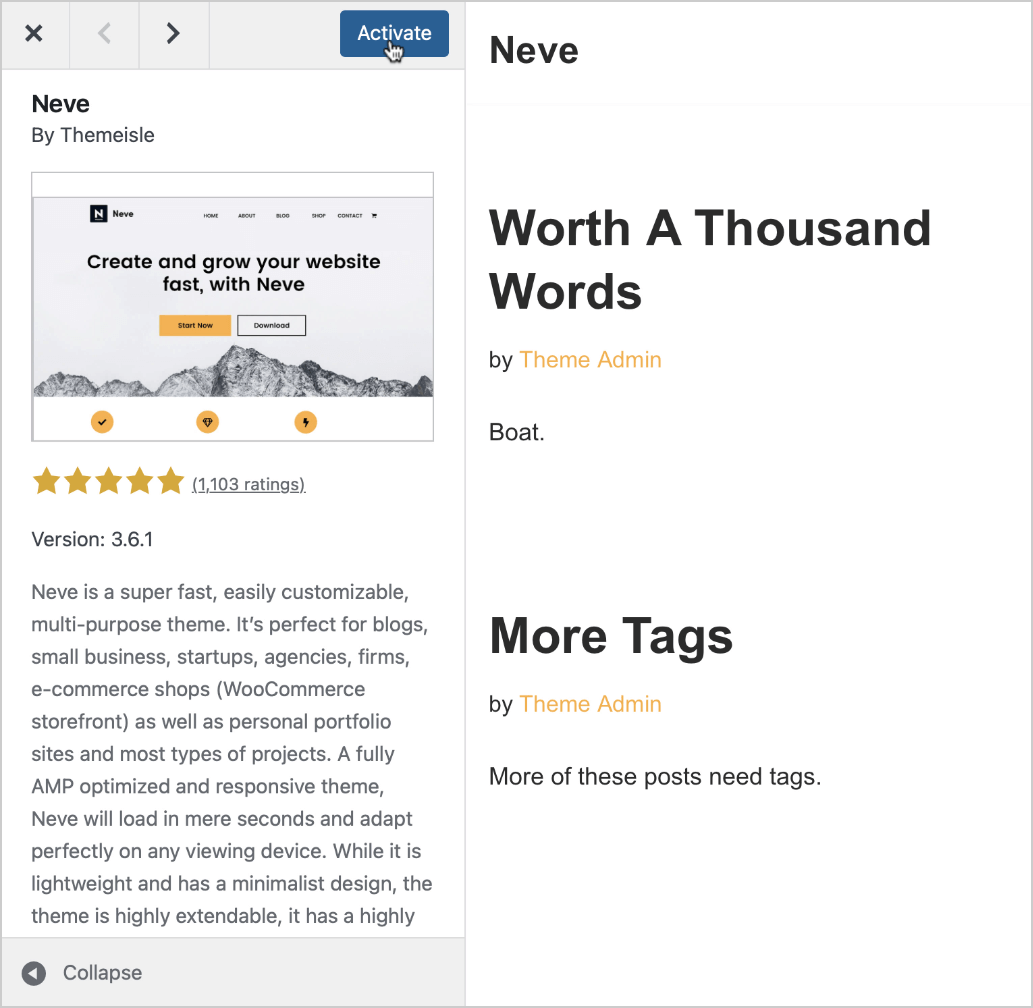
Once the theme is activated, we’ll be redirected to the “Themes” screen with the “Neve” theme active.
Now that the theme is activated, we will have a quick introduction to the “Customizer” screen in the next lesson.
 © 2026 UsableWP. A project by Naresh Devineni.