Exercise: Changing the colors of the website
A WordPress theme is also responsible for helping you change the colors of your website.
And as usual, the theme allows you to change the colors from the “Customize” screen.
So, let’s go inside the “Customize” screen again.
Once you are inside the “Customize” screen, no matter what theme you use, you will find a panel that says “Colors” or something similar.
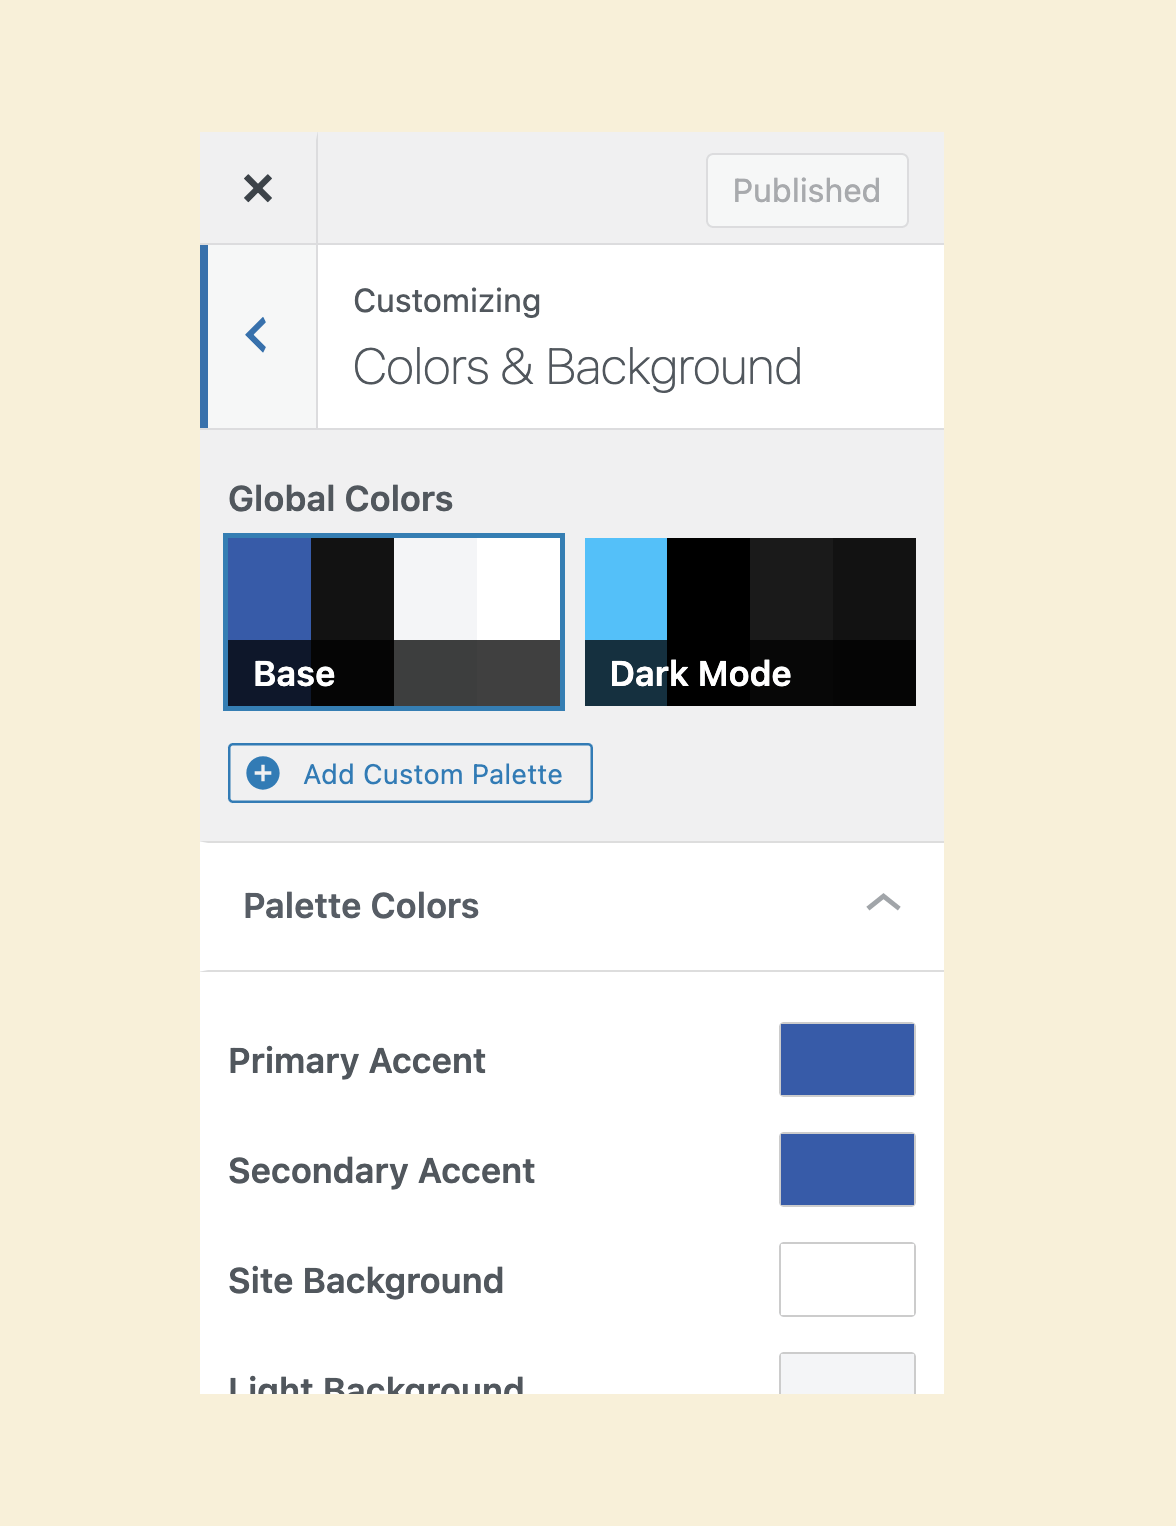
For example, the Neve theme calls it “Colors & Background”.
Next, go inside the panel and change the colors of your website.
Remember, the colors you change here will reflect all over the website.
The background will get affected.
The color of the text content will get affected.
Actually, all the site elements could be affected by these color changes.
The “Primary” color is the most important color of the website. So, you should quickly see its impact when you change it.
But the “Secondary” color and other colors will only affect some parts of a page.
So, the changes you make to them are not immediately evident.
Because of this, I want you to pay attention to every element while performing the color changes.
After changing a color, visit all the site pages using the “Preview” panel on the left to achieve this.
This will give you a good idea of whether to keep that color change.
In my case, I am happy with the default color scheme that comes with the “Neve” theme.
But your case could be different.
So, take a good amount of time to develop the website’s color scheme and play around with them inside the “Customize” screen.
If something goes wrong, as long as you’re not publishing the changes, you can always reload the “Customizer” to reset back to the default colors.
That’s all.
 © 2026 UsableWP. A project by Naresh Devineni.