Challenge: Finishing up the Homepage
Now there are only two more sections left to be built for the Homepage, and based on what you have learned so far, these sections are pretty easy to build.
After the “Features” section, I want you to create a “Gallery” section:
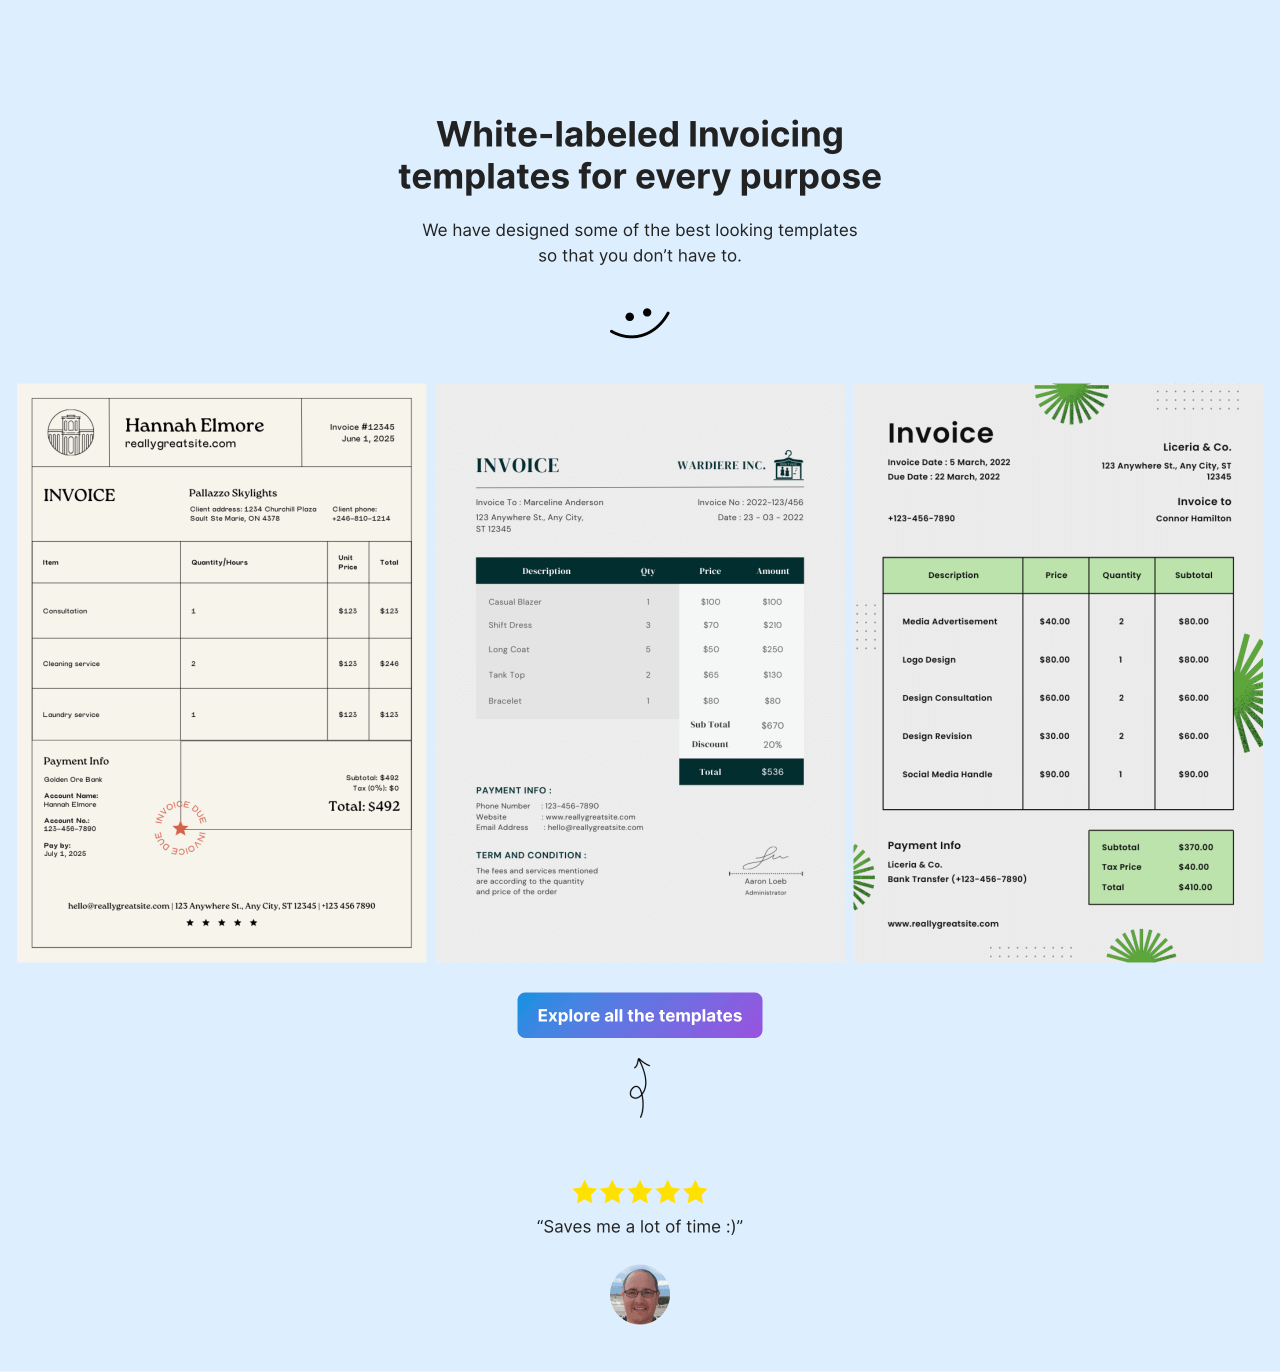
If you pay attention to the details:
- The smiley is an image
- The arrow underneath the button is an image too
- Use a “Columns” block or the “Gallery” Block for the three images layout.
- Finally, make sure that the entire section is full-width.
So, if you want to reuse the image somewhere else on the website, you don’t have to re-upload it again.
You can use the image by picking it from the Media Library.
And when using an image from the Media Library, click on the “Media Library” link or tab. This will give you access to all the images inside the media library.
I am telling you this because the five-star image is already uploaded to the Media Library. Don’t try to upload it again.
After that, add the final “Call to Action” section:
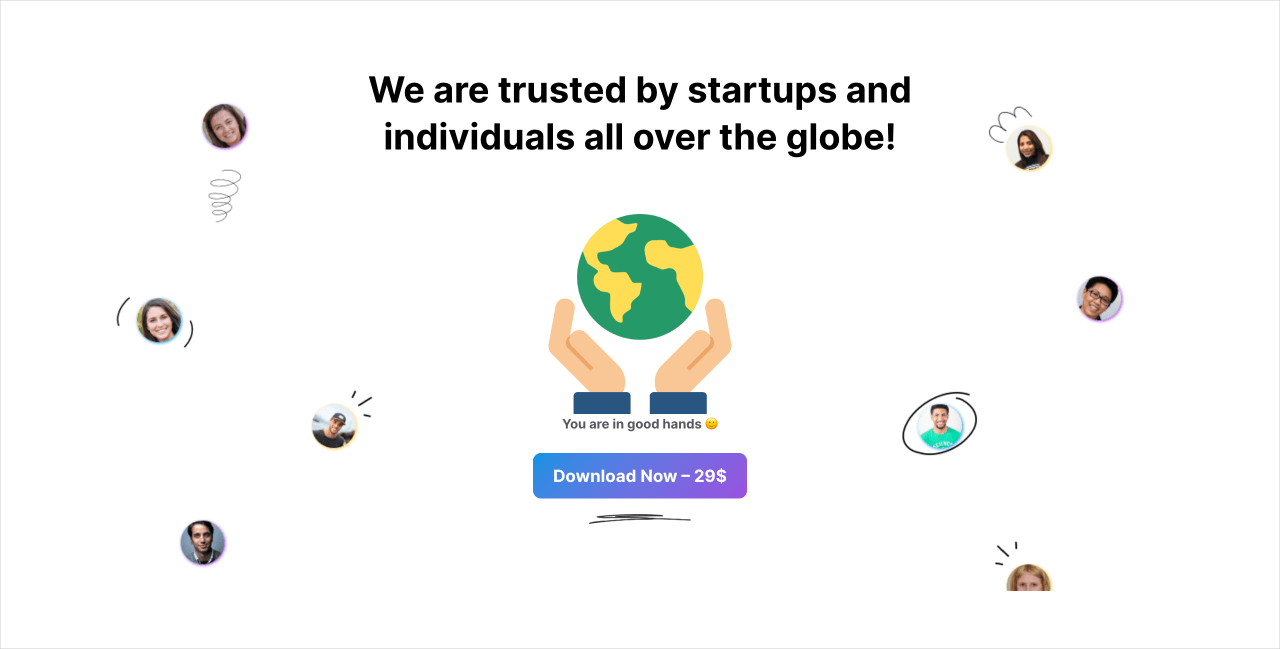
Building this section is exactly like building the “Hero” section.
If you notice, there is a small doodle under the call-to-action button. It is an image.
And the text that says, “You are in good hands :)” is not an image. You must use the “Paragraph” block.
Also, there is a background image with people’s faces and doodles:
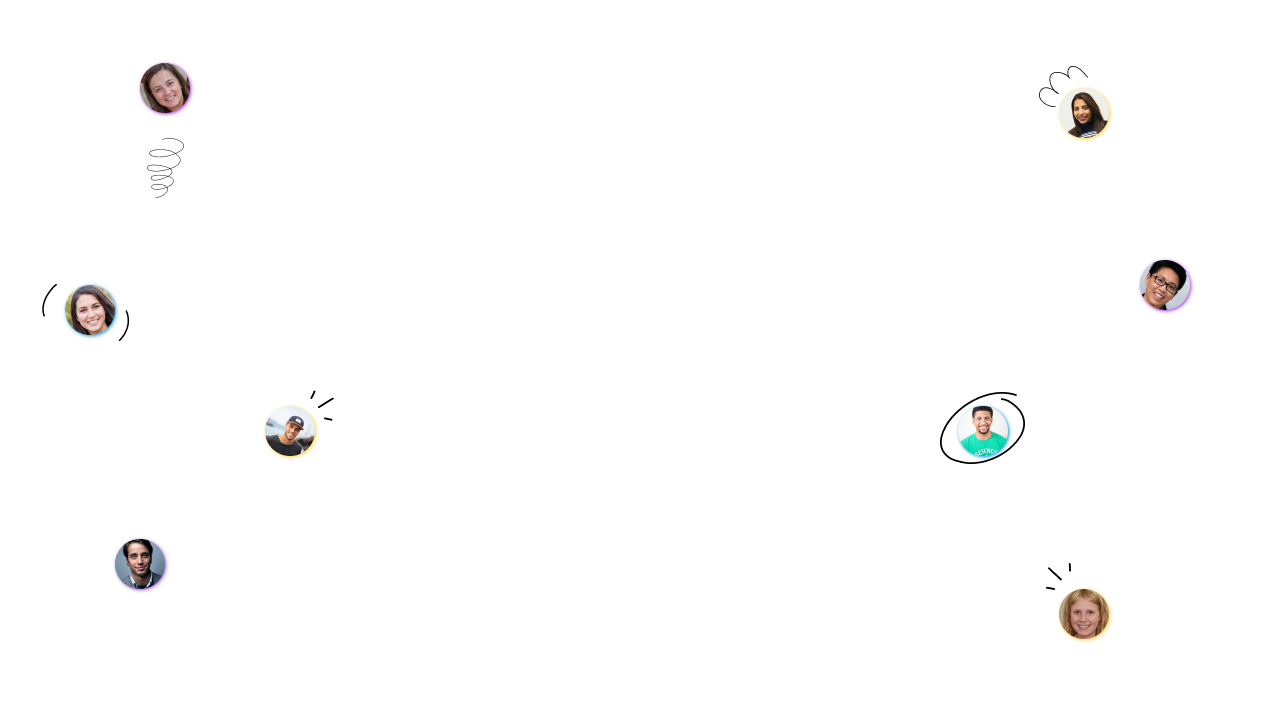
So, we have to use the “Cover” block for building this section.
But don’t make this section full-width because the background with people’s faces must look closer to the section’s content. This tactic will make the section look more dynamic.
Anyway, I am just providing these details in case you get confused.
But you should be good to go now.
You can download the content for both sections at:

The Solution for the Gallery Section
The Solution for the Call-to-action Section
The Conclusion
That’s all.
And we are now technically done creating the Homepage.
The last step is to “Publish” the Homepage.
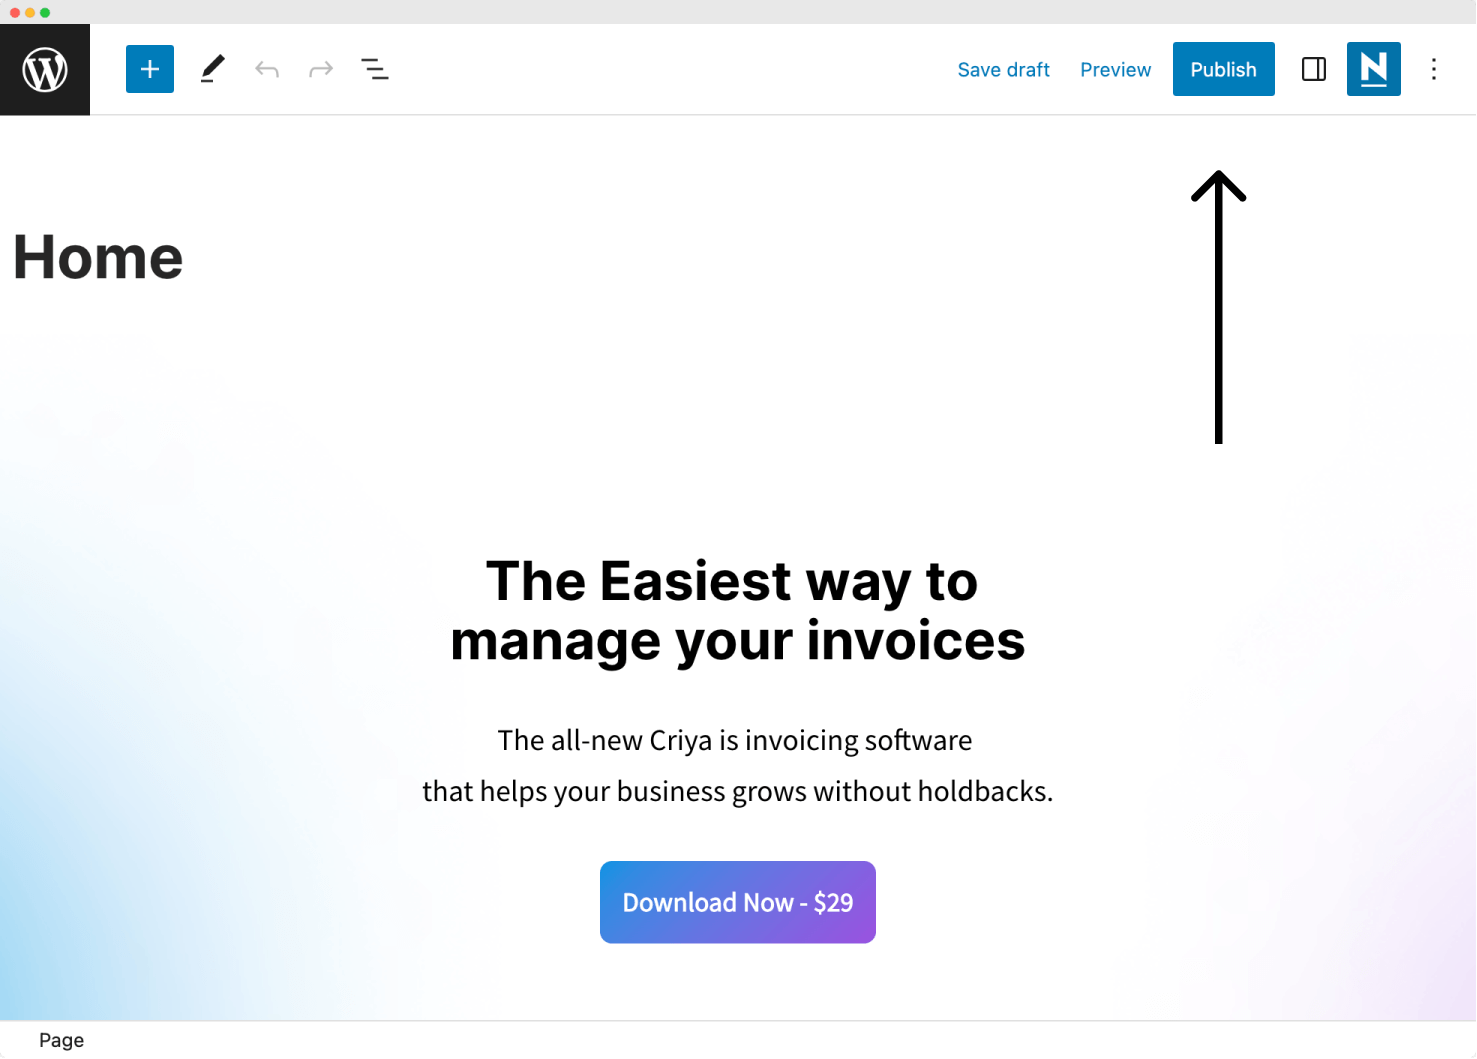
So, go ahead and make the Homepage live.
And in the next lesson, we will learn how to set it up as the Homepage of the entire website.
 © 2026 UsableWP. A project by Naresh Devineni.