Introducing the “Categories” screen
So far, we have created categories on the fly from within the post editor screen.
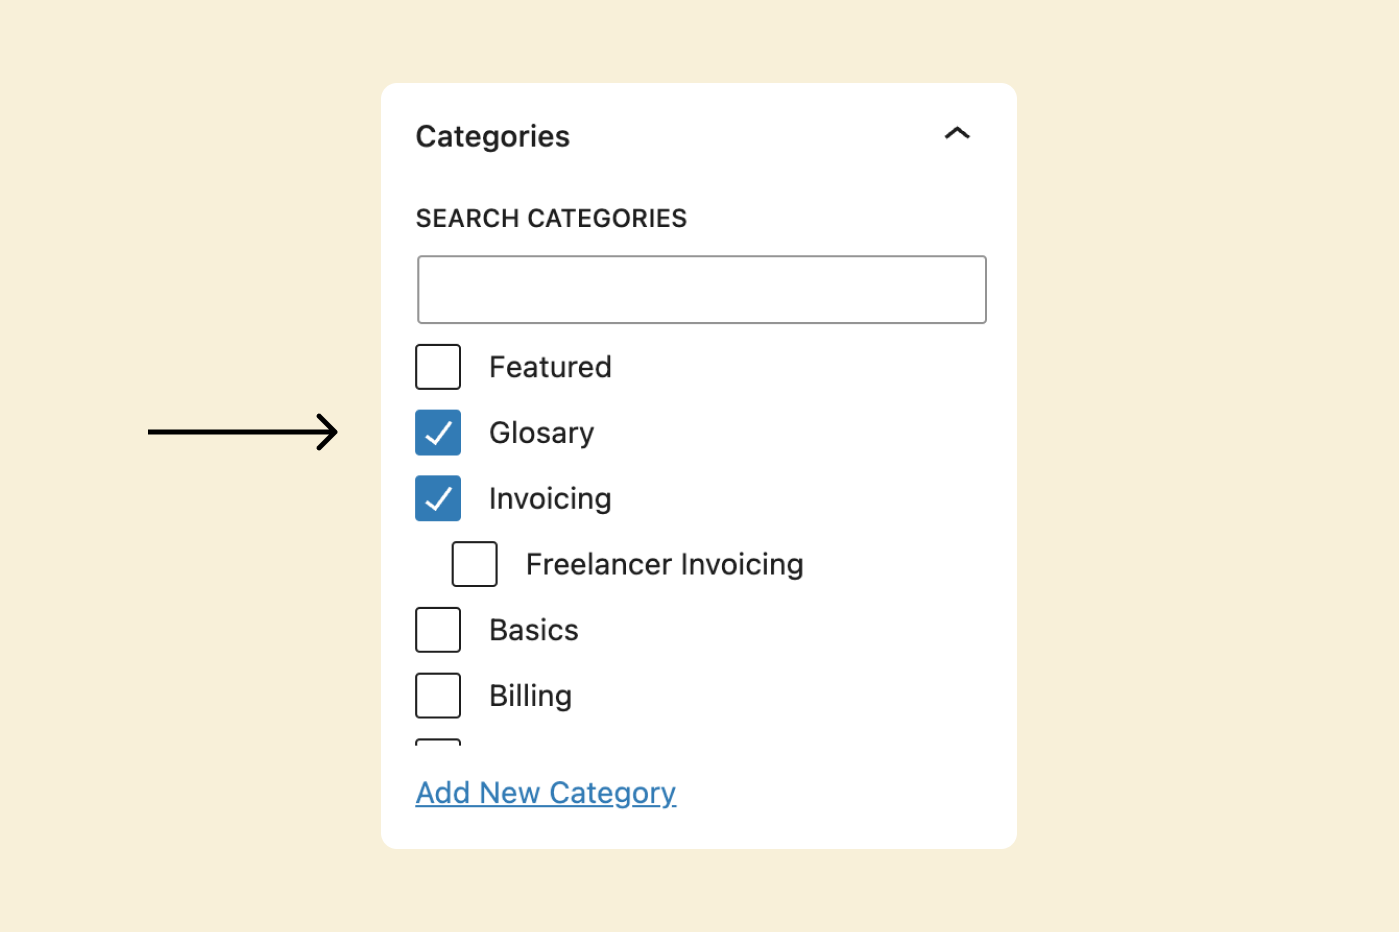
But there is much more to categories in WordPress.
And this is where the “Categories” screen comes in.
It helps us manage the categories of your blog.
The “Categories” screen is useful:
- If you want to plan out categories for your blog upfront
- If you want to edit information about the category
- If you want to delete a category
- If you want to add a description to a particular category
- If you’re going to take control of how the category name looks inside the URL.
We will perform each of these exercises in the upcoming lessons.
But for now…
Let’s see how to access the “Categories” screen
To do that, make sure you are inside the Admin dashboard.
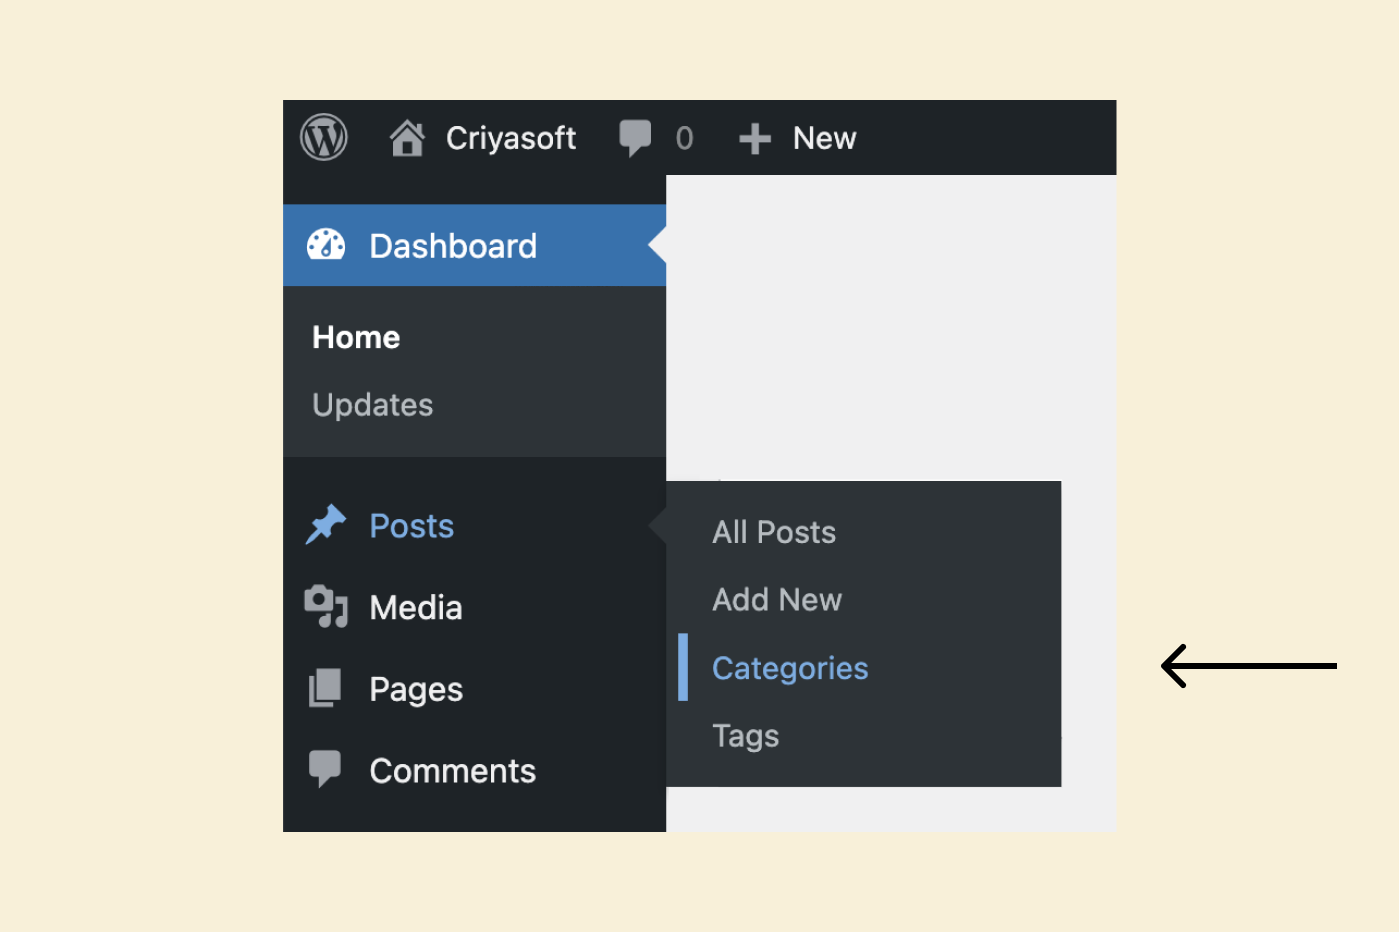
Next, from the admin menu on the left, put your cursor on “Posts” to bring up its dropdown menu.
Finally, click on the “Categories” link from the dropdown.
This will take us to the “Categories” screen, which is divided into two parts.
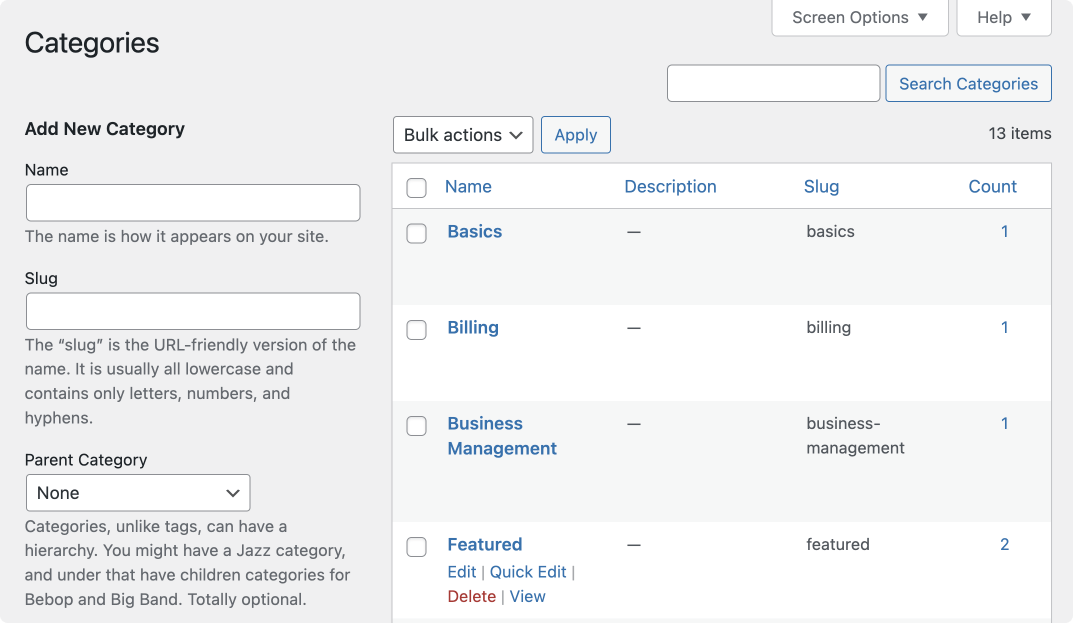
There is a form for creating a new category on the left-hand side.
This form is helpful when planning categories for your blog without assigning them to a blog post.
On the right-hand, we can see the list of categories that we have created so far.
And if you hover your cursor on one of those created categories, four links will appear:
- Edit – Helps us edit the category name and the slug and change or add the parent category if it exists.
- Quick Edit – Helps us quickly edit the category name and the slug
- Delete – Helps us delete the category permanently
- View – Helps us view the category page (Archive page) on the frontend.
If you have used the “All Posts” screen, these options will look and function similarly.
How to edit an existing category
If you click on the category name directly or its “Edit” link, it will take you to the editing screen of a particular category:
And then, you should be able to edit all the information related to the category.
You can also use the “Quick Edit” link (more on this in an upcoming lesson)
View blog posts that are assigned to a particular category
If you notice the category list on the “Categories” screen, there is a “Count” column.
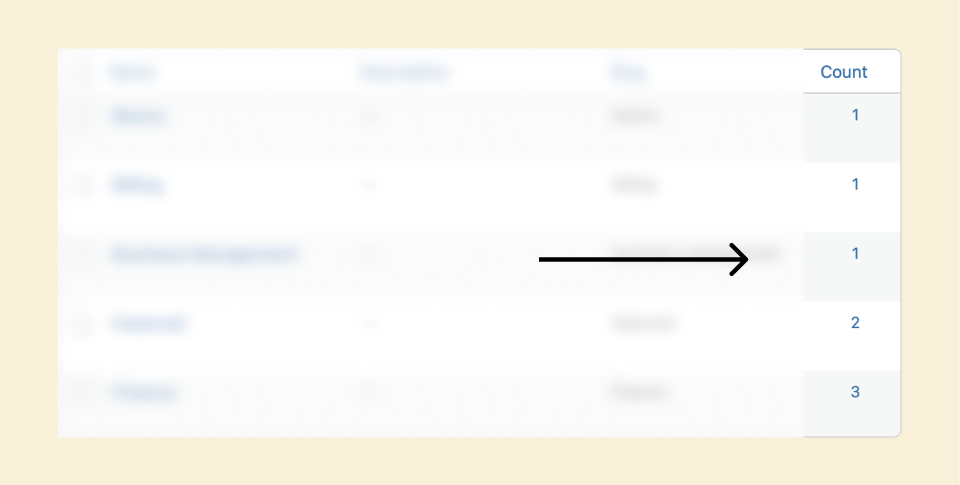
And this count column displays how several posts are assigned to a particular category.
For example, currently, the “count” value for the “Featured” category appears as two because we assigned only two blog posts.
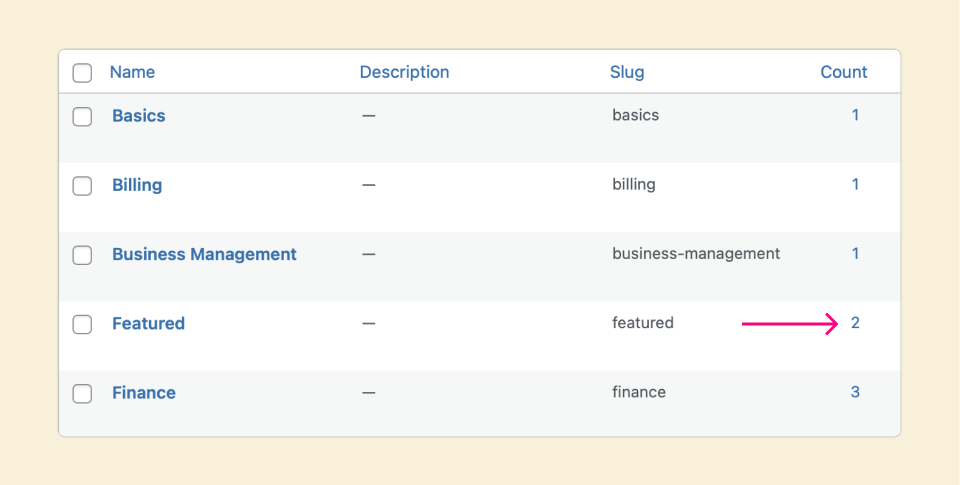
If you click on that count, it will take you to the “All posts” screen, and you can view those two blog posts that are assigned to the category:
That’s all for this lesson.
In the next lesson, we will discuss Category URLs and archive pages.
 © 2026 UsableWP. A project by Naresh Devineni.