How to log into WordPress Dashboard: Easy way
When our WordPress site got installed, we technically created a website.
Now, we need to start adding content and design to it to look like a professional website.
And the starting point for building and managing any WordPress site is to log into WordPress dashboard.
But, how to access WordPress dashboard?
Come on, let’s see how to do that.
WordPress admin login url for live website owners using Rocket.net or other hosting services:
You can easily access the Admin Dashboard by putting /wp-admin or /login at the end of the site domain name.
For example, let’s say your domain name is:
https://www.criyasoft.inThen you can access wordpress dashboard login like this:
https://www.criyasoft.in/wp-adminYou’ll be then presented with a login form:
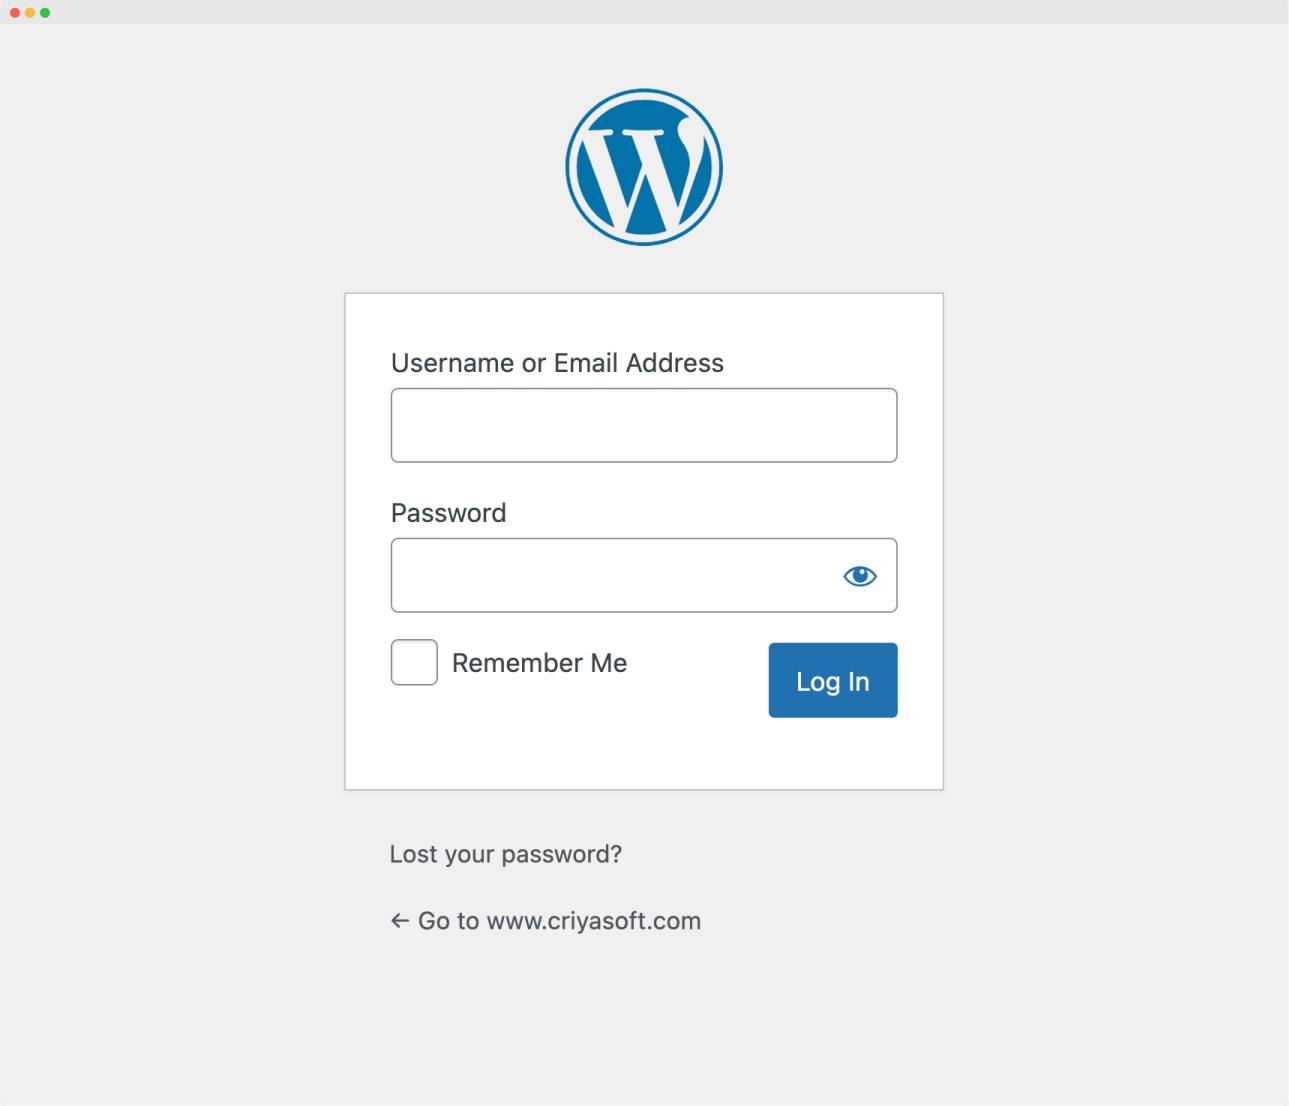
/wp-admin at the end of the domain name will directly take you inside the Admin Dashboard.
You don’t have to enter the credentials every time you want to access the admin dashboard.
You’ll see the login screen only when you’re logged out of the Admin Dashboard or logging in for the first time.
We now see the login screen because we are logging in for the first time.
Anyway, on this login screen, we need to enter the Username and Password of our Admin Account.
If you remember, we provided these details when creating the site using Rocket.net:
WordPress created an Admin Account automatically when it was installed.
Without an Admin account, there is no way for us to manage the content of our website.

Woah! Woah! Stop! I don’t remember creating Admin Account or login credentials for my WordPress site. Did I miss something?
Haha Nope! You didn’t miss anything.
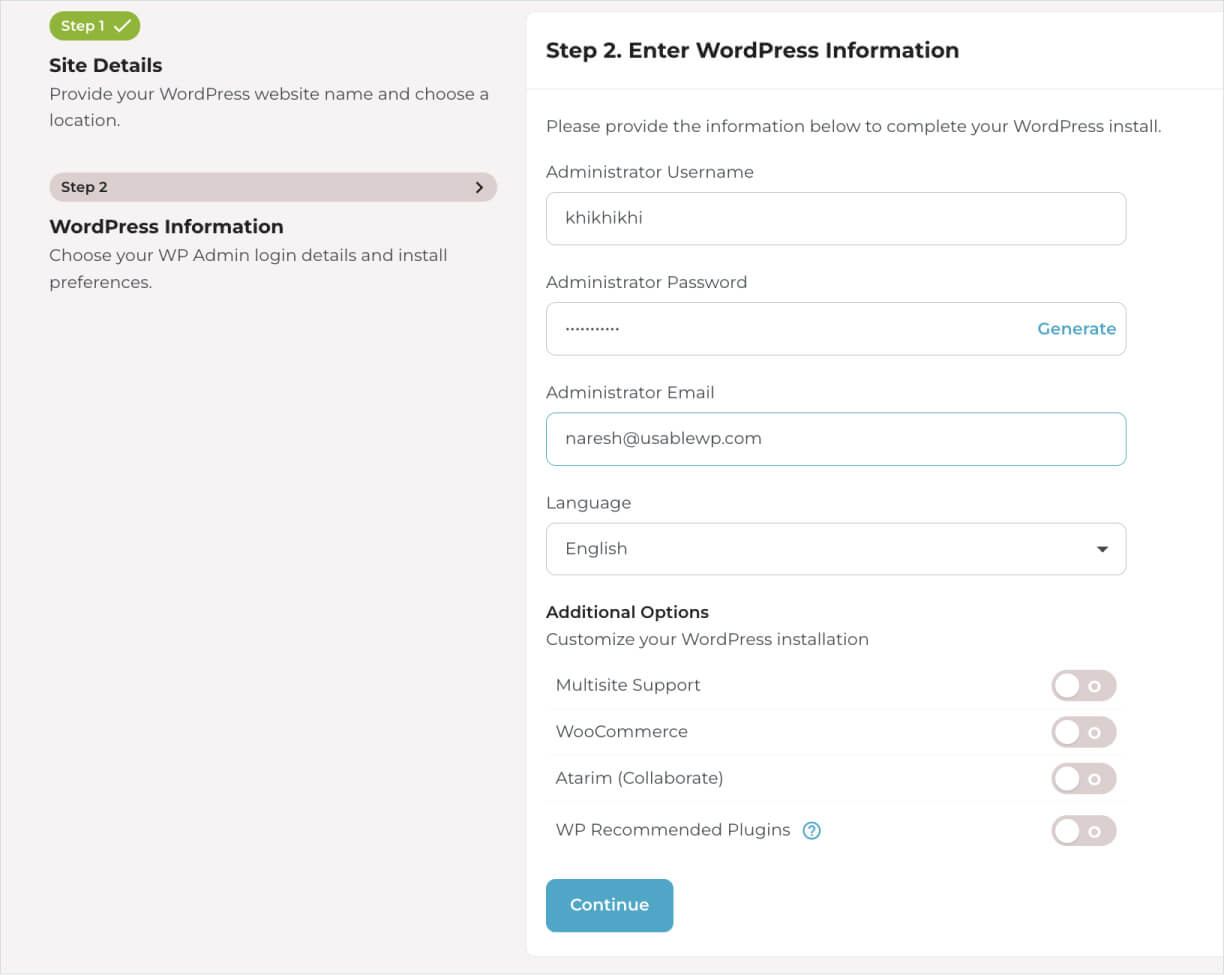
Some hosts require you to manually install WordPress by yourself by downloading the software from wordpress.org, if that is the case, you could have provided the username and password for the admin account during the installation process:
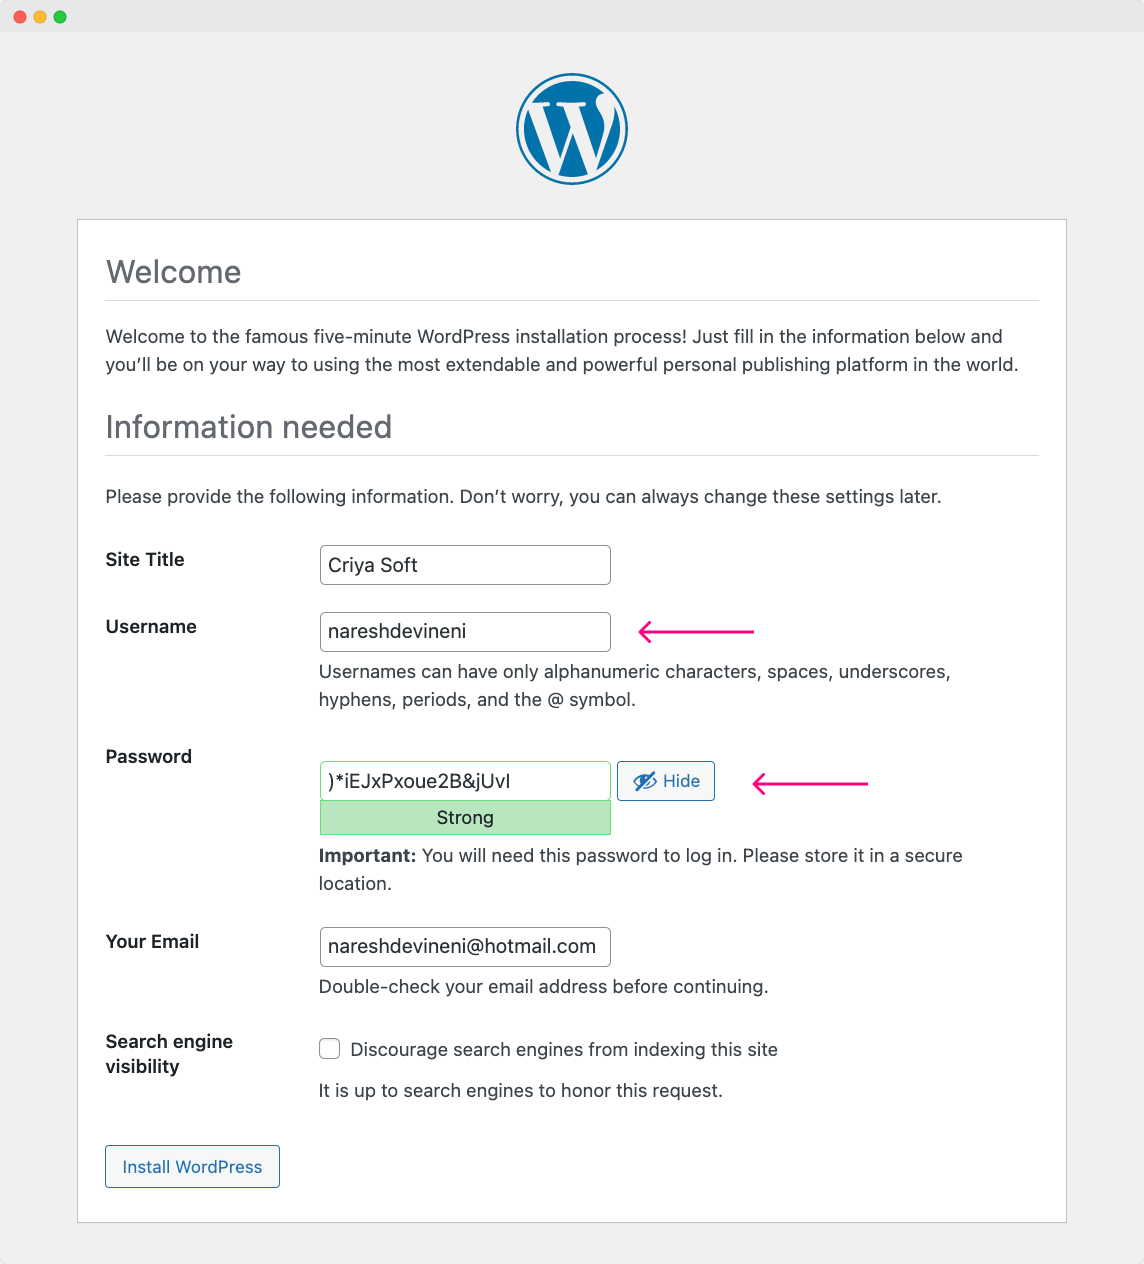
And WordPress could have created an account for you using the credentials you have provided.
Anyway, once you remember the username and password, enter them into the admin login form and click the “Log In” button to access the WordPress Admin Dashboard:
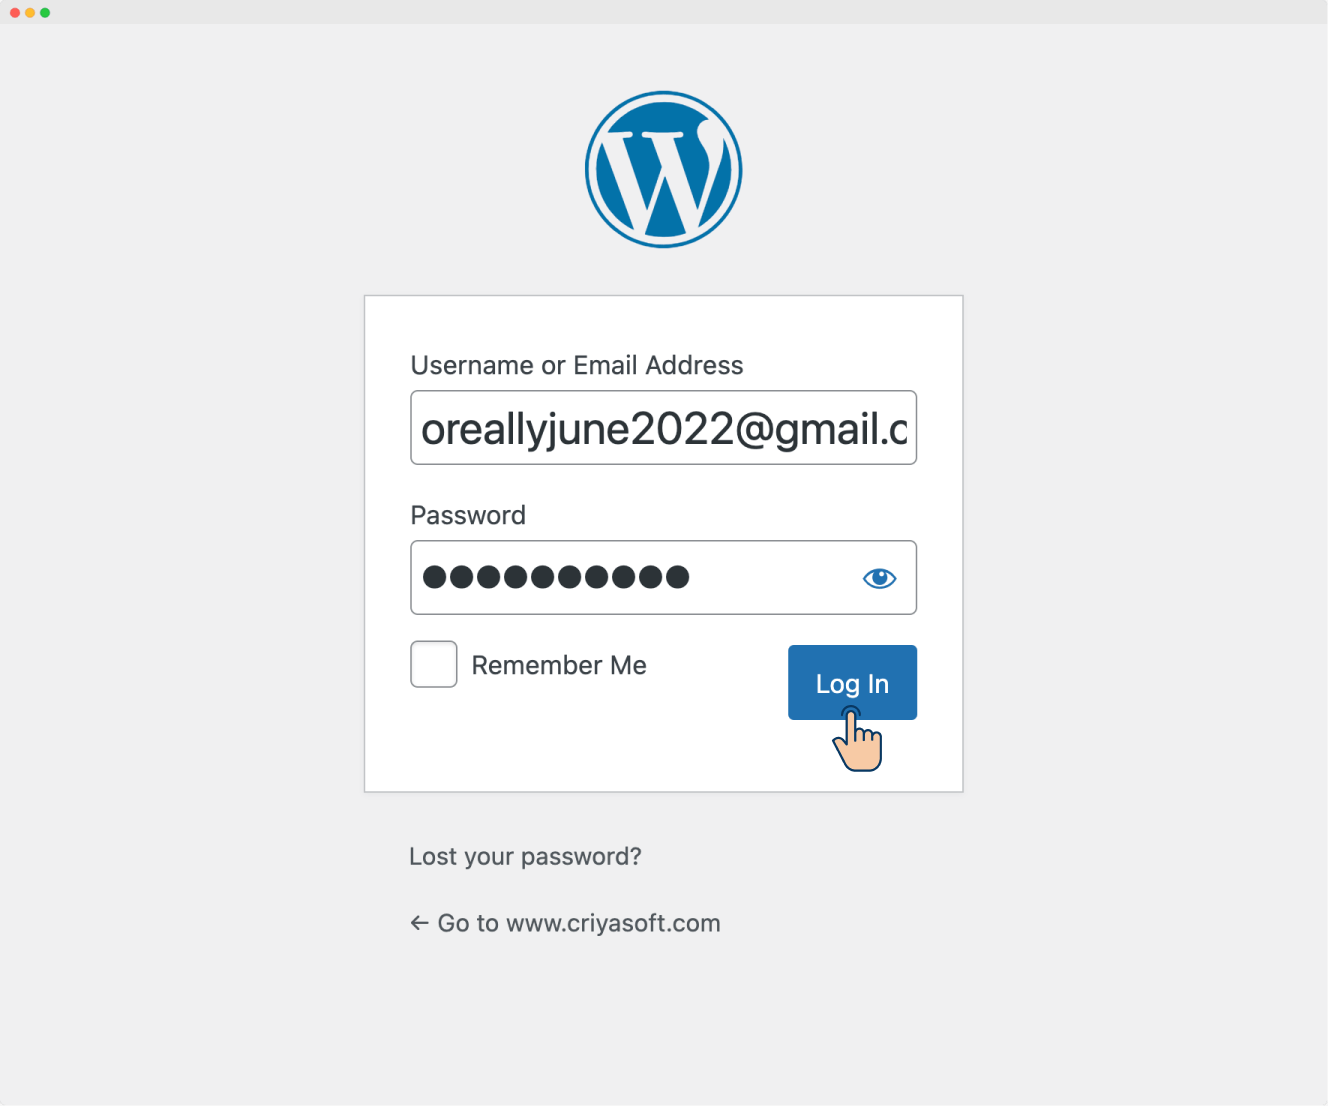

That’s all.
We have now logged inside the WordPress Admin Dashboard successfully.
WordPress admin login url for people who installed WordPress locally:
The URL for accessing the Login screen depends on what software you have used for installing WordPress.
For MAMP Users:
For MAMP users, the domain name will be in the following format:
localhost:8888/project-folderSo, to access the Admin Dashboard, add /wp-admin after the project folder.
For example:
http://localhost:8888/criyasoft/wp-adminHit enter to access the login screen and enter the username and password you provided during “Step E” of the WordPress installation process.
For WAMP Users:
For WAMP users, the domain name will be in the following format:
localhost/project-folderSo, to access the Admin Dashboard, add /wp-admin after the project folder.
For example:
http://localhost/criyasoft/wp-adminHit enter to access the login screen and enter the username and password you provided during “Step E” of the WordPress installation process.
For LocalWP Users:
This is just a recap. You already know how to access the admin dashboard.
LocalWP uses more of an actual domain name format.
http://domainname.local/wp-adminThe only difference is, instead of using a top-level domain extension like .com, .org, etc., we will be using .local.
For example, in my case:
http://criyasoft.local/wp-adminHit enter to access the login screen and enter the username and password you provided during “Stage 3” of the WordPress installation process.
The Conclusion
In the next lesson, we will learn how to navigate inside WordPress Admin Dashboard.

 © 2026 UsableWP. A project by Naresh Devineni.