Adding tags to our blog post
Assigning a tag to a blog post is a two-step process:
- Create the tag
- And then assign it to the blog post
Also, there are two ways to create a tag in WordPress:
- Creating a tag via the “Post Editor” screen
- Creating a tag using the “Tags” screen
For the purposes of this module, let’s try out the first method.
We will try out the second method in a future module.
Creating a new tag via the “Post Editor” screen
Like Categories, you can easily create and assign new tags without leaving the post editor screen.
Come on, let’s quickly add a tag to our first blog post.
First, ensure the “Settings” sidebar is open inside the post editor screen.
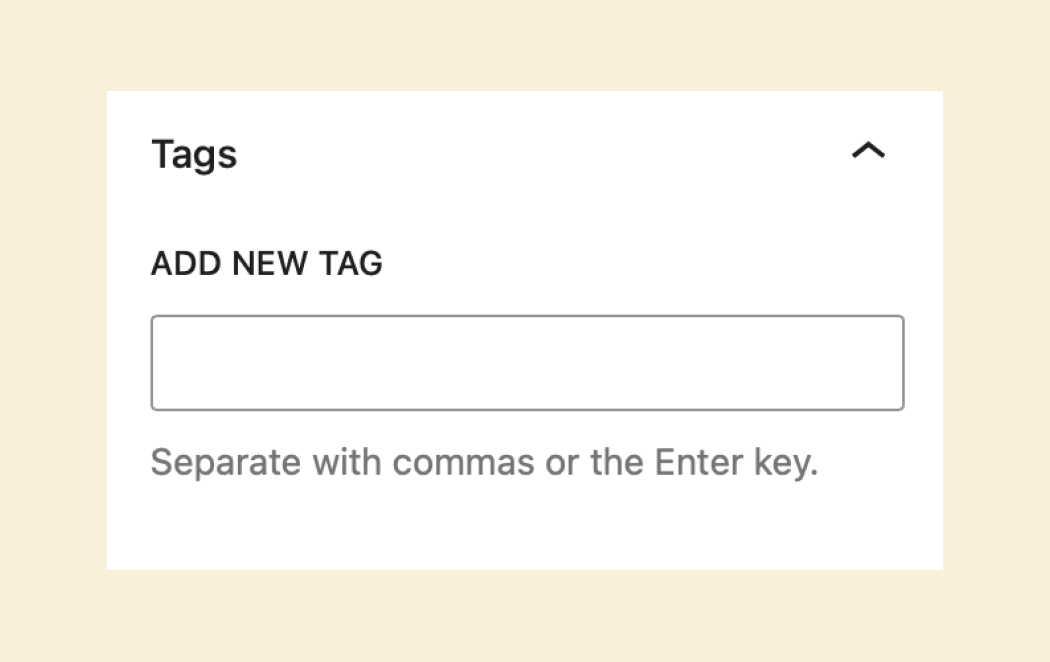
Next, find the “Tags” section inside the sidebar.

You might need to scroll a bit to find the section.
Once you find it, if it is not already open, click on it to open it.
Now, to create a new tag, you must enter the tag’s name and hit enter.
And if you notice, once you hit enter, the cursor starts blinking, allowing you to create another new tag.
Also, if you came out of the tags creation form and want to add another tag, click next to the last tag in the list and start creating a new tag.
You can re-use these newly created tags for other blog posts
Once you create a tag new tag inside a particular blog post, that tag can be re-used to classify other blog posts as well.
For example, one of the tags we created for our first blog post was “Money management”.
If you want to use the same tag on a new blog post, it will automatically appear as a dropdown option when you type the tag name.
You must pick it, and WordPress will add that tag to the newly created blog post.
That’s all you need to know about creating tags for now.
In the next lesson, we will talk about the post excerpt.

 © 2026 UsableWP. A project by Naresh Devineni.