How to add a custom Logo to our WordPress website
In WordPress, uploading a custom logo is a theme-specific feature.
In other words, a theme must decide whether it supports uploading a custom logo.
And most themes support this by default.
In our case, the “Neve” theme supports adding a custom logo.
And we can upload our custom logo in 6 easy steps.
Step 1: Go to the “Customize” screen
Most themes allow us to upload the custom logo through the “Customize” screen.
So let’s go to:
Dashboard -> Appearance -> CustomizeStep 2: Hover your cursor over the Site name and click on the edit icon
This will take us to the “Logo & Site Identity” section, and inside it is a setting called “Display”.
The “Display” setting has four options; the last three options are only helpful if you want to display a tagline and the logo.
I don’t want to display the site tagline.
So, I will keep the first option selected as is.
Step 3: Upload the custom logo
Next, if you notice, there is a big box with the plus icon + .
Click on it to bring up the native WordPress “Upload” popup.
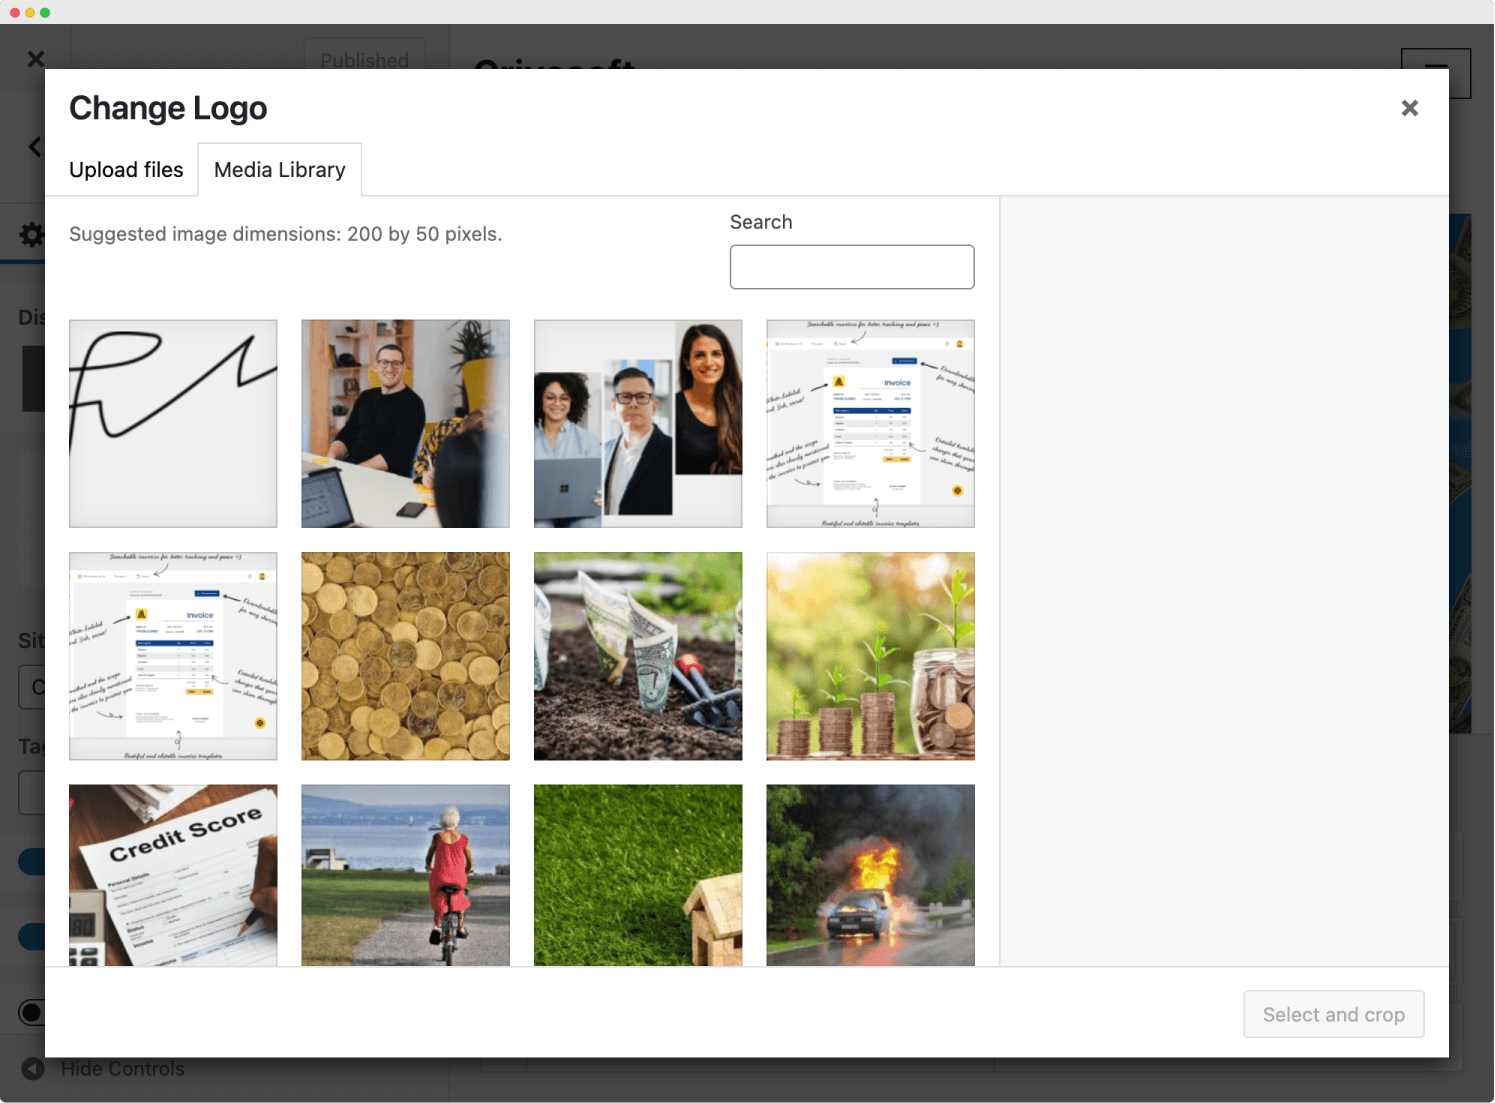
Now, click on the “Upload files” tab:
If you are following along with, you can download the logo using the following link:
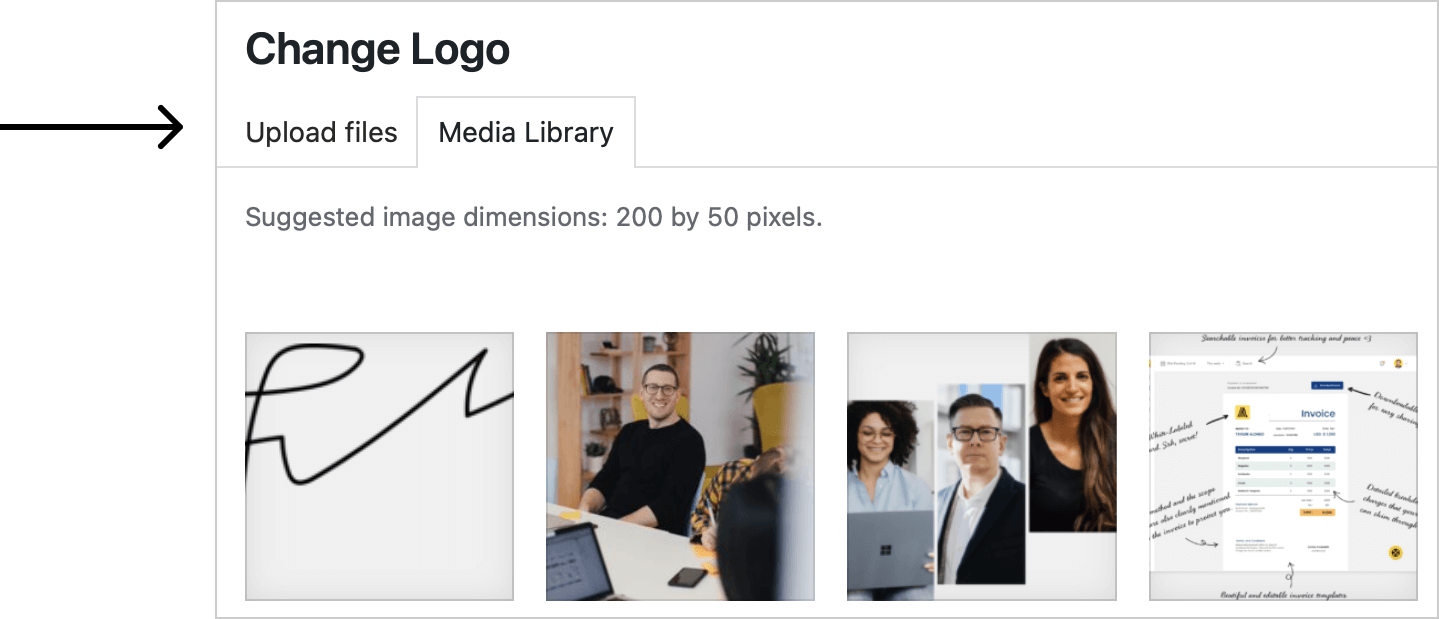
If you notice, the popup also contains an instruction that says, “Suggested image dimensions: 200 by 50 pixels”.
This means we have to upload that is 200 pixels in width and 50 pixels in height.
The theme sets this suggestion message.
In our case, it’s Neve. So, make sure to upload the logo of the same size.
Always optimize the logo size before uploading it.
I notice that many site owners don’t care about the dimensions when uploading the logo.
Usually, they upload logos with huge dimensions, such as 2000 pixels wide, when it is only required to upload a logo that is 200 pixels wide.
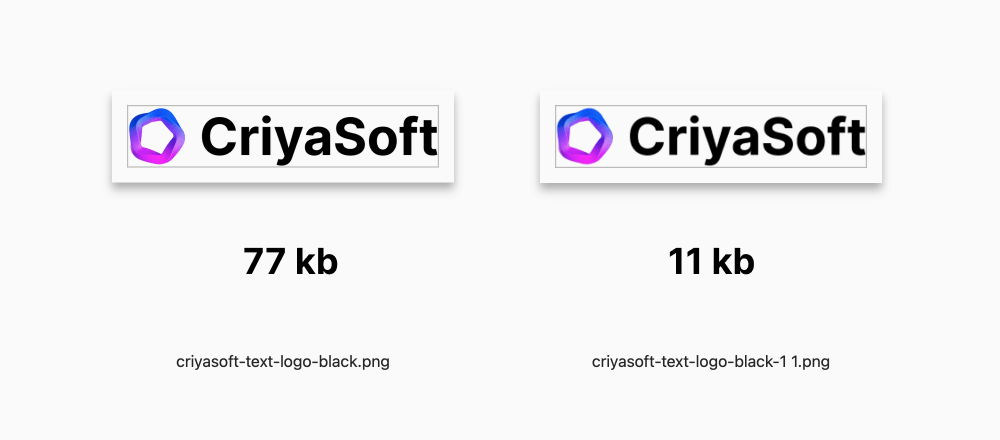
Keeping the logo size in check will improve the website’s loading speed.
Not just that; make sure to compress the logo before uploading it. You can use an image optimization service such as tinypng.com.
Anyway, let’s get back to the task at hand.
Now that we have resized and compressed the logo correctly let’s upload it.
As you can see, the “Upload” popup is quite advanced and powerful.
For example, for uploading the logo, you can select the file from your file system by clicking “Select files” or dragging and dropping the files directly.
Once you have uploaded the logo and clicked on the “Select” button, it will take you to the “Crop” settings.
Step 4: Crop the Logo if necessary
One common mistake many site owners make is leaving too much space around the logo.
So, here is a rule of thumb when it comes to cropping the logo:
Crop the logos “tightly” with little to no spacing around the logo
Keep spacing around the logo tight to keep the header layout neat.
For example, if you don’t tightly crop the logo, it will not look aligned with the content below it and will look smaller than the intended display size.
But if the logo is tightly cropped, the alignment is perfect, and the logo also looks a bit bigger.
So, always tightly crop the logos.
Anyway, if you follow along with me using the “Criyasoft” logo, you can see that the logo is already tightly cropped.
So, I will click the “Skip Cropping” button to finish uploading the logo.
But if your logo is not tightly cropped, crop the image using the handles on top of the image and click on the “Crop Image” button to finish the logo upload.
Step 5: Adjust the logo width
For some reason, if your logo appears smaller or larger than expected, please adjust the logo width using the “Logo Max Width” setting.
Currently, the max-width of the logo is set to 120px.
Based on the header design we are trying to pull off, the logo should occupy 160 pixels of width.
So, we have to change the logo width to 160px.
And as you can see, as soon as I change the width to 160px, the logo in the preview panel looks bigger and precisely as we need it.
Step 6: Save the changes
Finally, save the changes by clicking on the “Publish” button.
And that’s exactly how we upload a custom logo to our WordPress site.

Hey! The logo looks blurry on my Macbook with Retina screen?
Good question.
This happens because we didn’t account for retina devices while uploading the logo.
Supporting retina devices
To support retina devices, we should upload a logo that is double its display size.
For example, if the display size of the logo is 160px in width, then the “retina” version of the same logo should be 320px in width.
The “retina” version of the logo will be conditionally displayed on retina-based computer screens.
Only then the logo will get displayed without getting blurred on high-resolution screens.
Come on, let’s fix the issue.
Replace the existing logo with the retina logo by clicking on the logo box again:
Remember that we need to upload a logo with a width of 320px.
Did you see that?
The logo now looks sharper on my Macbook Pro :D
Also, even though we uploaded a larger file, the logo is still displayed at 160px width.
This is because we have previously set the max logo width to 160px.
If your logo appears larger than 160px, adjust the “Logo Max Width” setting again.
In the next lesson, I will show you how to add a favicon to your website.
 © 2026 UsableWP. A project by Naresh Devineni.