Creating a dropdown menu in WordPress
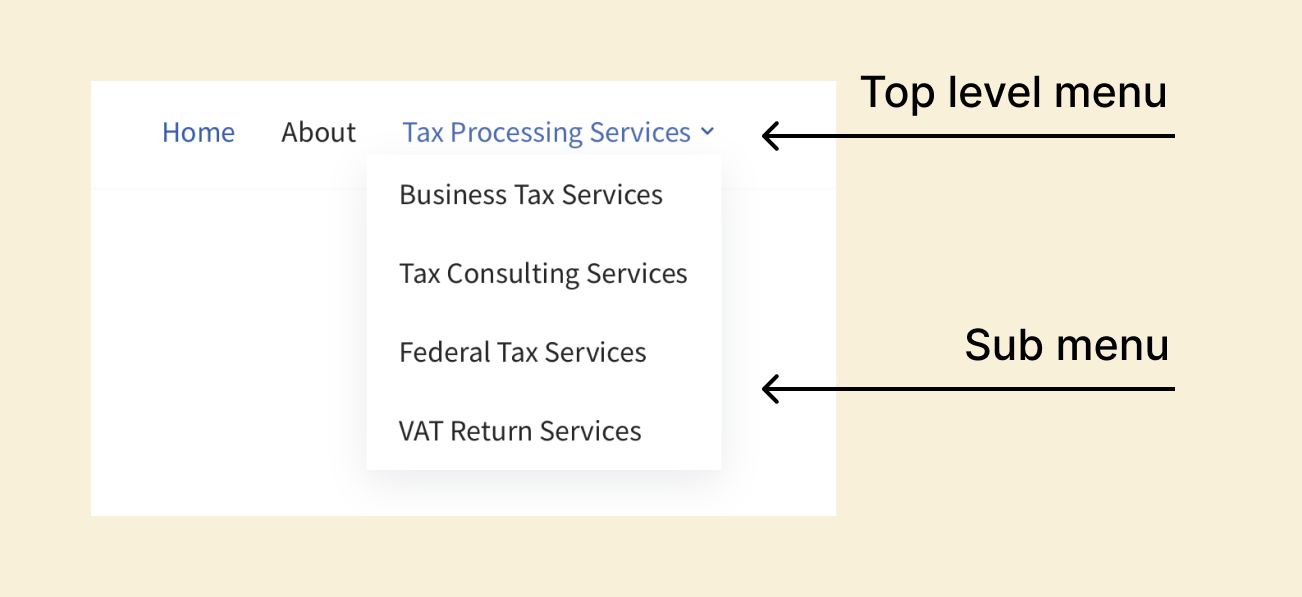
Here is the progress we have made so far with the header menu:

But there is one more problem with this menu structure.
The “Tax Processing Services” is the parent page of the following pages from the menu:
- Business Tax Services
- Tax Consulting Services
- Federal Tax Services
- VAT Return Services

But these four child pages are displayed at the same level as their parent page.
Ideally, the child pages must be displayed as a sub-menu and dropdown only when someone puts their cursor on their parent page.
So, let’s achieve this by going back to the “Menus” Screen.
How to create a sub-menu
WordPress makes it easy to create a sub-menu.
Here is my current menu structure:
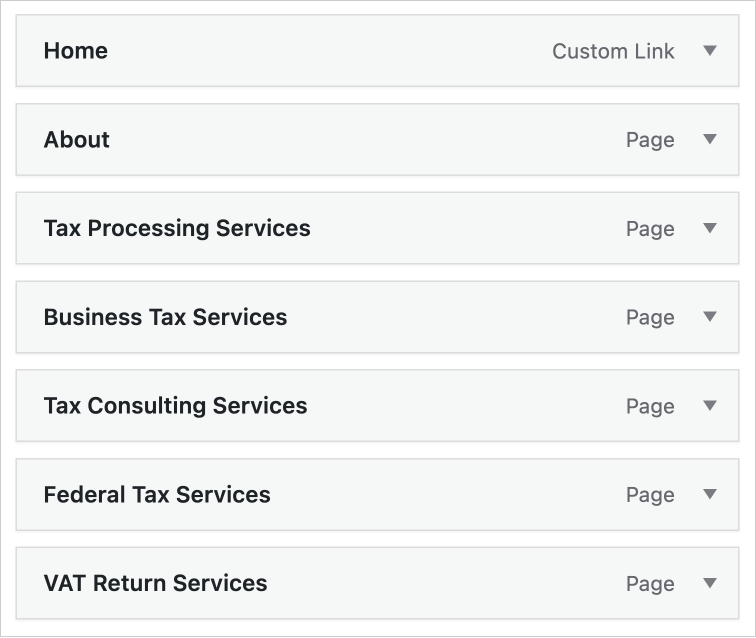
And here are the child pages that I want to transform into a sub-menu of the “Tax Processing Services” link:
Unfortunately, there is no bulk way to make these items into a sub-menu.
We have to go individually.
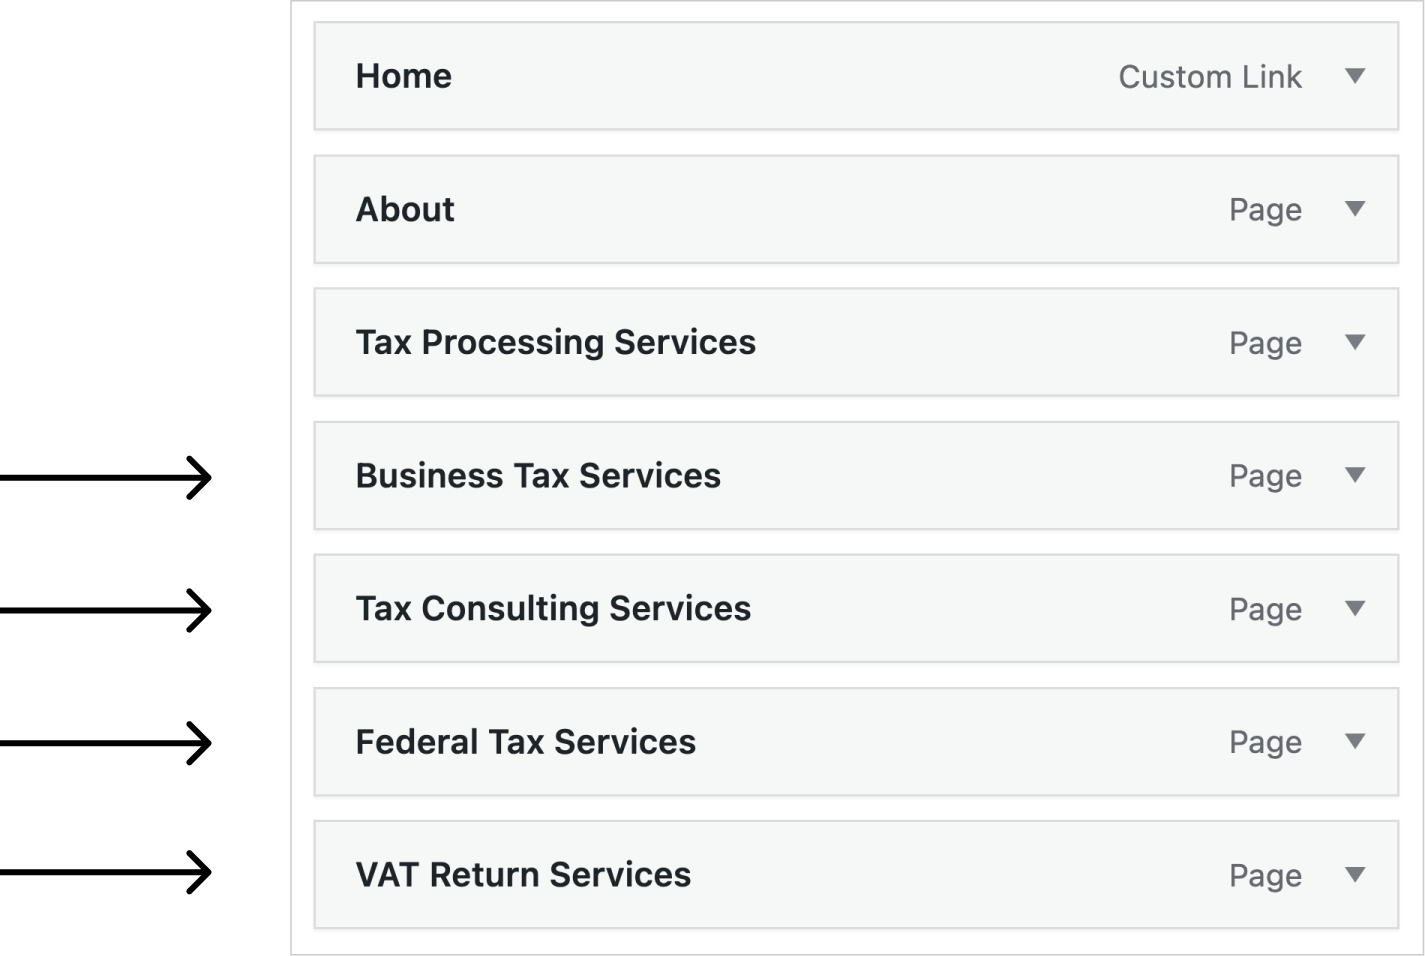
First, let’s make the “Business Tax Services” link into a sub-menu item.

To achieve this, click and drag the “Business Tax Services” link to the right until we see a dotted border that appears slightly inwards from the left-hand edge of the “Tax Processing Services” menu item.
Alright, that’s a mouthful :D
Here is the video of what I mean:
Now do the same for the remaining three pages:
Finally, click on the save menu button to save the changes.
And here is how the menu looks on the frontend:
Cool, isn’t it?
You can also create a second-level sub-menu similarly:
The thing is, WordPress lets you create up to four levels of sub-menus.
But I don’t recommend more than two levels of sub-menus.
In the next lesson, We will learn how to manage individual menu items.
 © 2026 UsableWP. A project by Naresh Devineni.