Creating a custom menu in WordPress
How we create a custom menu depends on the type of WordPress theme.
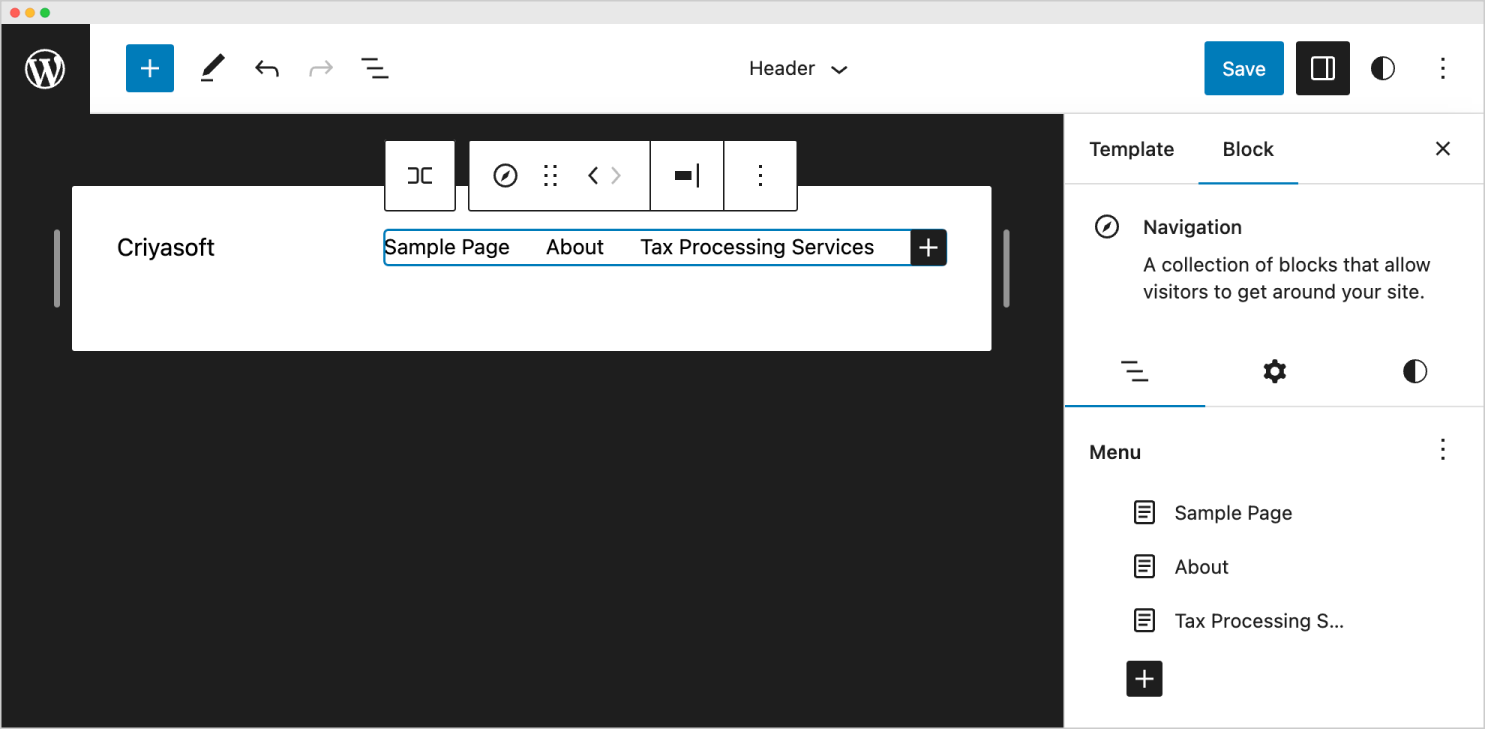
If we create a custom menu using a Block theme, we must use the “Navigation” block.
But if we create a custom menu using a Classic theme, we must use the “Menus” screen.
You can access the “Menus” screen by going to:
Admin Menu -> Appearance -> Menus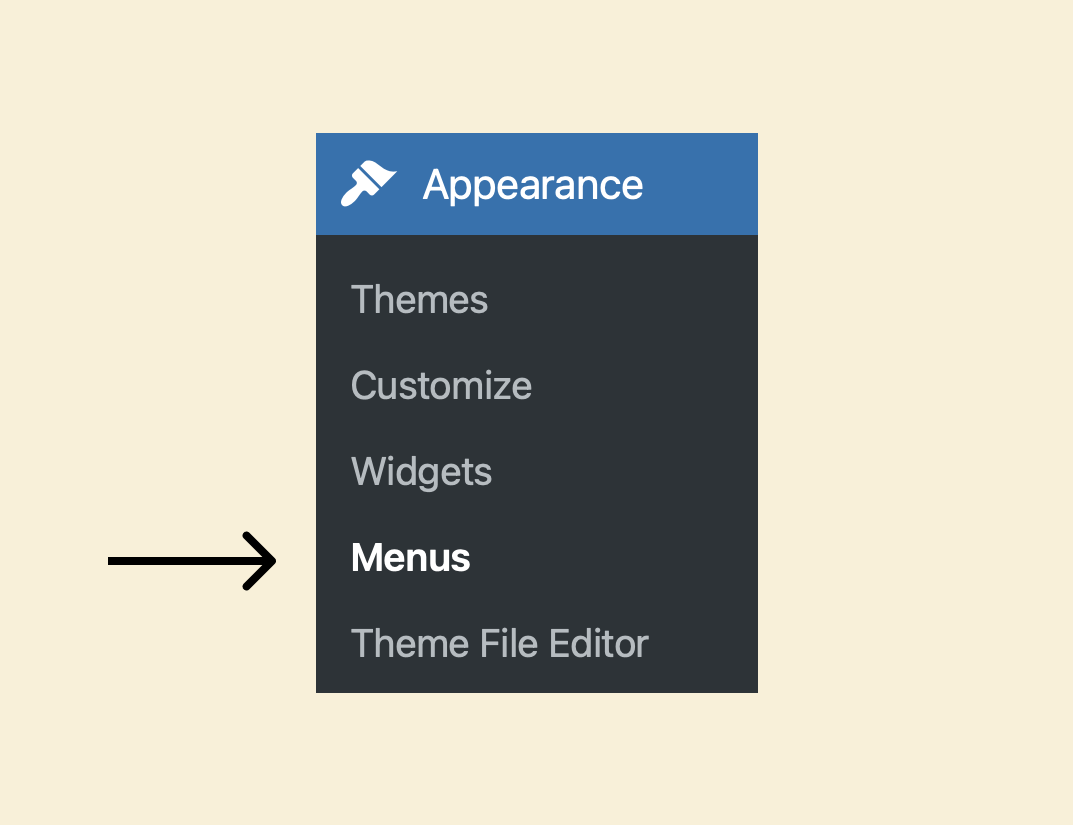
And here is a glimpse of the “Menus” screen:
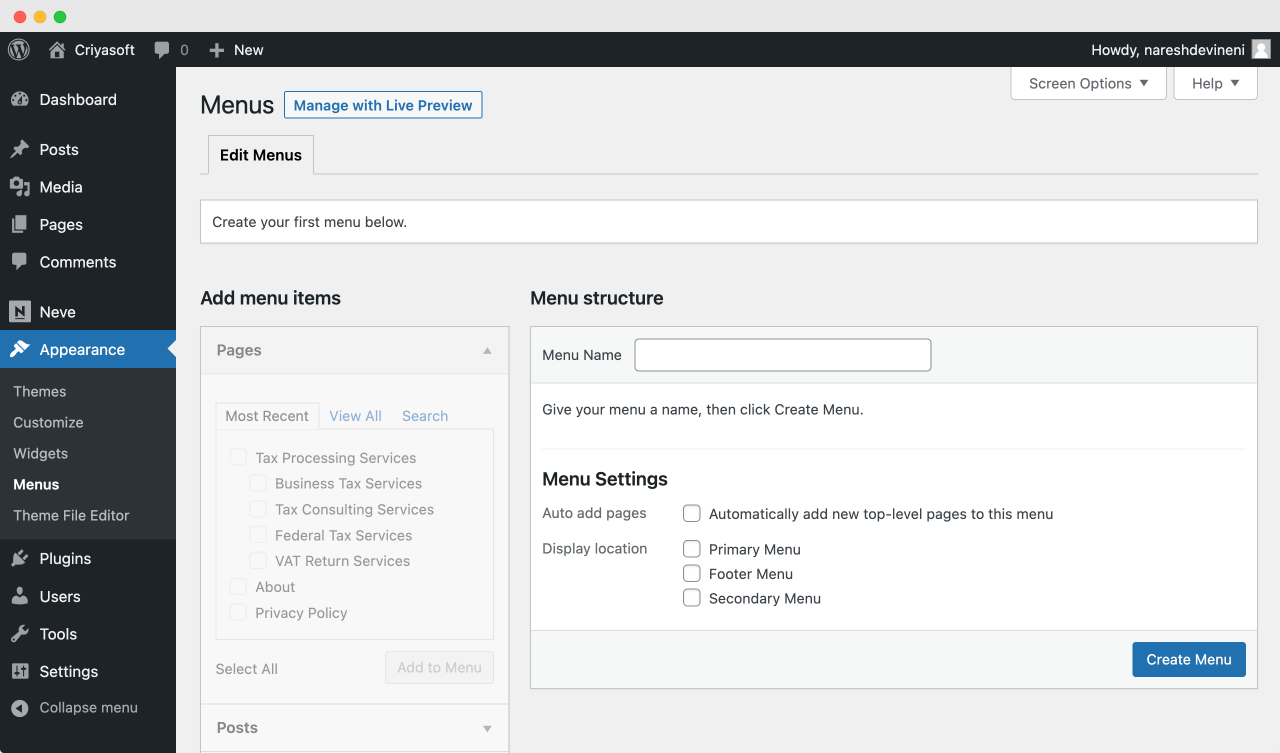
Let’s focus on the “Menus” screen because we are using a Classic theme.
The “Menus” screen is divided into two parts
On the left, there is a form for adding items to the custom menu:
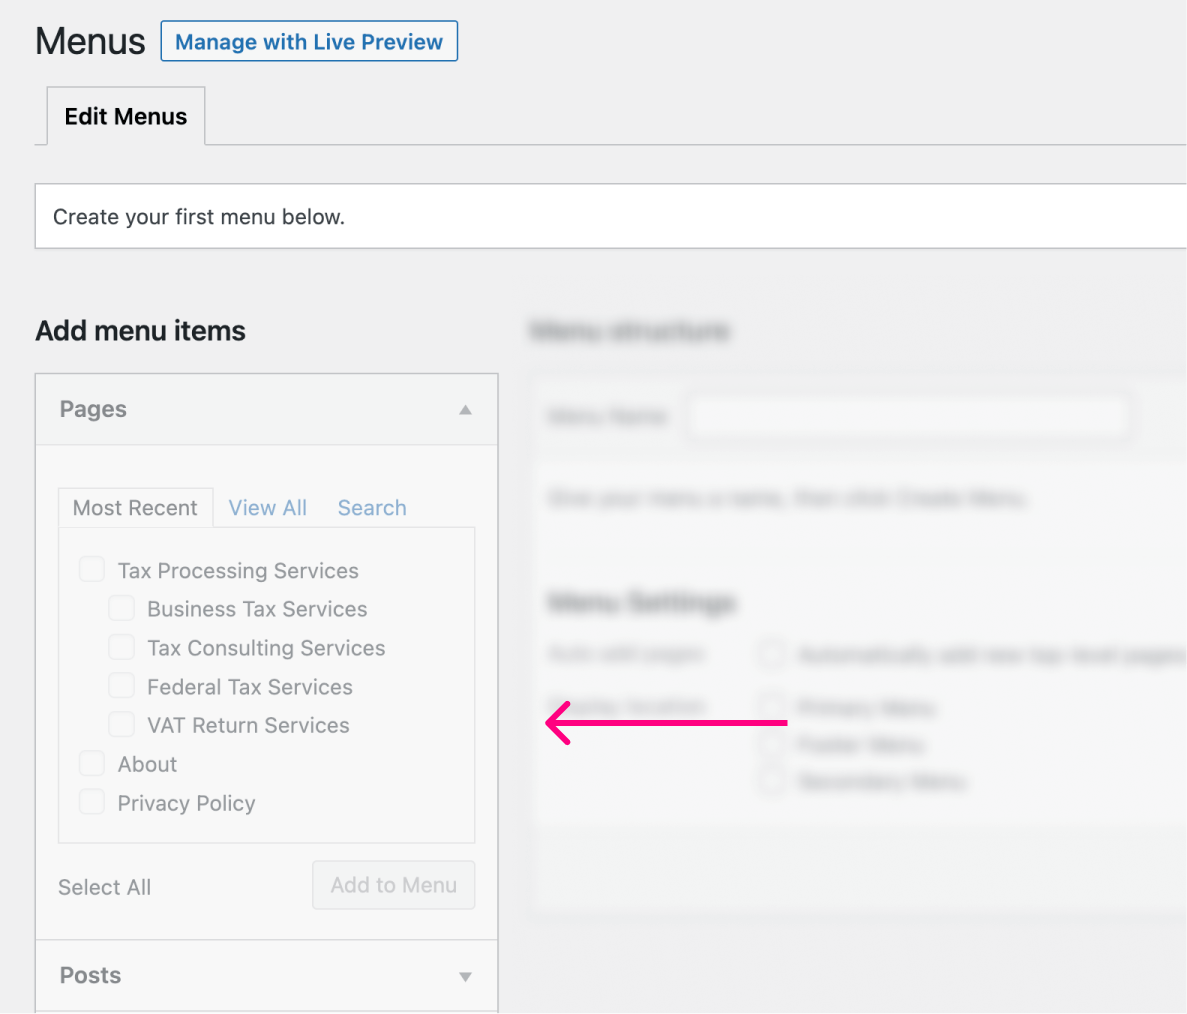
As a menu item, it contains all the pages, posts, categories, and tags we have created for our website.
But currently, the form is greyed out because we didn’t create a menu yet!
How could we add items to a menu that doesn’t exist?
So, this form will become available to us only once we create the menu.
But how do we create a menu?
If you notice, on the right, there is an area called “Menu Structure”:
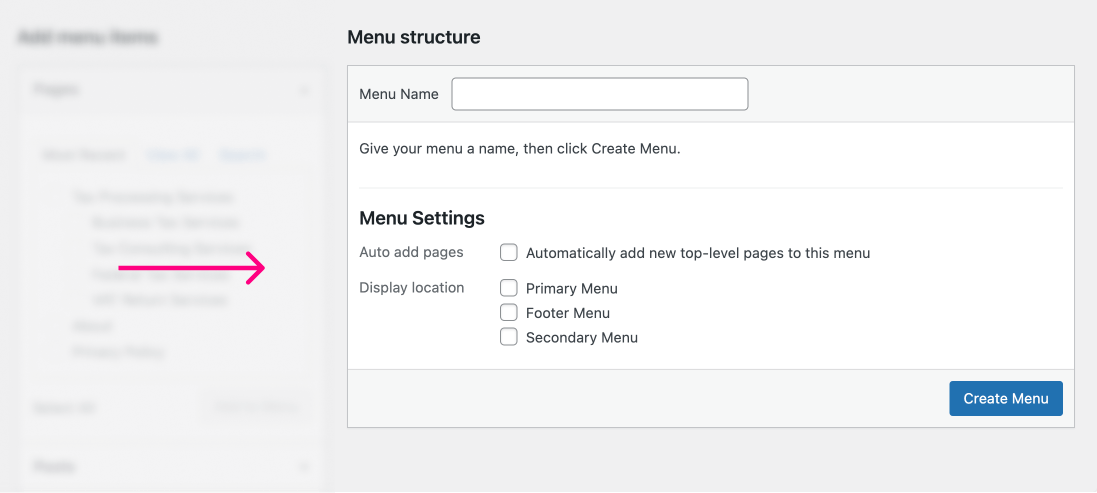
Usually, the menu items we add to the custom menu will appear in this “Menu Structure” area.
But because we didn’t create any menu yet, it currently provides a form to create the menu.
So, let’s use it and create a menu
First, we need to provide the menu name.
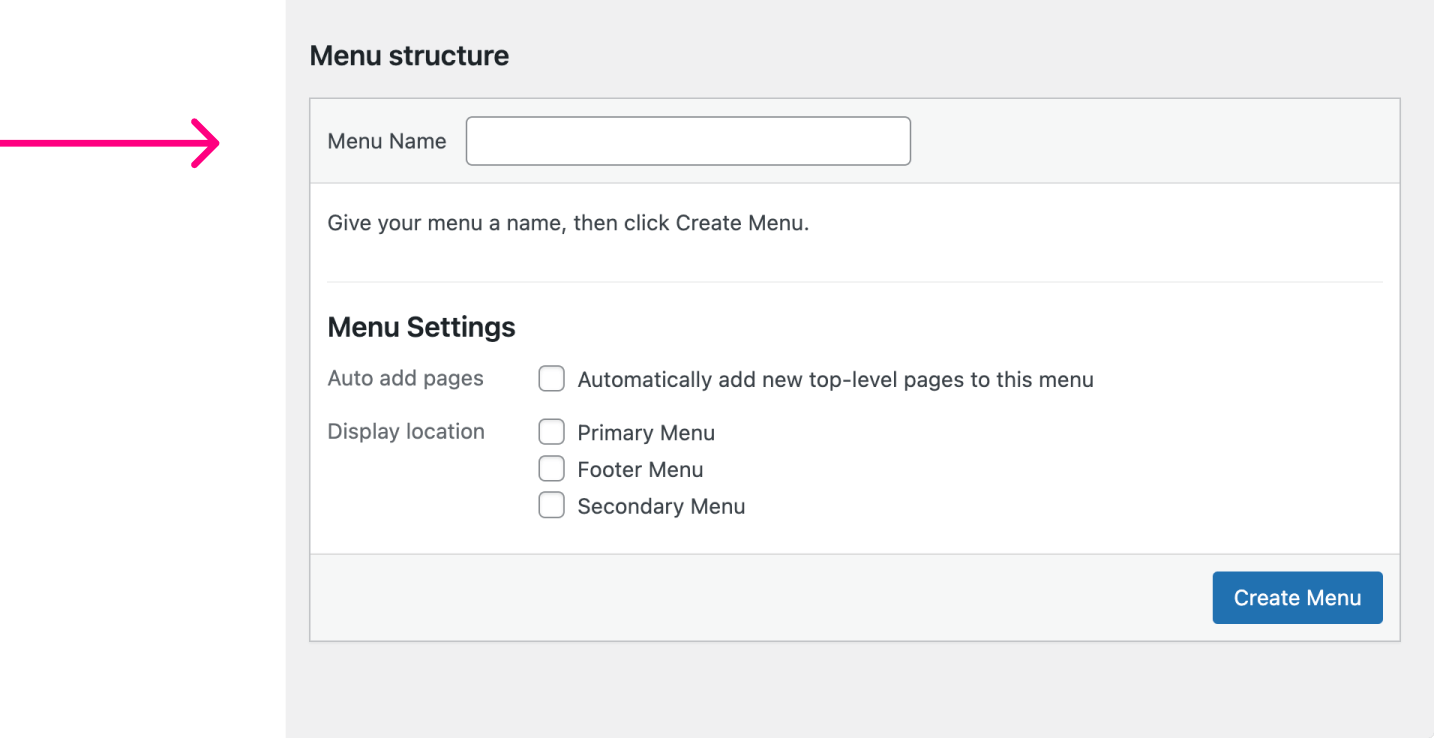
We need to provide a self-descriptive name so that, at a later point in time, we can easily recognize the purpose of the menu.
I want to name it “Header Menu” because I want to use this menu for the website’s header area.
Next, we need to configure the “Menu Settings”
After we enter the name, we need to configure two more options:
The “Auto add pages” option
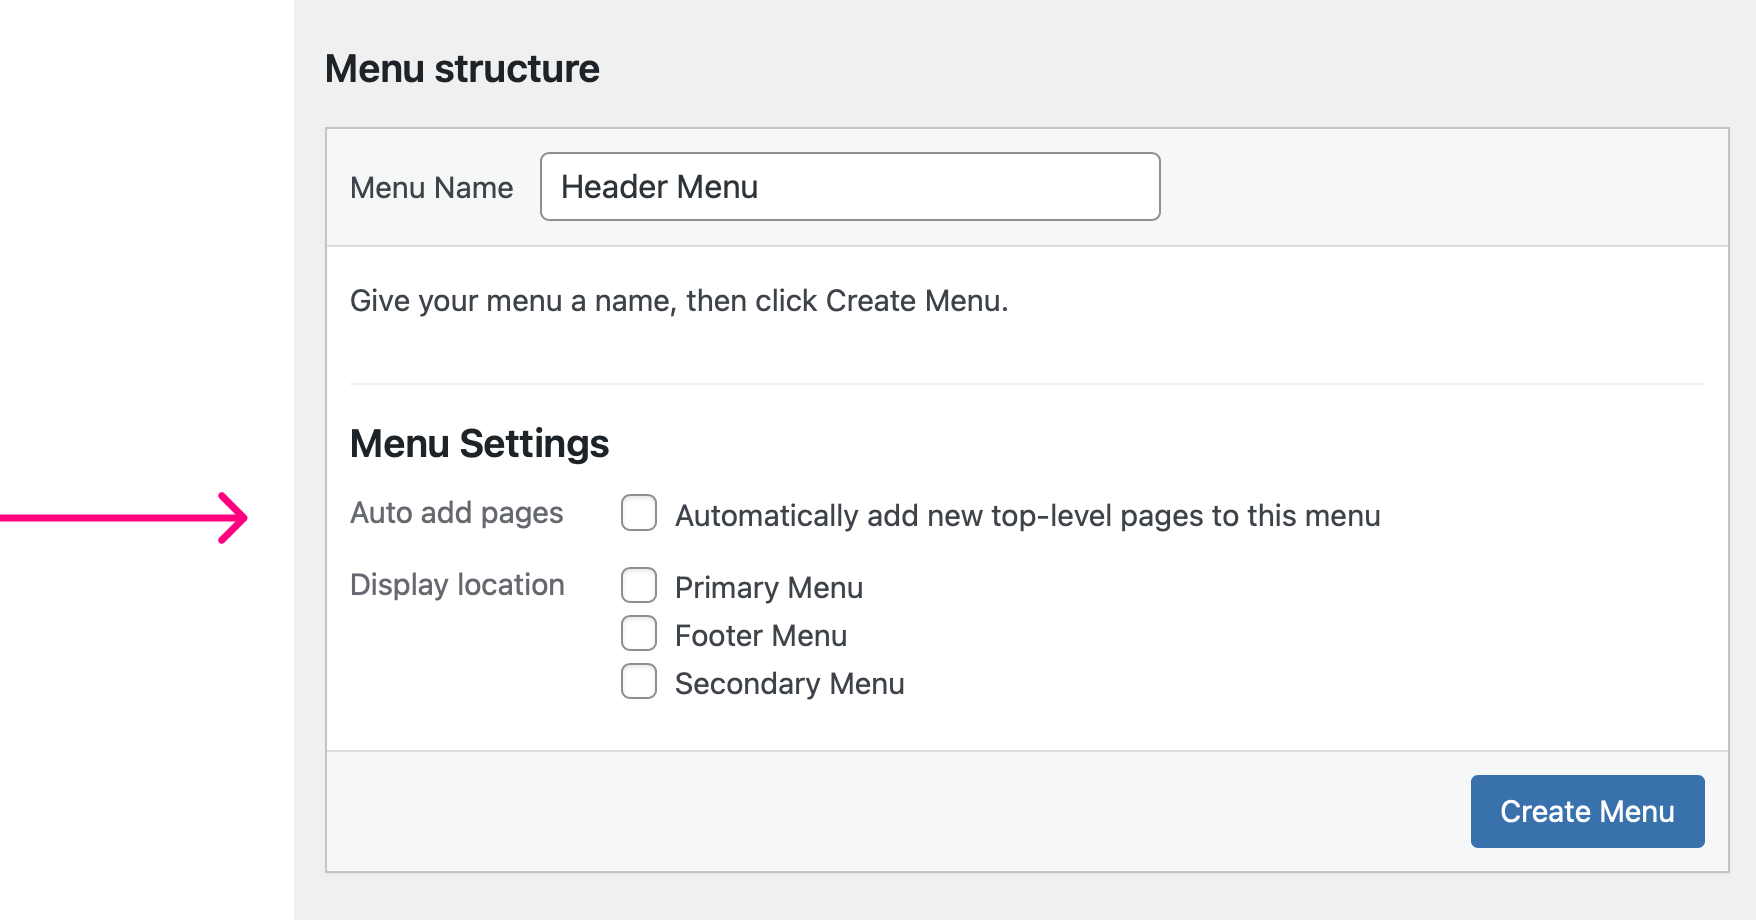
If you turn on the “Auto add page” option, once the menu is created, whenever you add new “Pages” to your website, they will be automatically added to this menu.
As a result, they will also be automatically displayed in the website’s header.
I don’t use this option because I want only specific pages to appear on the header menu.
So, I prefer to add them to the menu manually.
Simply put, I will leave the “Add auto page” option turned off.
Next…
Display Locations
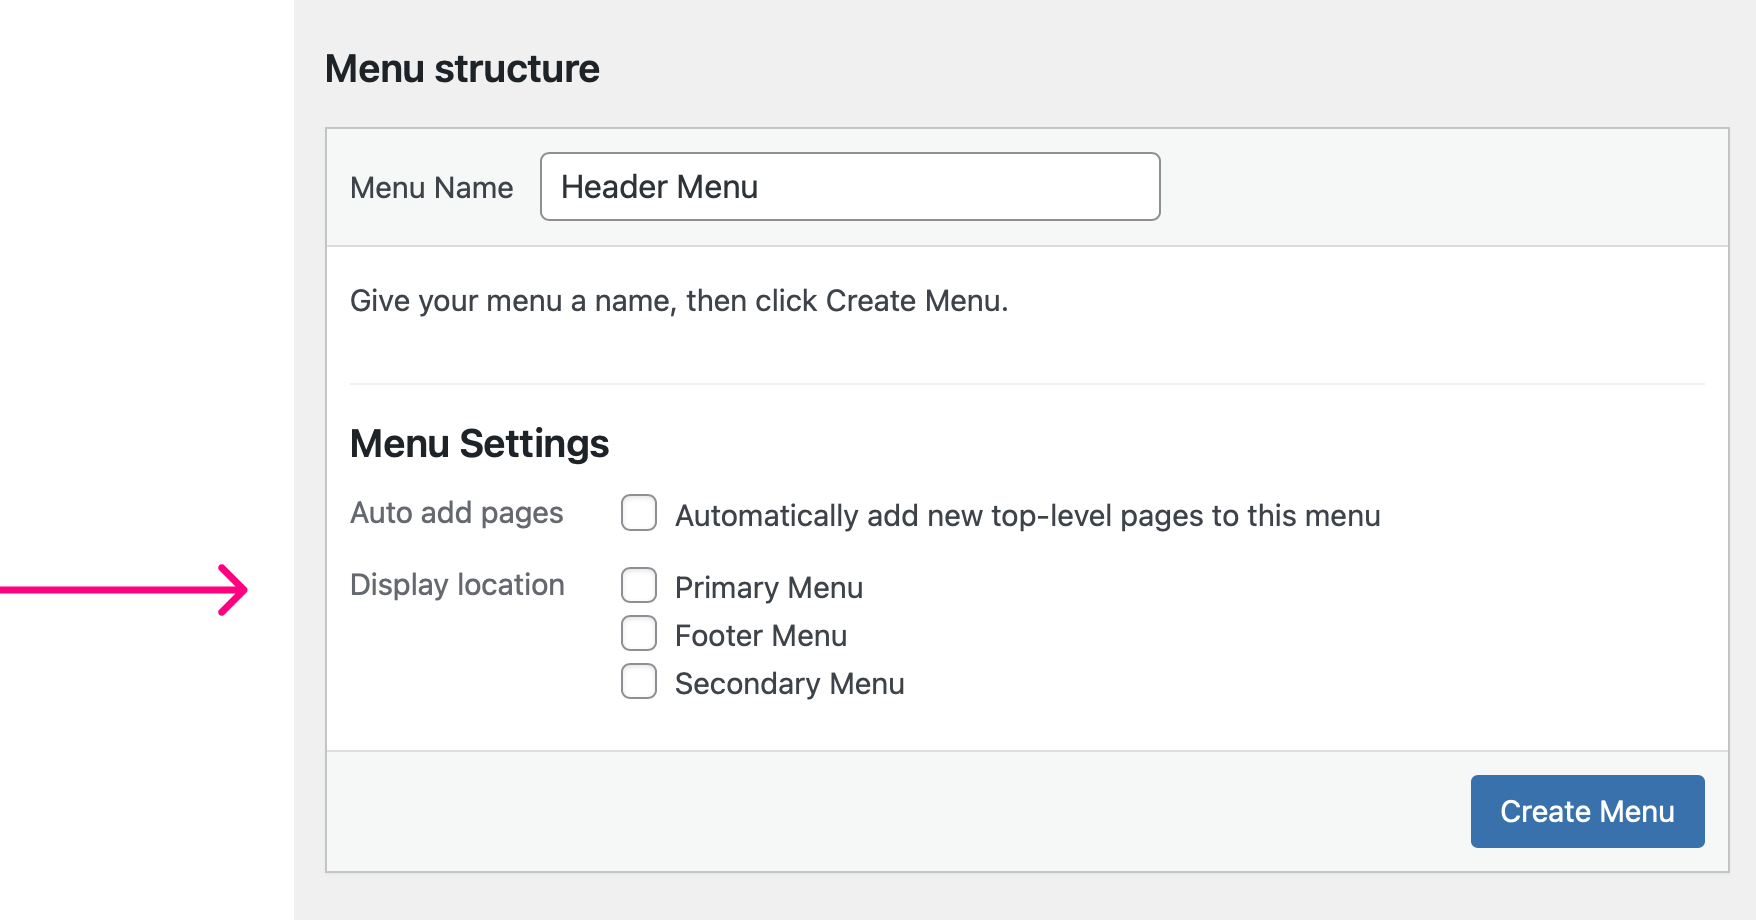
As the name suggests, this setting asks a very important question:
Where do you want to display your menu on the frontend?
And there are three options for us to pick from:
- Primary Menu – If we check this option, the menu will appear in the site’s main header.
- Footer Menu – If we check this option, the menu will appear in the site’s footer.
- Secondary menu – Not sure where the “Neve” theme will make this secondary menu appear. We have to try it out and see.
The active theme decides the display locations.
So, if you use a different theme than “Neve”, you might find similar options, but their display locations and labels could differ.
Having said that, every theme will support displaying the menu inside the header and footer.
Anyway, we are trying to create a custom menu to display in the header of our website, right?
So, turn on the “Primary Menu” option.
Otherwise, the custom menu will not be displayed in the header.
rea, check the “Footer Menu” option.
You are not limited to only one location. You can display the menu in multiple display locations at the same time.
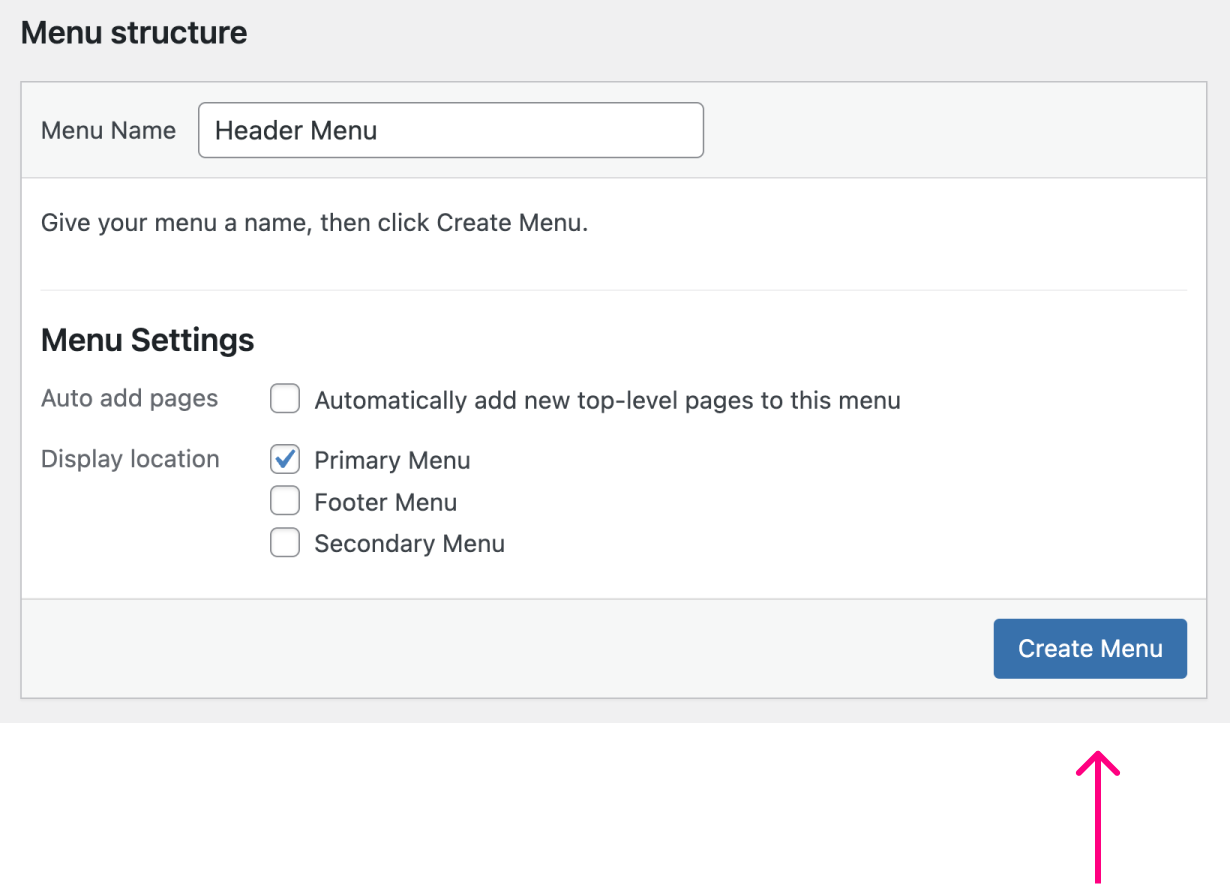
Finally, click the “Create Menu” button to create the menu.
If you now go ahead and view the header of the website on the frontend:

Bang!
The menu items are missing.
The reason behind this is simple.
Previously, WordPress was displaying an auto-generated menu in the header.
But we created a custom menu and assigned it to the header area just now.
So, WordPress replaced the auto-generated menu with our newly created “Header Menu”.
But because we didn’t add any menu items to the newly created “Header Menu” yet, WordPress is not displaying anything in the header.
We will fix this problem in the next lesson.
 © 2026 UsableWP. A project by Naresh Devineni.