Adding a custom link to the menu
A custom link allows you to create a hyperlink to any resource on the web and then output it to the menu on the frontend.
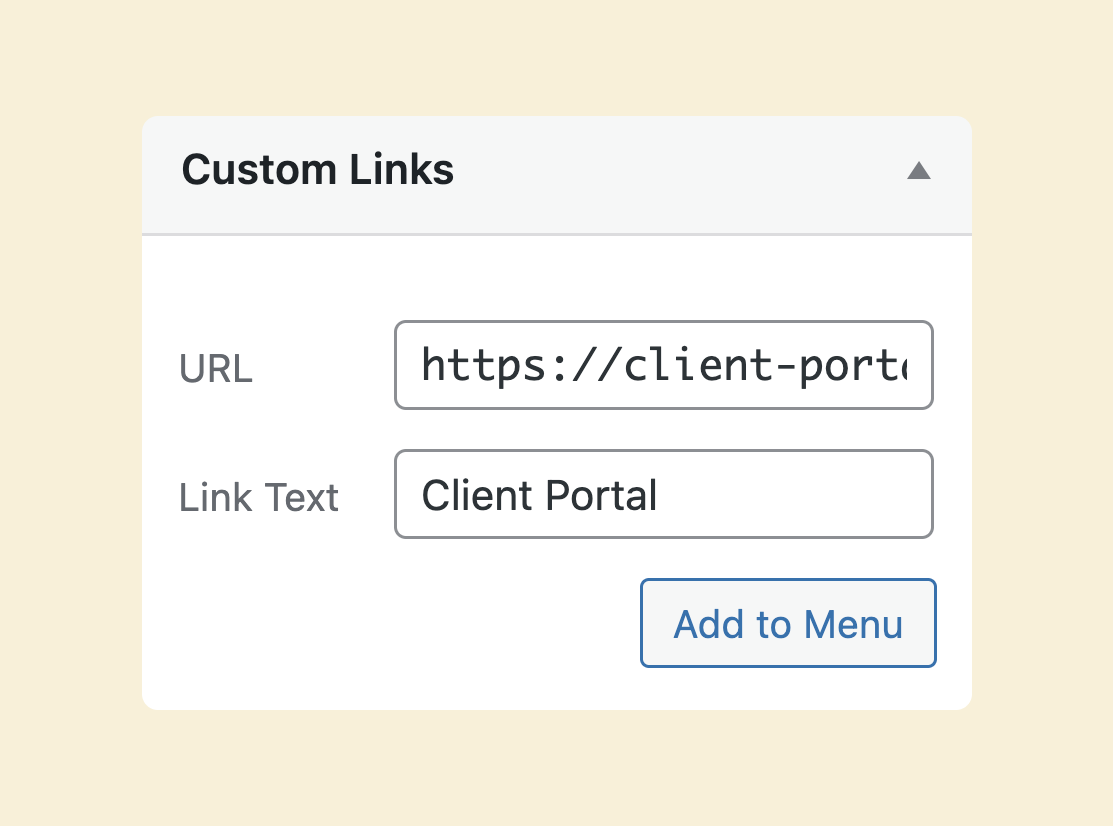
To create a custom link, all you need to do is provide the following:
- URL – where you want to take the users to.
- Link Text – A label for showing the custom link on the frontend
The usage of the custom link is better shown than explained.
There are two use cases for custom links inside website menus
Use case one:
To send visitors to an external website.
For example:
- A link to a third-party login portal
- A link to one of your other sites
- Custom links to social media profiles such as LinkedIn, Facebook, Instagram, etc.
Come on, let’s try out the second example.
I want to add a custom link called “Me elsewhere” to the header menu and link it to my portfolio website.
To achieve this, I will first ensure I am inside the “Menus” screen and that the header menu structure is visible on the right.
Next, on the left, click on the “Custom Links” accordion, and I then provide the following details:
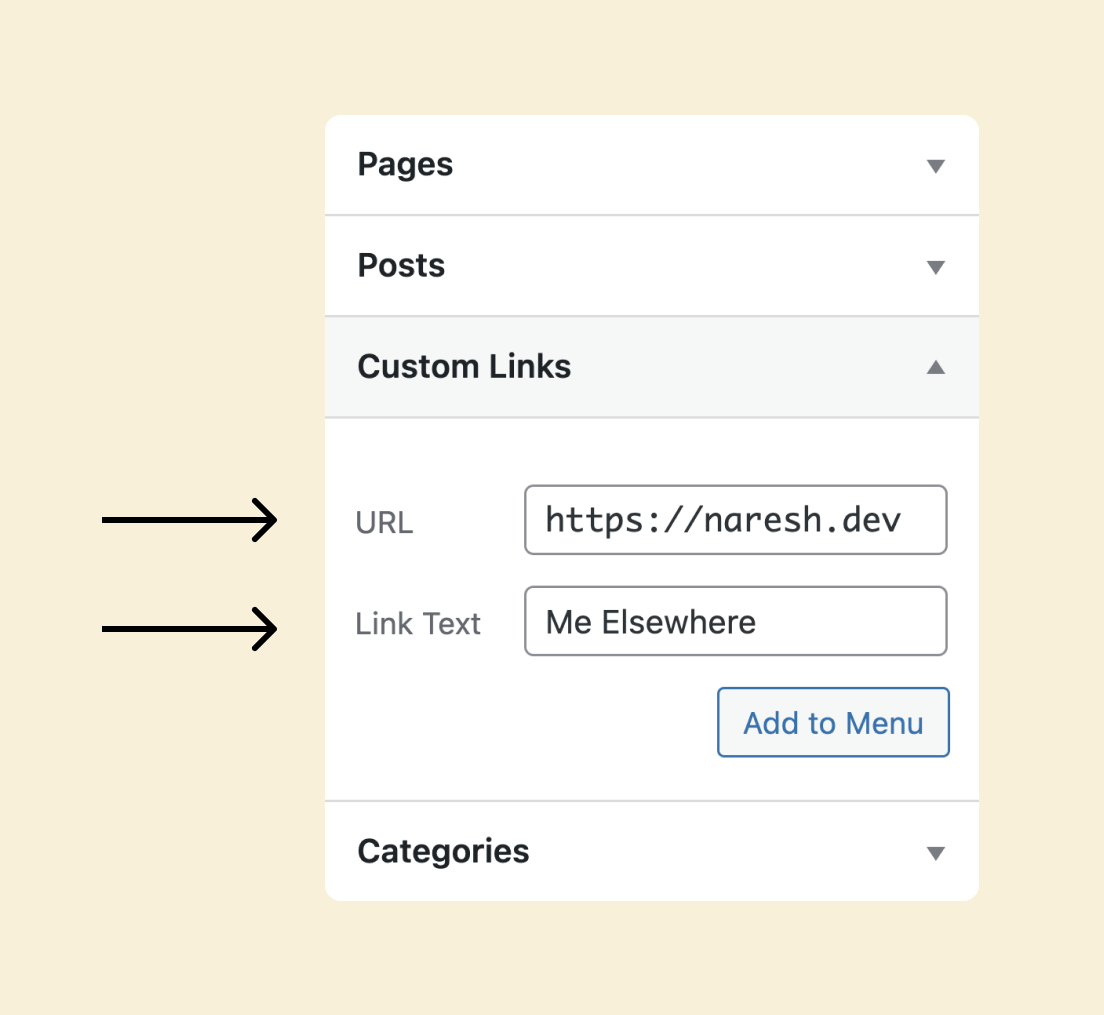
Always ensure your custom URL is valid, and the Link Text must be self-descriptive.
Finally, I click on “Add to menu” and then click on “Save Menu”.
Nothing complicated, right?
Anyway, when I preview the custom link on the frontend, here is what it looks like:
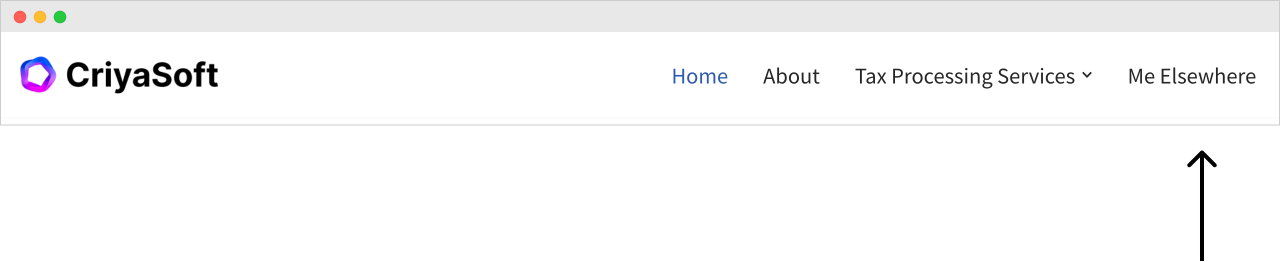
I really like this, and when I click on the “Me Elsewhere” link, it takes me to my portfolio website.
Use case two:
A Custom link is a perfect choice for creating a dummy parent menu item that exists just for the sake of a sub-menu.
For example, let’s say you want to display your blog categories as a sub-menu.
And you want to use the name “Categories” as the name of the parent menu item.
But WordPress doesn’t have a page called “Categories” and it is a bad idea for you to create a page just for the sake of using it in the menu.
How do you solve this problem?

Custom links?
Yep!
We need to create a dummy custom link called “Categories” and then add blog categories as sub-menu items.
So, what is a dummy link?
When we click on a dummy link, nothing happens.
Simply put, clicking the dummy link should not take the user anywhere.
It is just like firing a dummy gun. No bullets come out.
The sole purpose of the dummy link is to act as an opener for revealing the sub-menu.
How to create a dummy custom link
Creating a dummy link is just like creating any custom link.
But the twist is that we just enter the hash # as the value for the URL field.
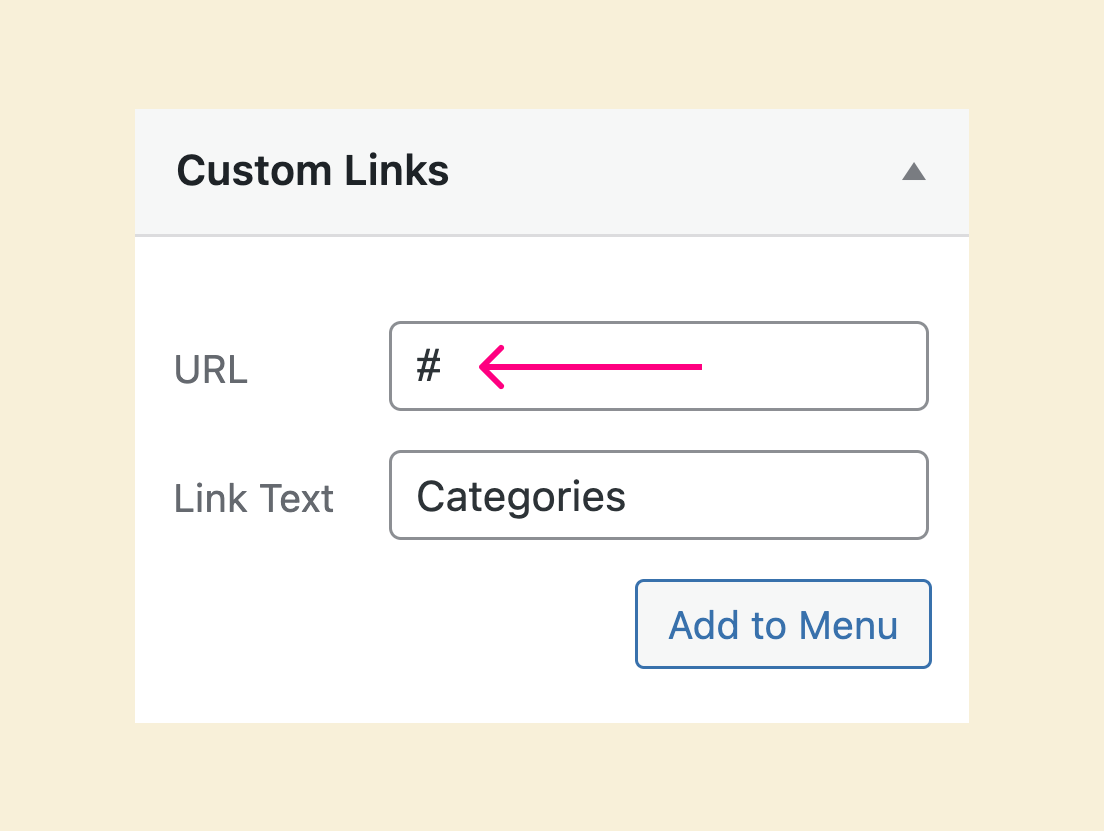
We are doing this because when someone clicks on the URL with the hash #, the click will lead nowhere.
The user stays on the same page, which is exactly what we want.
Anyway, next…
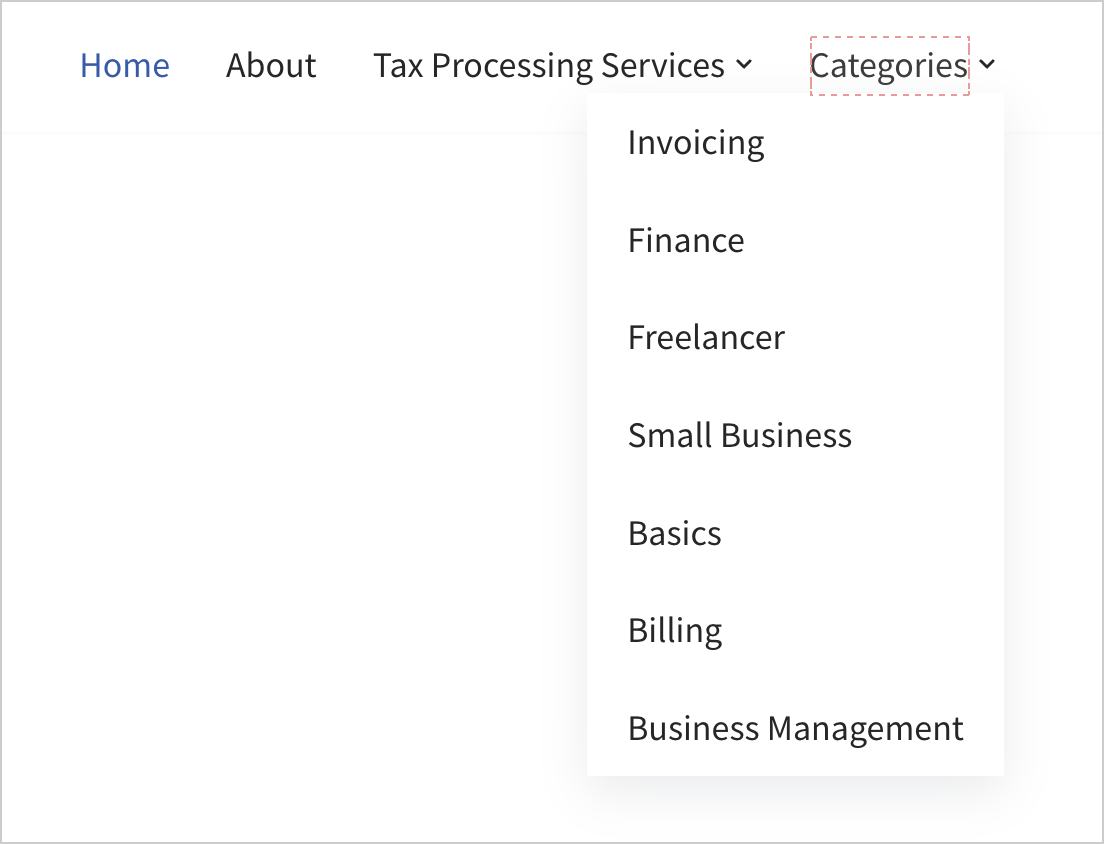
Let’s add the categories as sub-menu items:
To add blog categories to the menu, click the “Categories” accordion, select categories, and add them.
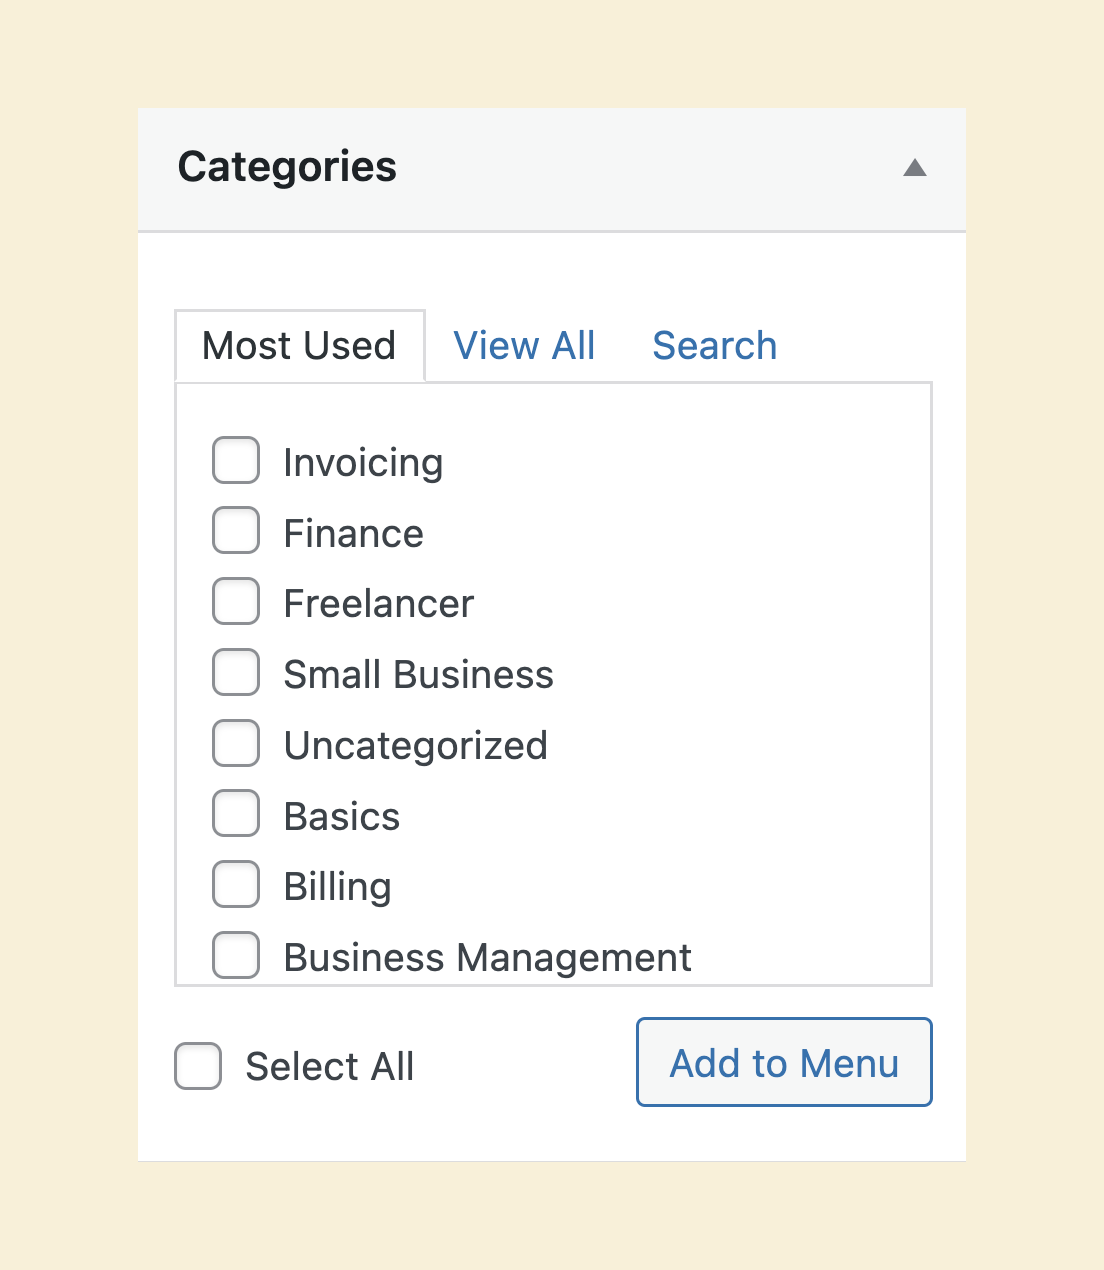
Next, adjust them to be sub-menu items of the “Categories” custom link.
Finally, click on the “Save Menu” to save the changes.
Here is how the updated menu looks on the frontend:
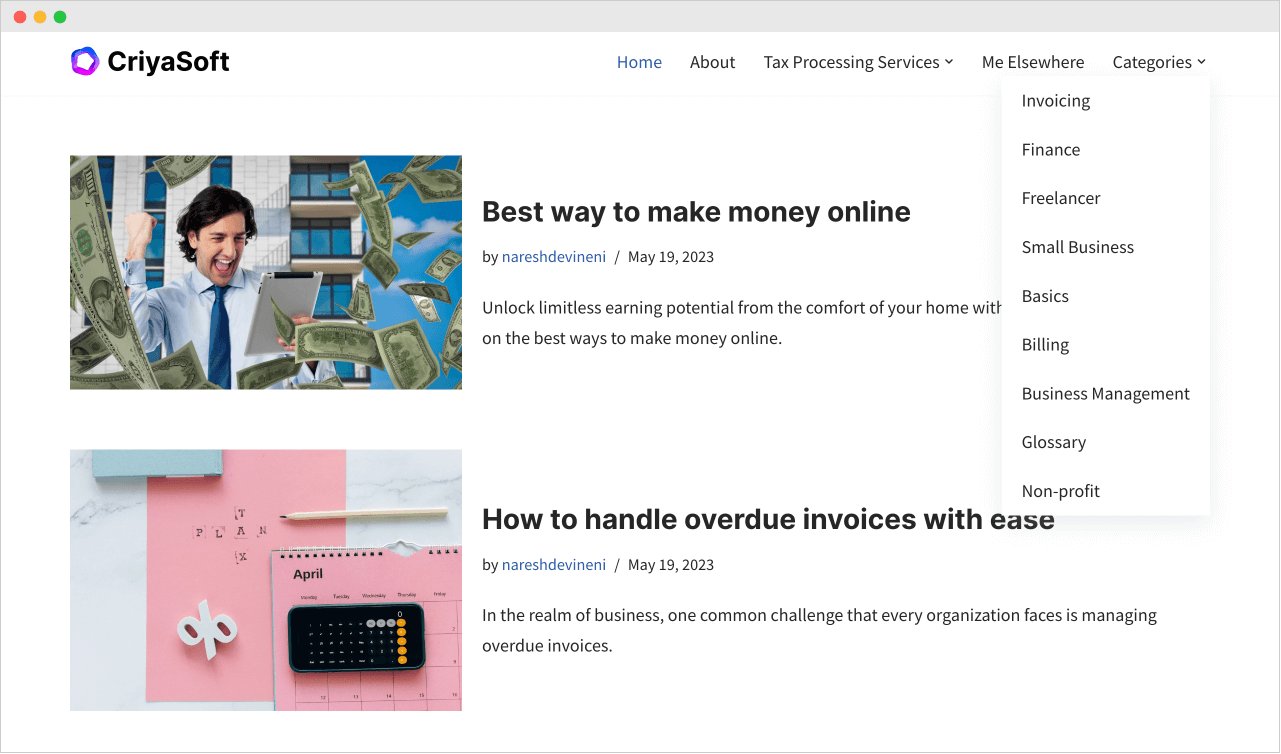
That’s all. Looks nice, isn’t it?
This is all good.
But there is a problem with the “Me Elsewhere” custom link, and we will fix that problem in the next lesson.
Previous Article
 © 2026 UsableWP. A project by Naresh Devineni.