Exercise: Creating a parent page and its child pages
Creating a parent page
It is just like creating any other page in WordPress.
There is no difference.
For example, I have created a parent page called “Tax Processing Services” in the video below.
Did you see that?
I created the parent page just like any other page.
I didn’t configure anything extra.
This is because the configuration for the parent-child relationship happens from the child page side.
Come on, let’s work on it.
Creating a child page
Creating a child page is just like creating any other page in WordPress.
But we must perform one additional step before we hit the publish button.
We need to assign a parent page for the child page.
We can achieve this by using the “Parent Page” option.
It is located inside the “Page Attributes” section of the “Settings” sidebar:
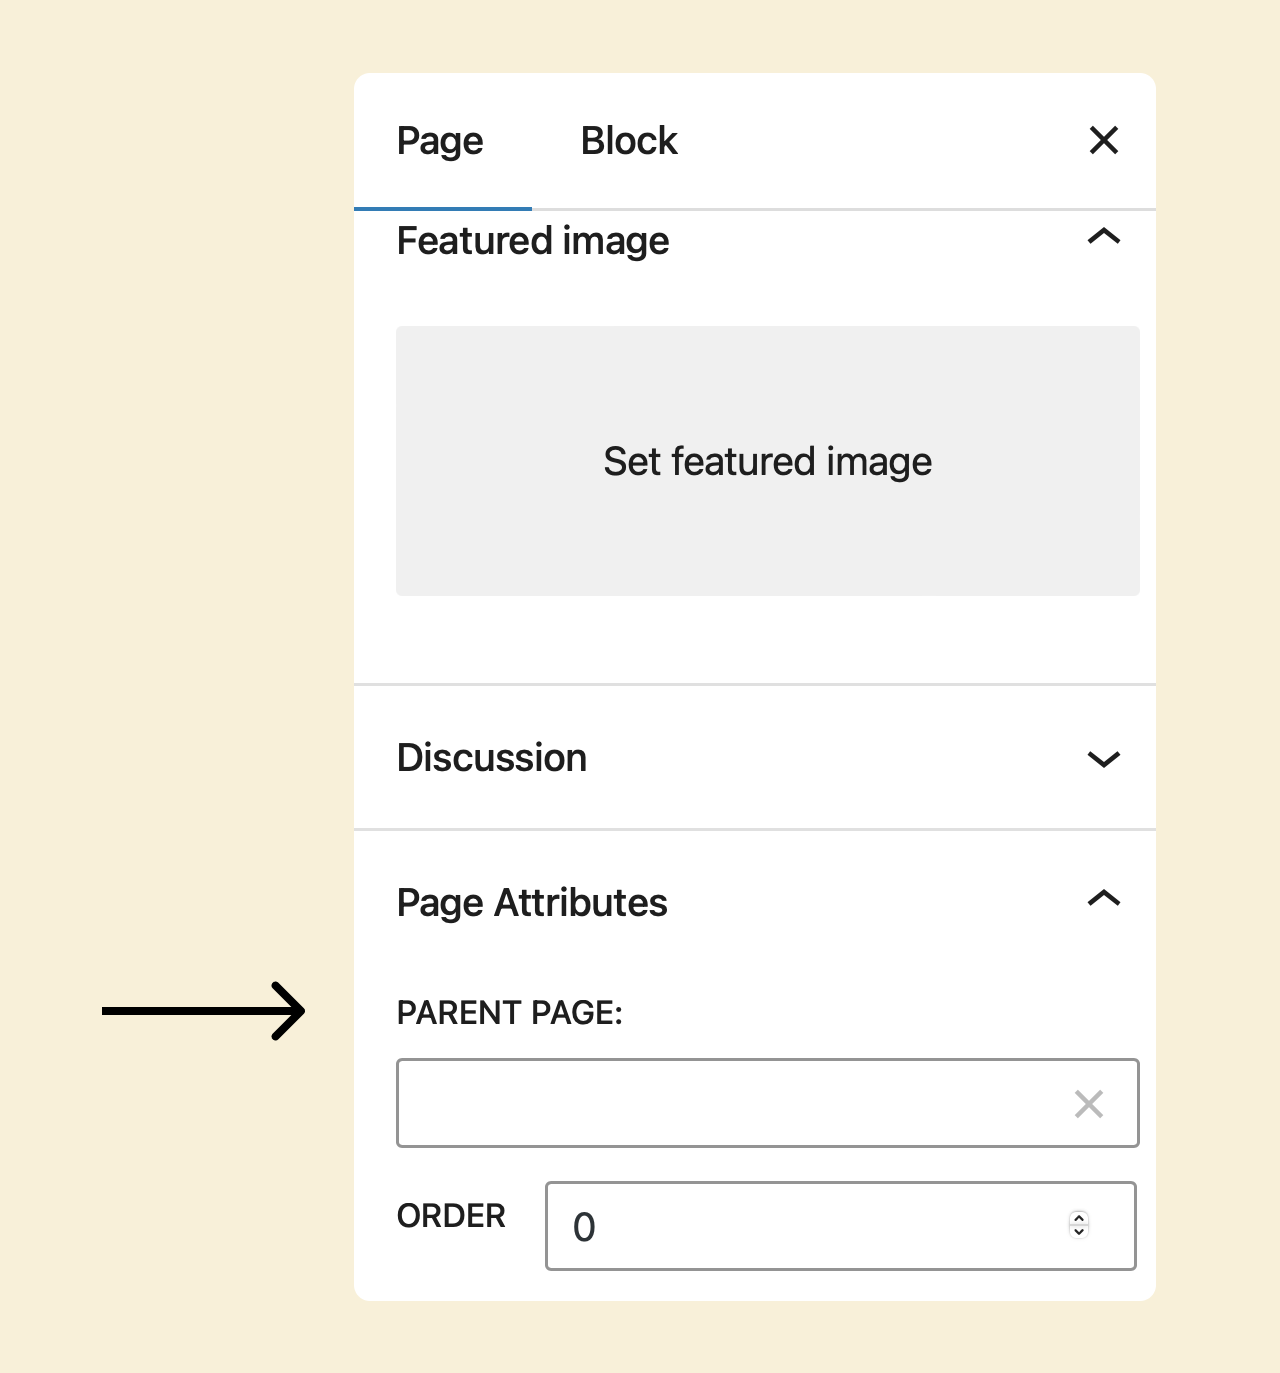
If you notice, there is a selection box underneath the “PARENT PAGE” label.
If you click on it, a dropdown will open up with a list of pages on your website.
You can select any page as a parent page for the child page we are creating.
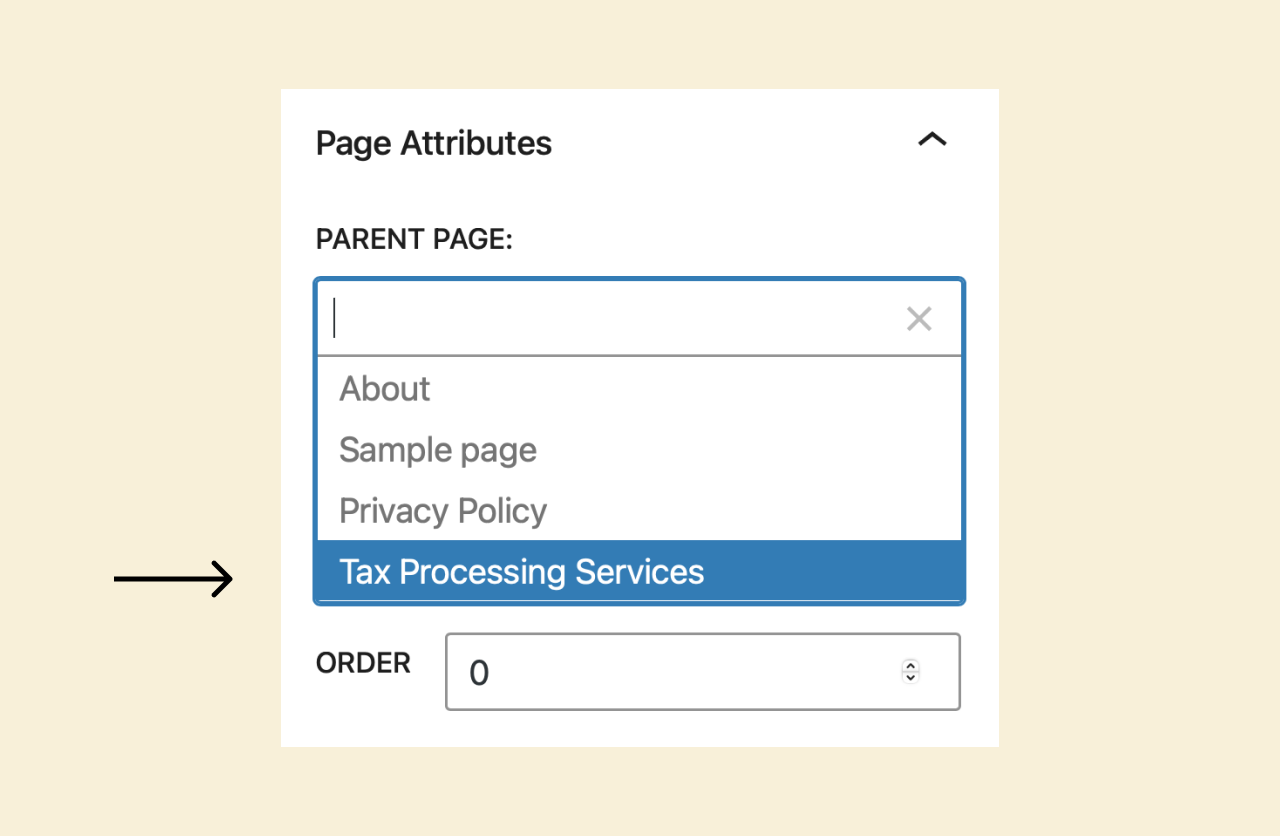
I selected the “Tax Processing Services” page as the parent page for my case.
Finally, click on the “Publish” button to save the changes.
You can follow the same process when assigning a child page to another child page.
This is the only way to form the “parent-child” relationship between the pages.
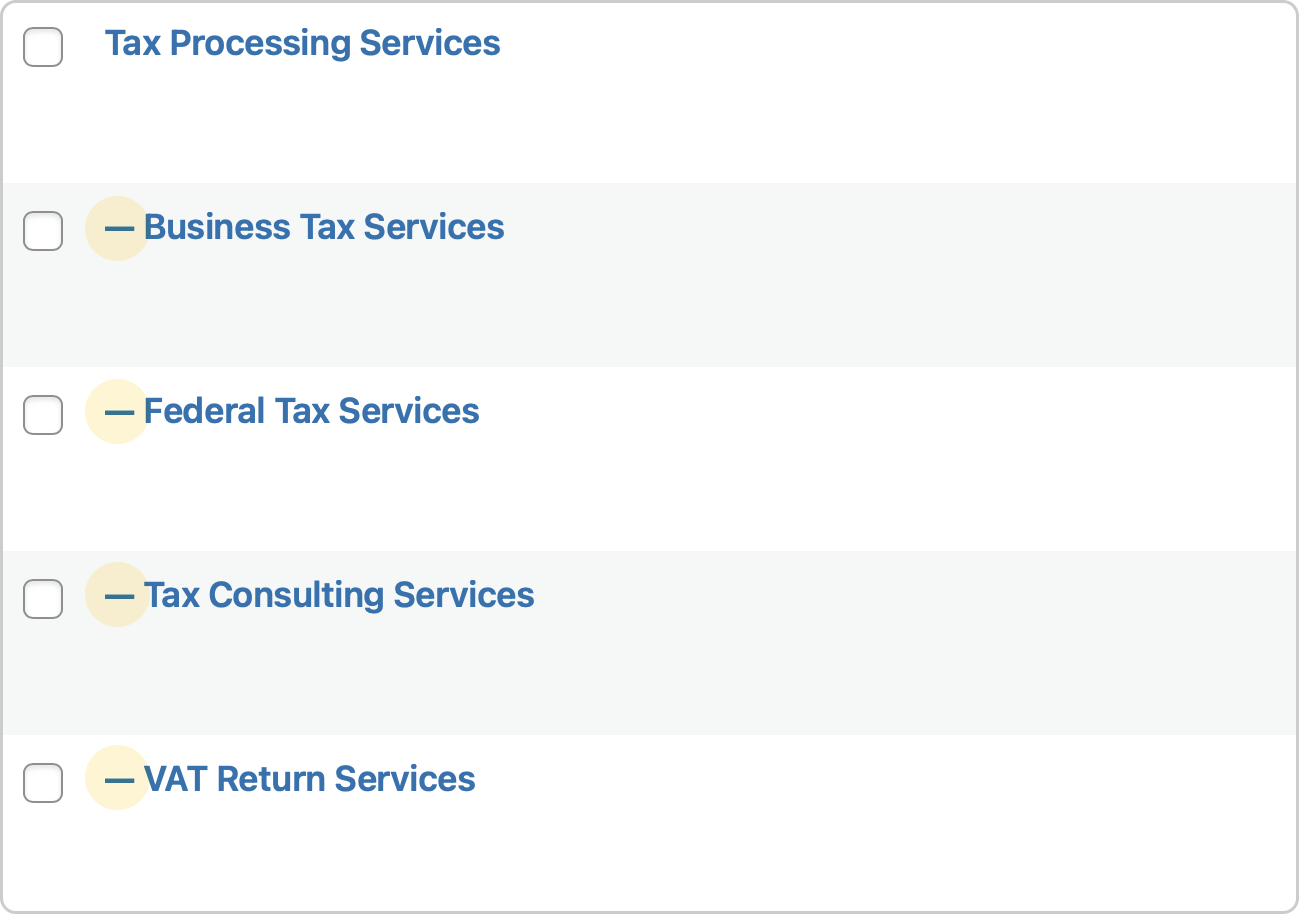
I now went ahead and created a few other child pages
If we now go back to the “All Pages” screen to indicate that a page is a child page, WordPress adds a double-dash next to its page name:
That’s all.
In the next lesson, we will discuss the need for a privacy policy page.

Previous Article

 © 2026 UsableWP. A project by Naresh Devineni.