Using a Shortcode for placing the contact form on the “Contact Us” page
In the last lesson, we created our first contact form:

But currently, this contact form is not being used anywhere on the website.
I want to place this contact form inside the “Contact Us” page.
But how do we do that?
How do we make this form appear inside a particular page or post?
This is where a “Shortcode” comes in.
So, what is a Shortcode?
A WordPress Shortcode is nothing but a small line of code that outputs a piece of functionality or information anywhere on the site.
A plugin developer usually generates shortcodes to make it easy for us (the non-techies) to display a piece of the plugin’s functionality anywhere on the site.
For example, when we created a contact form during the last lesson and saved it, the WPForms plugin generated a shortcode for it, and it looks like this:
[wpforms id="398" title="false"]Now, we can use this shortcode to display the contact form anywhere on the site.
By anywhere on the site, I mean:
- Pages
- Posts
- Inside the theme files
- Widget areas
This is better shown than explained.
Let’s embed the contact form inside the “Contact Us” page.
We can achieve this in four easy steps:
Step 1: First, let’s access and copy the shortcode of the “Contact Form” we created
To do this, go to:
Admin Dashboard -> WPForms -> All FormsThe “All Forms” screen lists all the forms you have created using the WPForms plugin.
And for each form, WPForms will provide a unique shortcode.
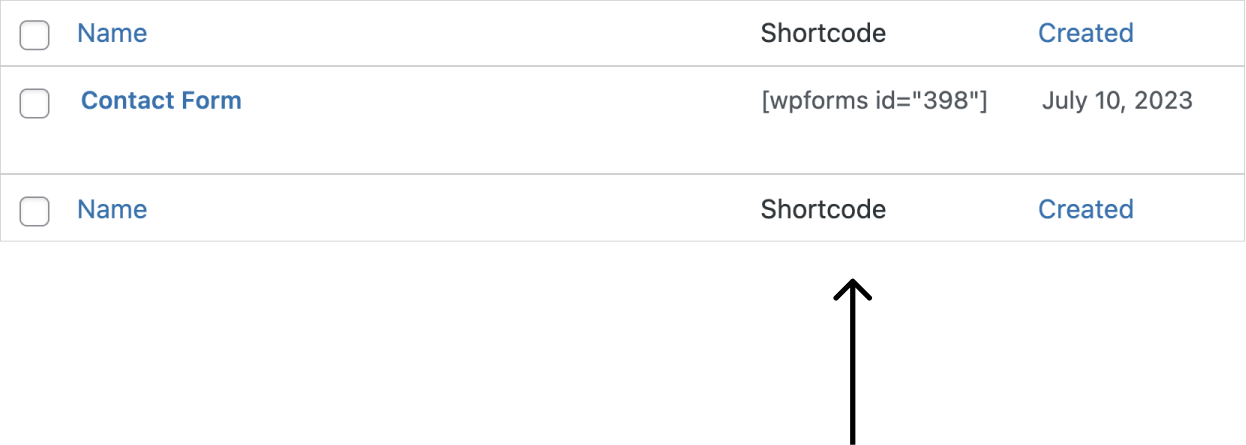
In our case, we have only created one form so far, and a shortcode is available for it.
It says:
[wpforms id="398"]The “id” parameter in the above shortcode tells the WPForms plugin which form to output.
And for you, this “id” could be different because WPForms generates it randomly.
So, make sure to copy your shortcode, not mine.
Step 2: Let’s create a new page called “Contact Us”
You already know how to create a page, right?
So, go ahead and create a “Contact Us” page by going to:
Admin Dashboard -> Pages -> Add NewStep 3: Put the shortcode we copied during Step 1 as the content of the page
Now, we need to add the shortcode to the content of the “Contact Us” page.
Adding a shortcode to a page is just like adding any piece of content using the block editor.
You could directly paste the shortcode inside the block editor.
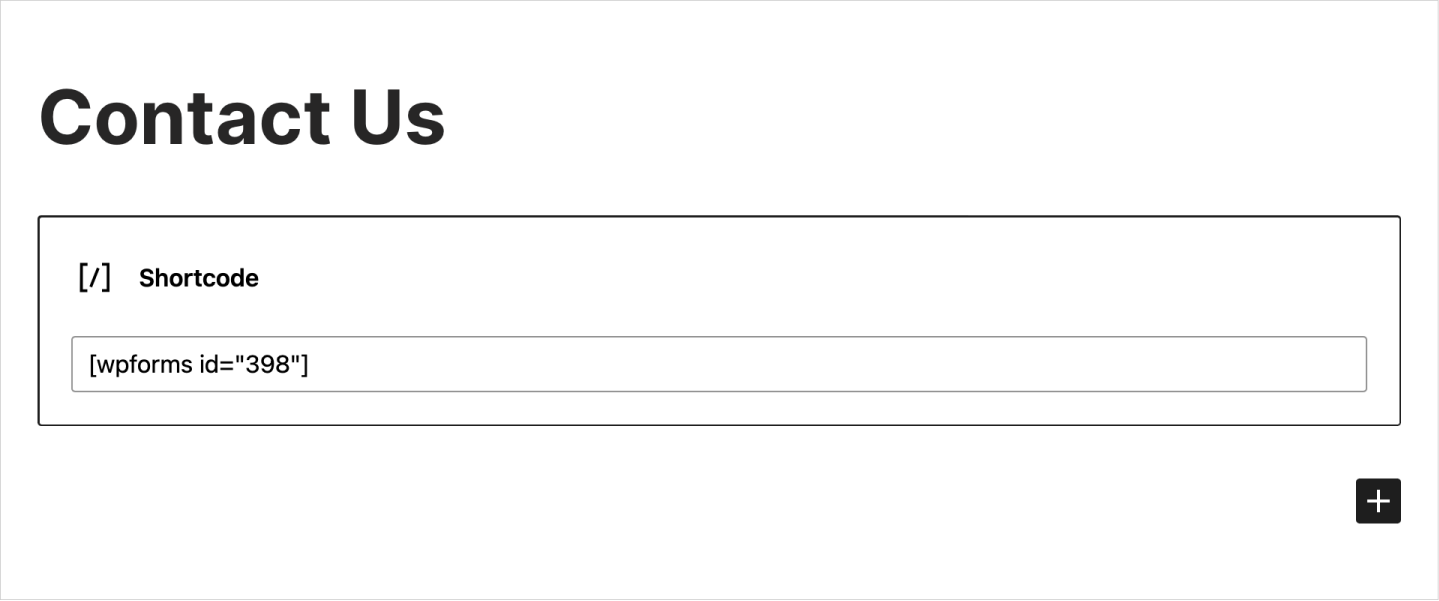
But I would recommend using the “Shortcode” block.
So, add the “Shortcode” block to the block editor, and paste the shortcode that we copied during step 1.
Step 4: Publish the “Contact Us” page
And finally, preview the changes by visiting the “Contact Us” page on the frontend.
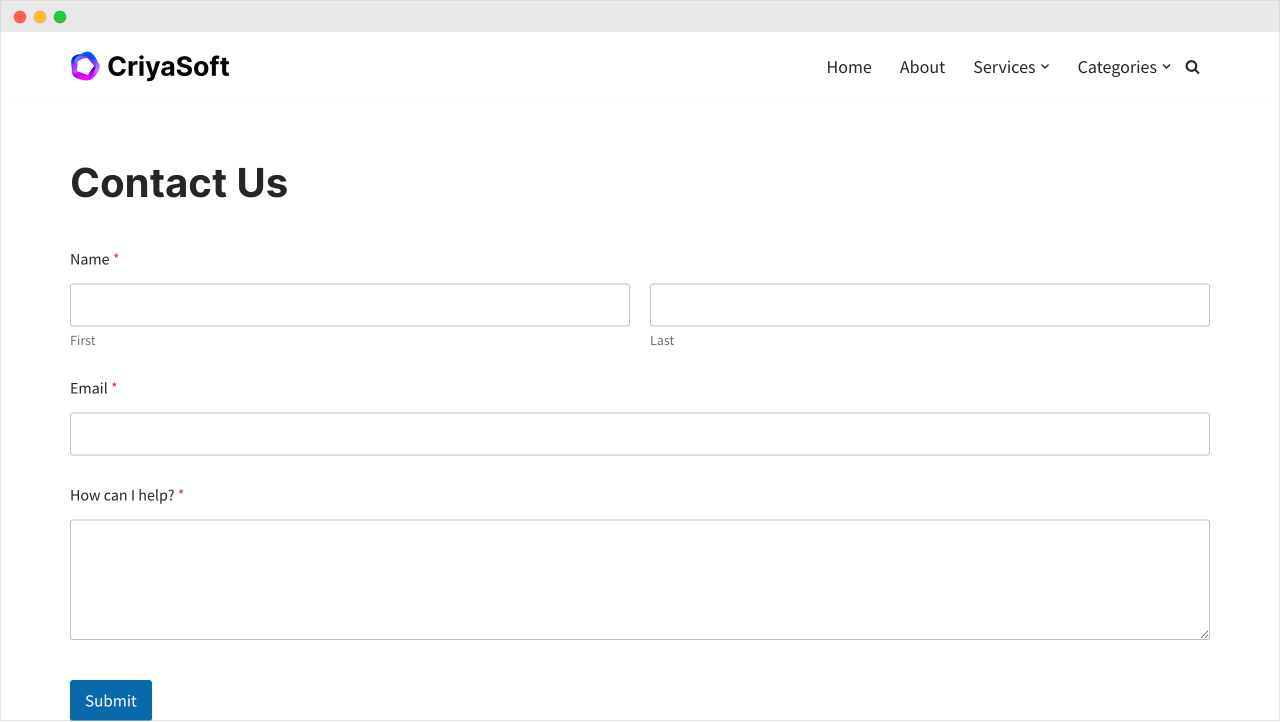
That’s all.
That’s how easy it is to place a contact form on the website using the shortcodes feature.
No complex coding. No relying on the developer to get the job done.
Having said that, I don’t like how the contact form looks on the frontend.
It occupies all the width of the page.
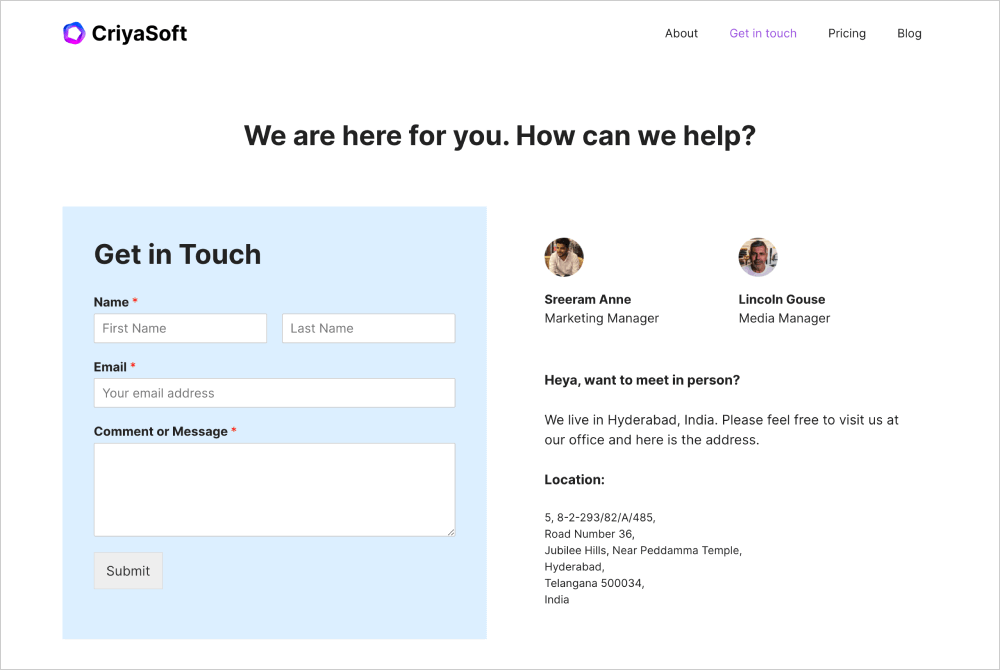
But don’t worry.
In the next module, we will give it a professional makeover like this:
Different plugins provide different shortcodes.
Please remember: No two plugins will provide the same shortcode.
Shortcode and the dynamic data it outputs changes from plugin to plugin.
Depending on the type of the plugin, its shortcode could output different things, such as:
- Image Gallery
- Newsletter forms
- Events Calendar
- e-commerce functionality
- The list goes on and on
Also, each plugin could provide multiple shortcodes for outputting different kinds of dynamic functionality.
For example, there is a plugin called “Woocommerce”. It helps us sell physical and digital products on our WordPress site.
And it comes with a unique shortcode for outputting each piece of e-commerce functionality:
woocommerce_cart– For displaying the cart feature on a particular pagewoocommerce_checkout– For displaying the checkout feature on a particular page- The list is pretty extensive.

Anyway, we have only covered the basic usage of shortcodes so far.
There is much more to shortcodes. We will see that in future courses.
Also, we are not done with our contact form yet!
In the next lesson, we will see more settings related to the contact form and test the form thoroughly.
 © 2026 UsableWP. A project by Naresh Devineni.