Exercise: Customizing the form fields to fit our needs
In the last lesson, we created the following contact form.
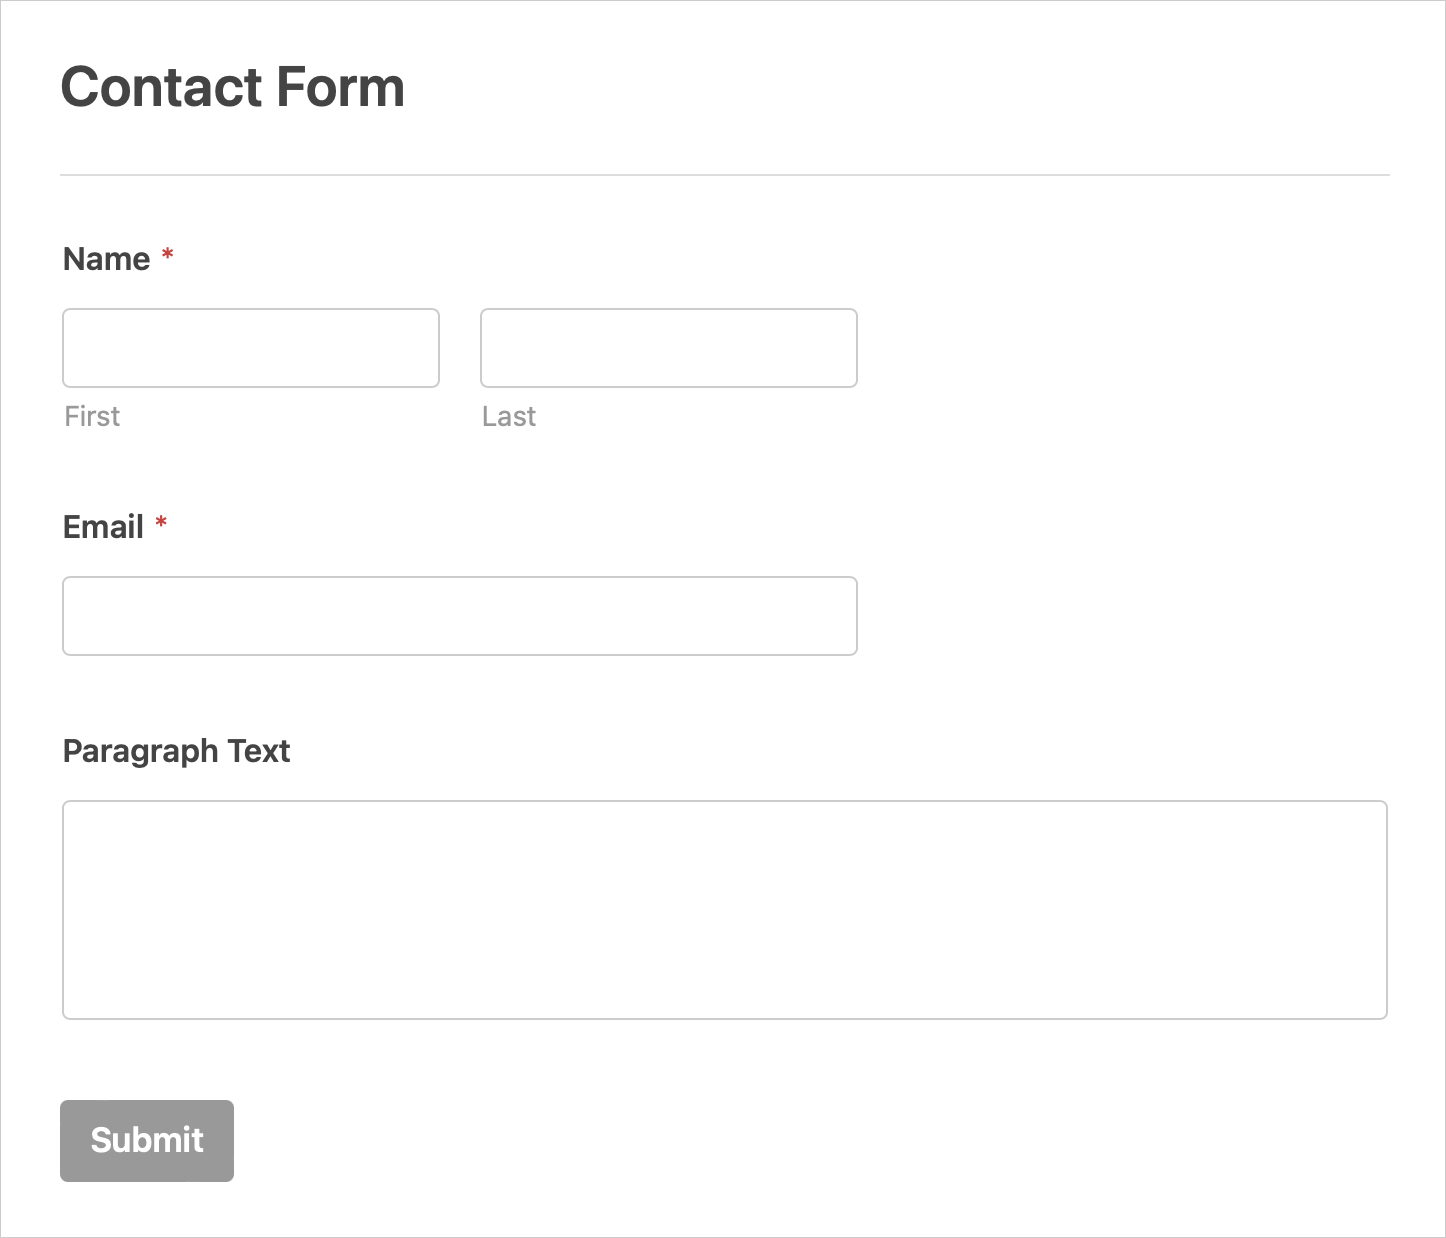
But there are some problems with the fields added.
Let’s now fix them one by one.
Renaming a field’s label
The first problem is the label that says “Paragraph Text”.
I know that I added this field for collecting a message from the user, but because it’s a generic label, the user cannot understand its purpose.
So, I want to rename the label “Paragraph Text” to “How can I help?”.
This will make the user understand the purpose of the text area instantly.
Anyway, to rename any field’s label, click on it first to select it.
This will bring up options specific to that field, and these options are located under the “Field Options” tab.
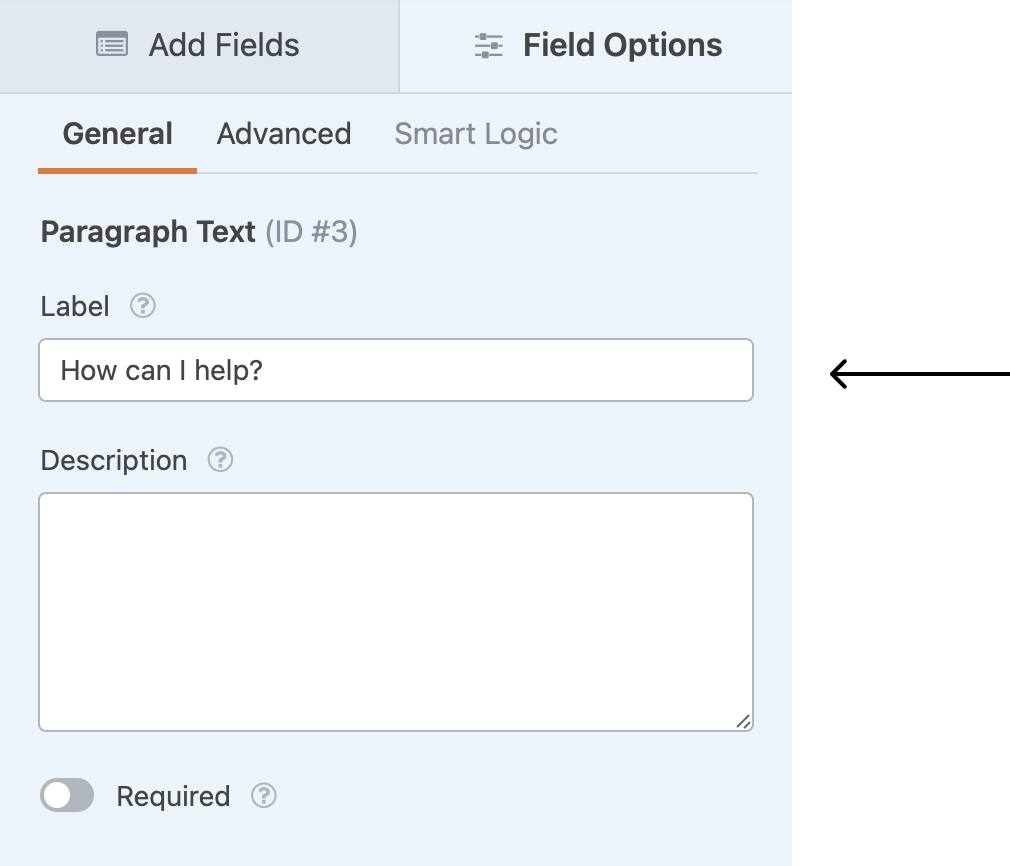
Next, change the “Label” option to “How can I help?”.
That’s how easy it is to change the label of a field.
Marking a particular field as required
Sometimes, we must mark a particular field as required because we must collect that information from the user.
If you notice, the “Name” and “Emails” fields are marked as required by default.
I know this because there is a red-colored asterisk next to the names of the “Name” and “Email” fields.

The red-colored asterisk indicates that the user must enter their “Name” and “Email”.
And if the user tries to submit the form without filling in the mandatory fields, the form will through an error to them.
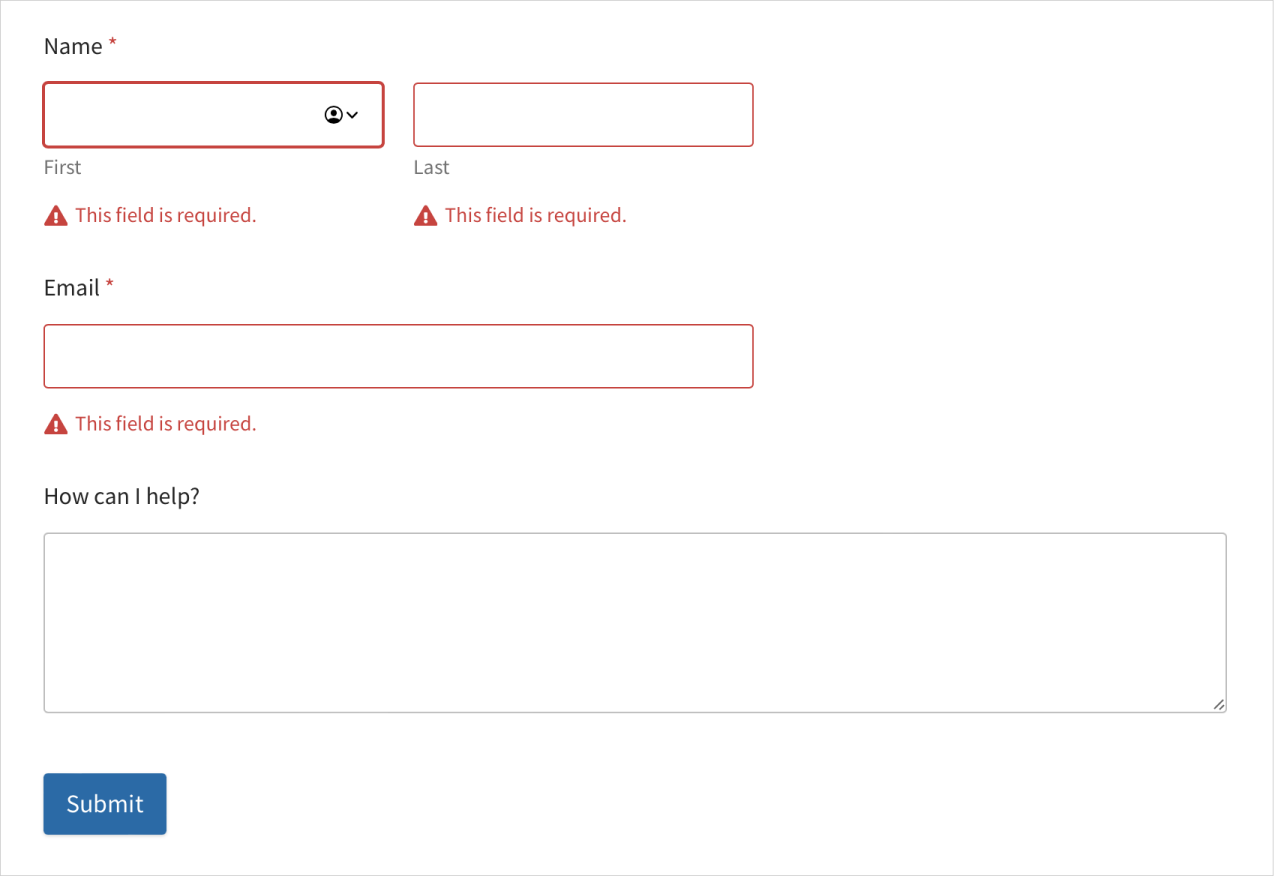
But if you notice, the “How can I help?” is not marked as required.
We should mark it as required because sometimes the user gets distracted and submits the form without filling in the reason for contacting us.
And to achieve this, click on the “How can I help?” field to bring up its configuration options.
Next, enable its “Required” option:
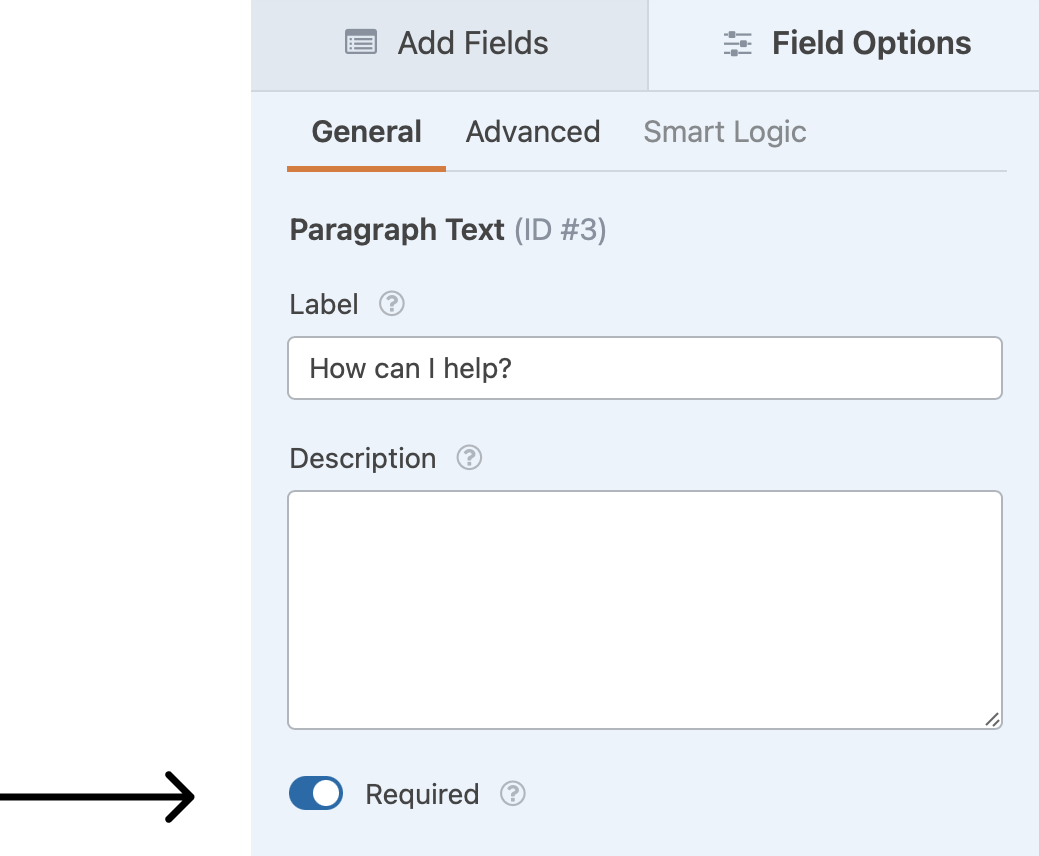
That’s all.
This will also force the user to fill in the “How can I help?” message.
Finally, let’s make the “Name” and “Email” fields full-width.
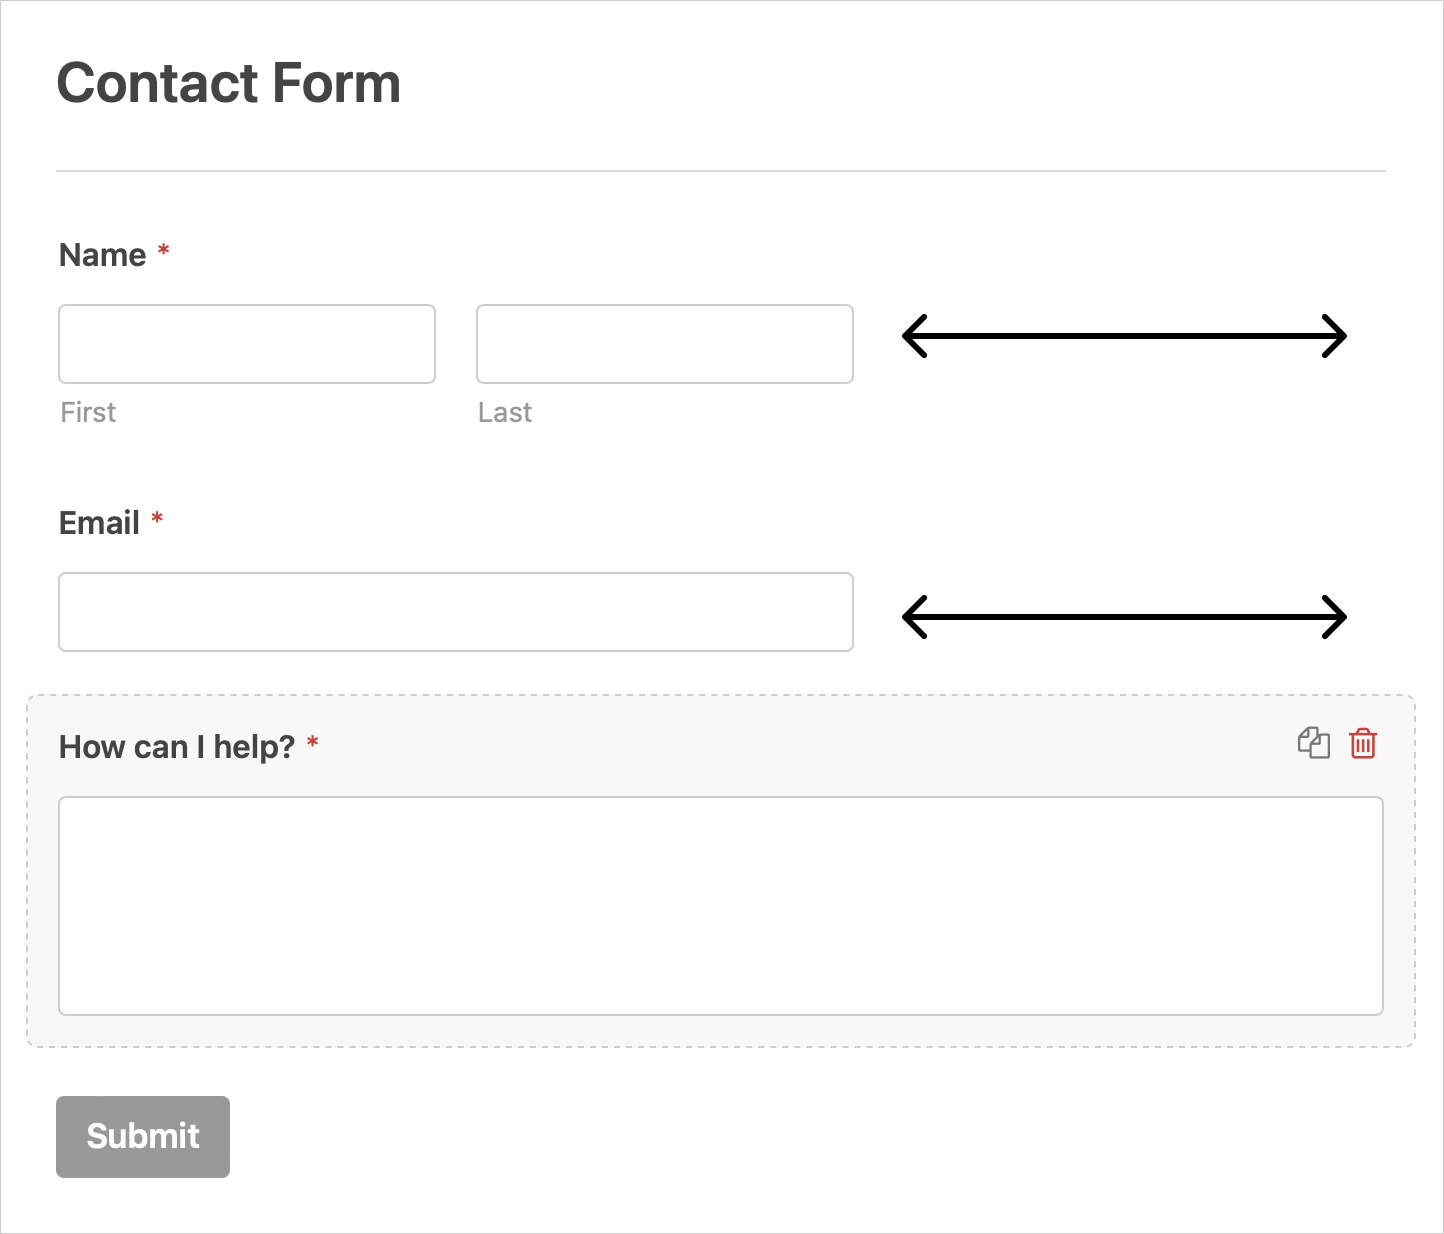
If you observe, the “Name” and the “Email” input fields are not occupying the same width as the “How can I
help?” field.
But I want them to.
This is a personal design preference, but let’s fix it.
First, click the “Name” field to bring up its settings.
If you notice, the settings for any form field are divided into three tabs:
- General
- Advanced
- Smart Logic
By default, the “General” tab is selected. Switch to the “Advanced” tab.
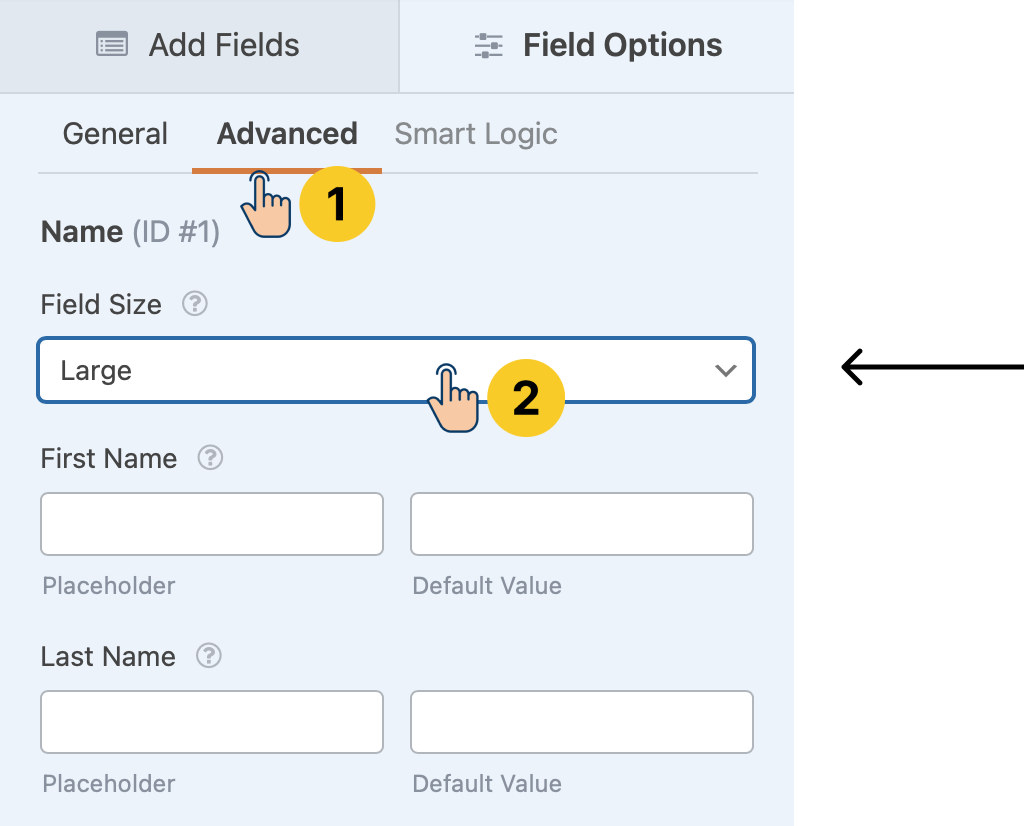
Finally, change the “Field Size” setting to “Large”.
That’s exactly how you change the size of a particular field inside the WPForms plugin.
Next, repeat the same process for the “Email” field and click the “Save” button to save the changes.

Now, let’s preview how the form looks on the frontend by clicking on the “Preview” button:
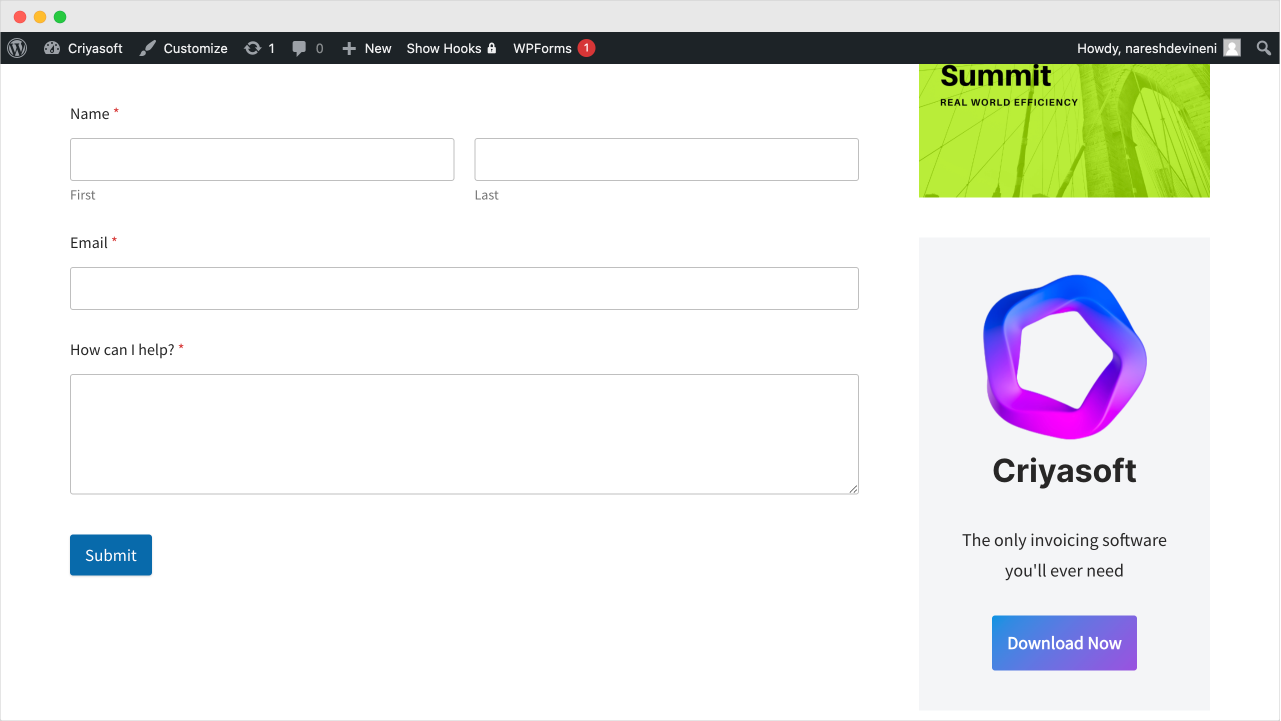
Wow!
The form now looks nice!
That’s all the changes I had in my mind.
In the next lesson, we will learn how to embed this form by creating the “Contact Us” page.
 © 2026 UsableWP. A project by Naresh Devineni.