Exercise: Creating a contact form
We are finally here :D
To create a contact form using the WP Forms plugin, go to:
Admin dashboard -> WP Forms -> Add new
This will take us to the “Create New Form” screen:
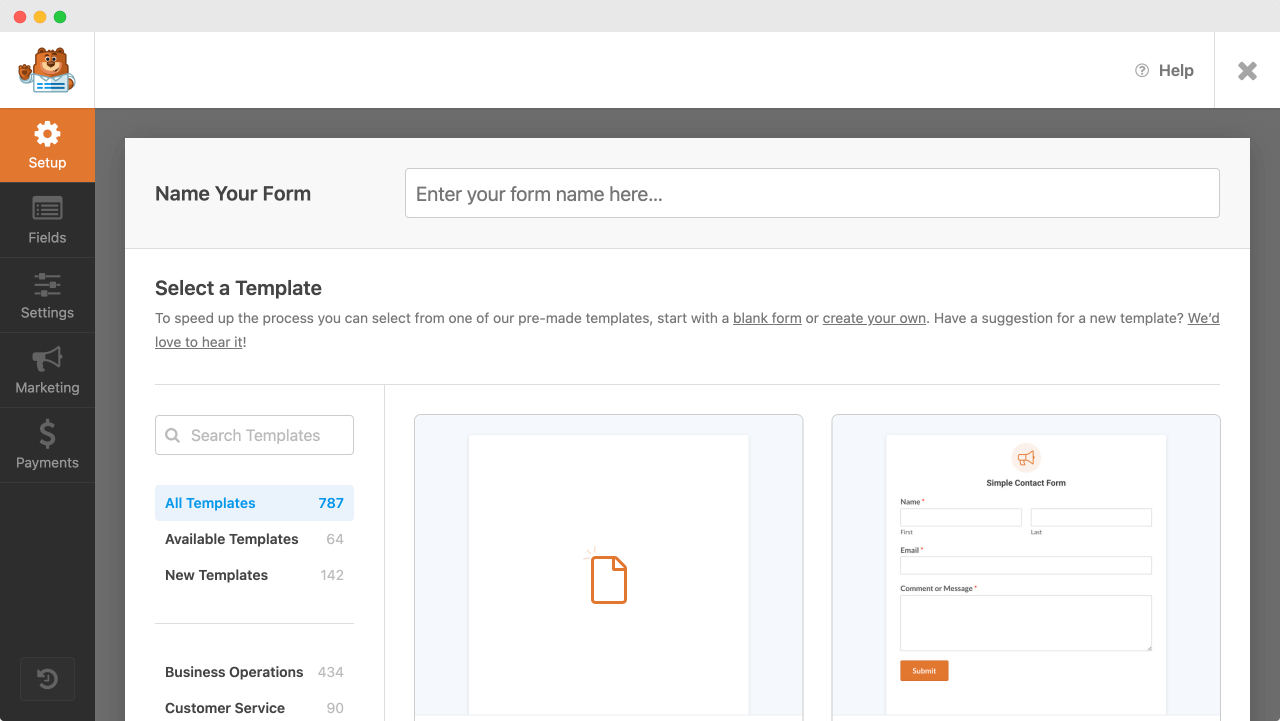
First, we need to name the form
We need to use the “Name Your Form” option for this.
We should enter a descriptive name here to help us recognize this form later.
So, let’s go with the “Contact Form” for the name.
Next, we need to select a template for our form.

By default, the WPForms plugin ships with a ton of time-saving templates.
The purpose of these templates is to help you build your form with little to no work at all.
For example, there is a template called “Simple Contact Form”.
If you select this template, WPForms will automatically add the following fields to the contact form:
- Name
- Message
This will save us some time because we don’t have to add these standard fields manually to the form.
But for this course, let’s create a contact form from scratch using the “Blank Form” template.
This will help you create any form in the future.
So, put your mouse cursor over the “Blank Form” template and click the “Create Blank Form” button.
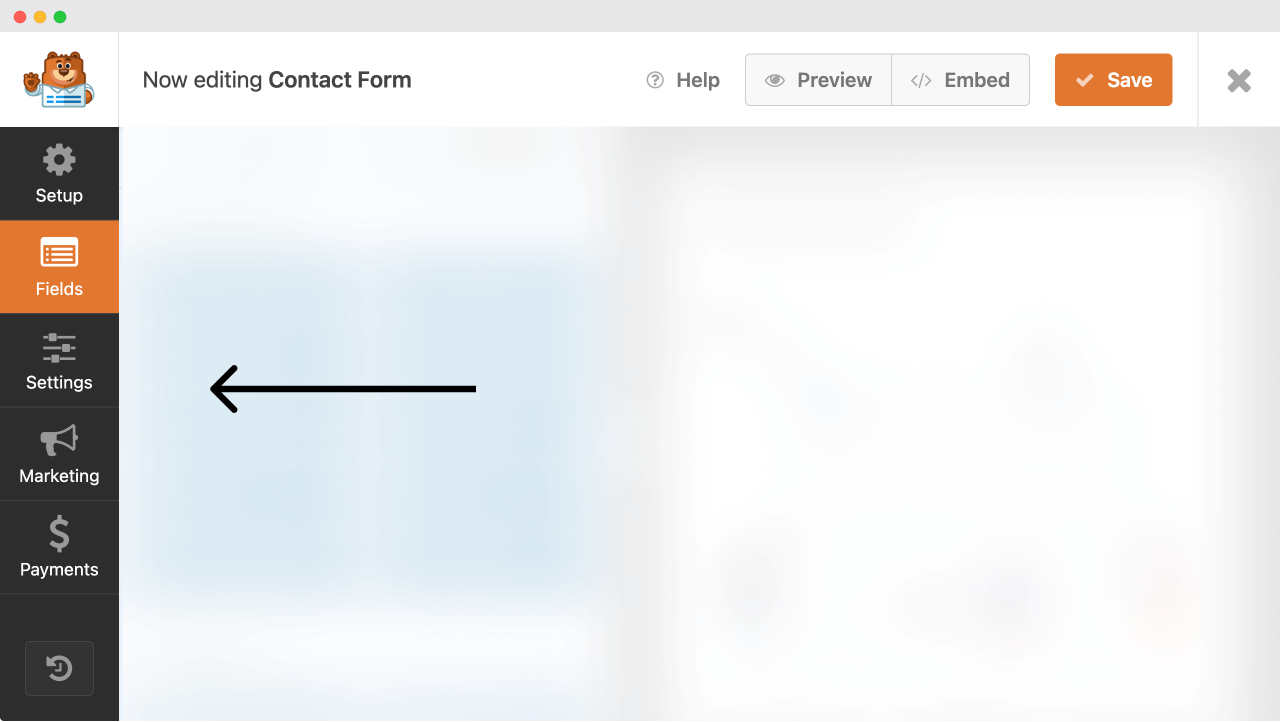
This will take us to the form builder that is specific to the “Contact form” we are building.

Woah! A lot is going on here!
Let’s break it down.
The form builder is divided into four parts
1) Top Bar

It contains:
- The “Save” button – to help us save the changes that we make to the form
- The “Embed” button – to help us place this form on a page, sidebar, or a blog post
- The “Preview” button – to allow us to preview the changes before making the form public
2) Settings menu
The “Settings” menu on the left will help us configure the form’s notifications, error messages, etc.
3) The “Fields” section
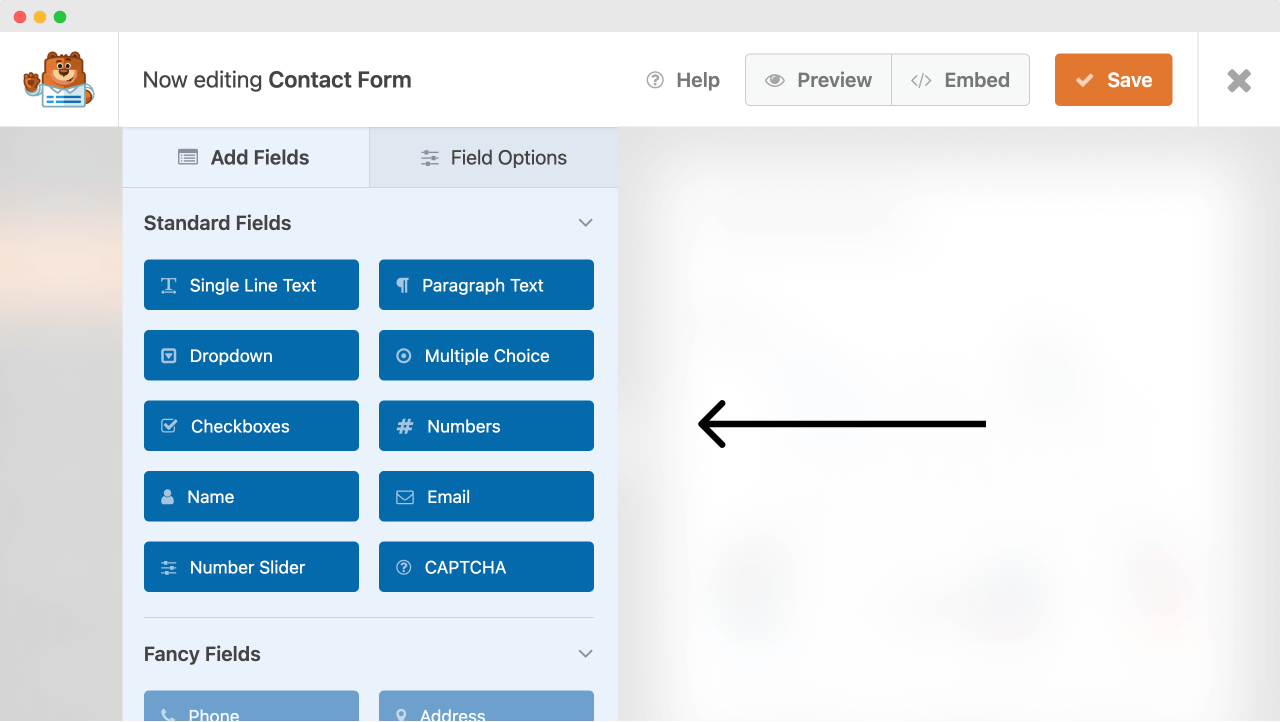
It is divided into two tabs:
- The “Add Fields” tab – Helps us add fields to the form
- The “Field Options” tab – Helps us configure the fields that are already added to the form
Also, if you notice, the “Add Fields” section is further divided into three sub-sections:
- Standard Fields
- Fancy Fields
- Payment Fields
As a free user, we can only use the fields inside the “Standard Fields” section.
Most of the time, these standard fields are enough to create any typical form.
Having said that, sometimes we need fancy fields that let the user upload complex information to us.
But for using the fancy fields, we need to purchase a premium version of the WPForms plugin.
Anyway, the last part of the form builder is…
4) The “Form” itself
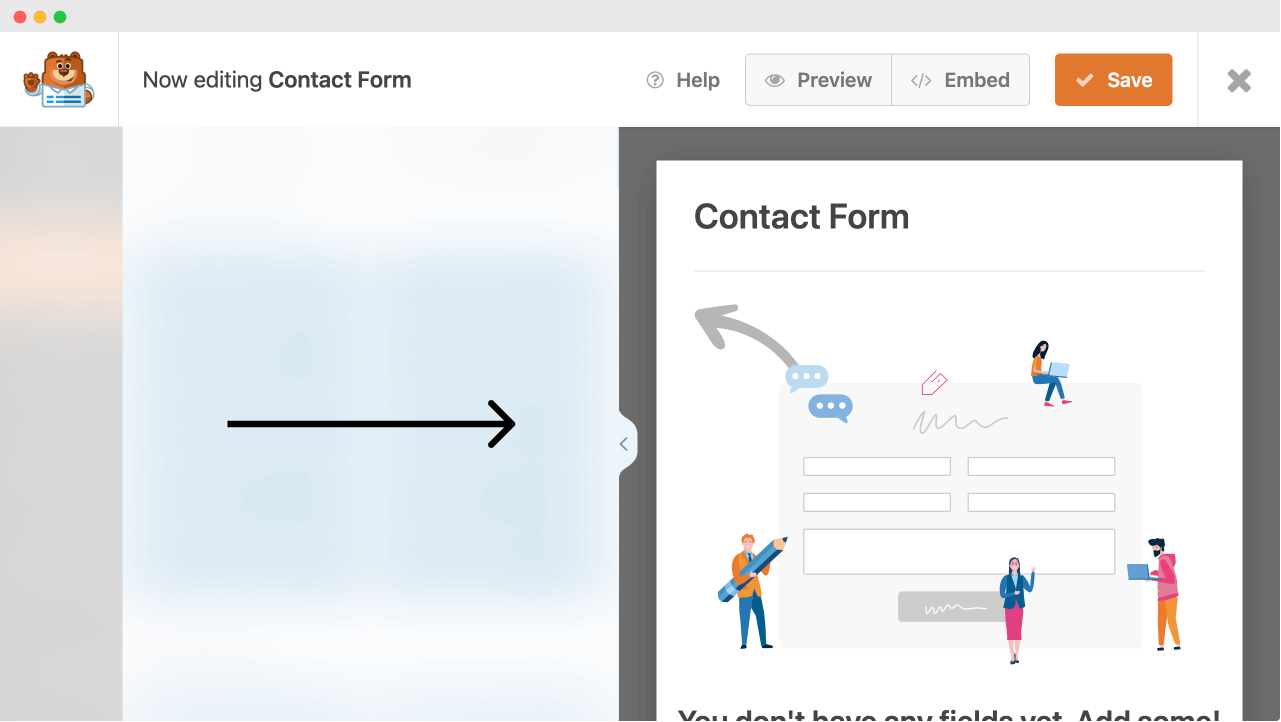
This “Form” section will contain the input fields we added to the form.
And it helps us with the following:
- Selecting an input field to let you change its configuration, such as label, appearance, etc.
- Changing the order of fields added by dragging and dropping
- Deleting the individual fields that were added to the form
Come on, let’s add some fields to the form
Here are the fields I want to add to my contact form:
- Name
- How can I help?
Feel free to add other fields based on your requirement.
Anyway, adding these fields to the form is pretty straightforward.
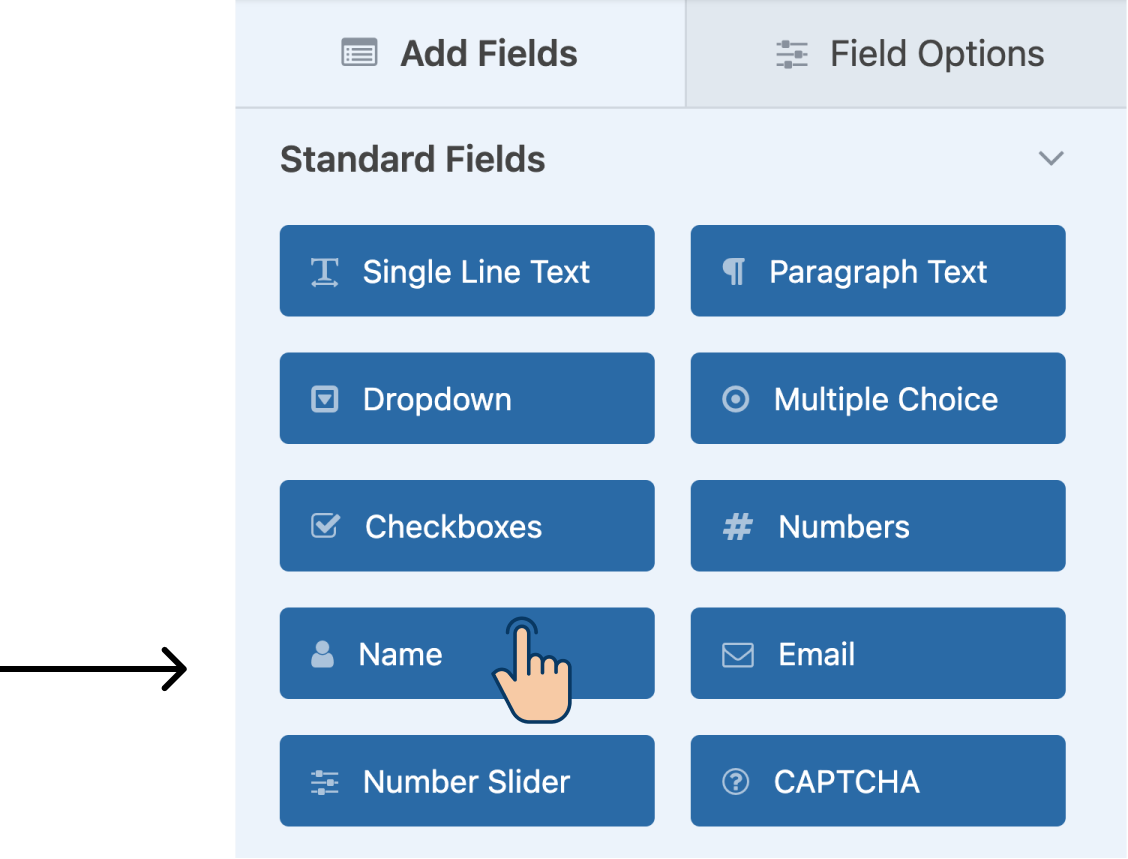
First, make sure the “Add Fields” tab is selected inside the “Fields” section.
And then, click on the necessary field buttons to add them to the form.
For example, to add the “Name” field to your contact form, click on the “Name” button.
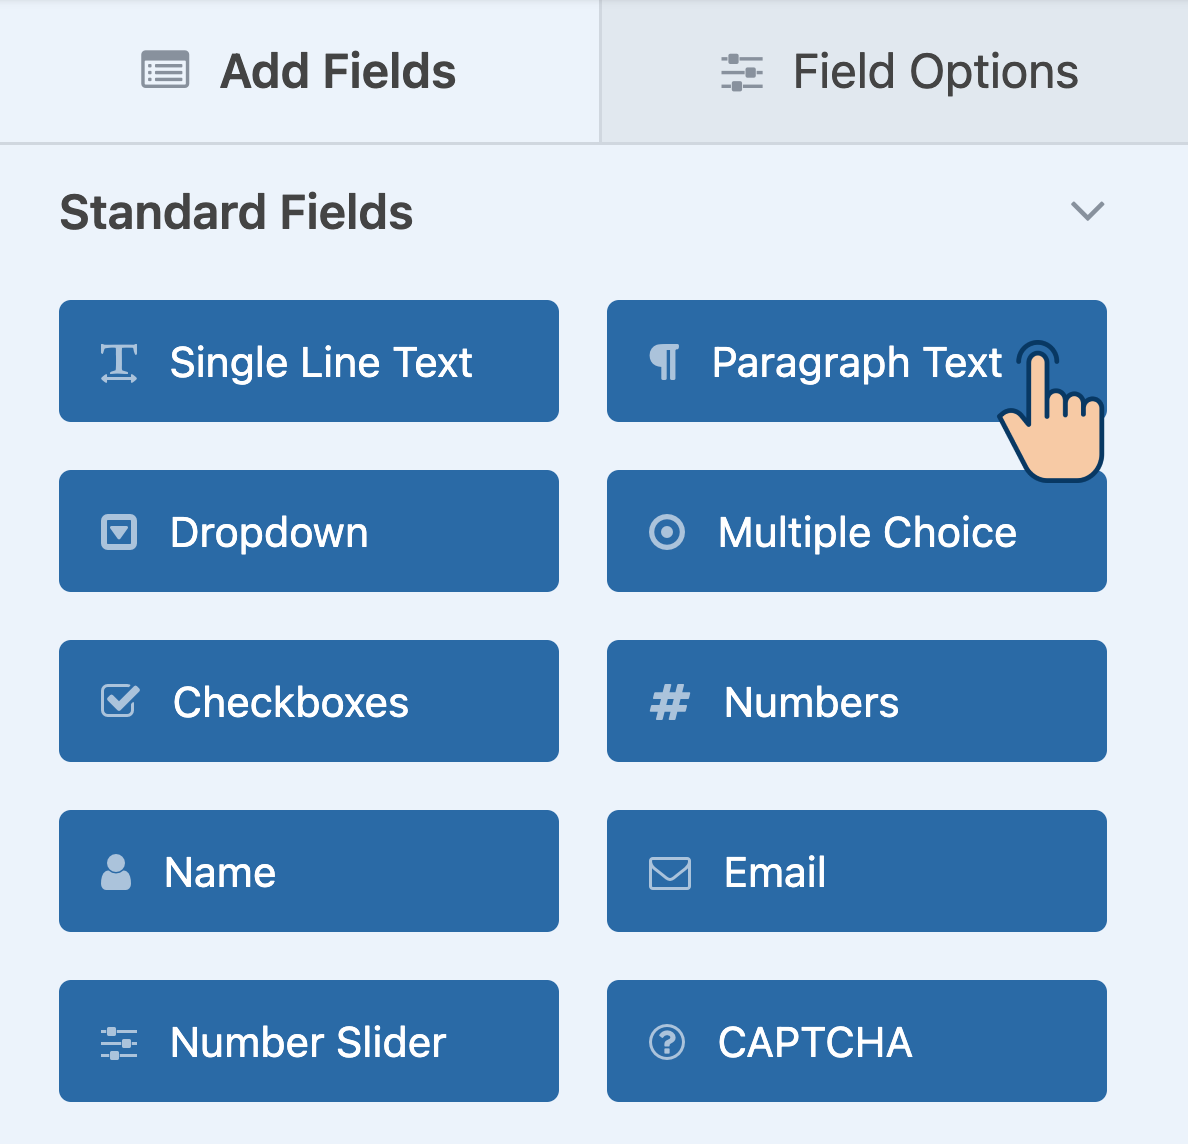
Similarly, add the “Email” field for collecting the user email.
And for the “How can I help” input, we have to use the “Paragraph Text” field.
The “Paragraph Text” field is a generic field that will help us put a big text area inside the form.
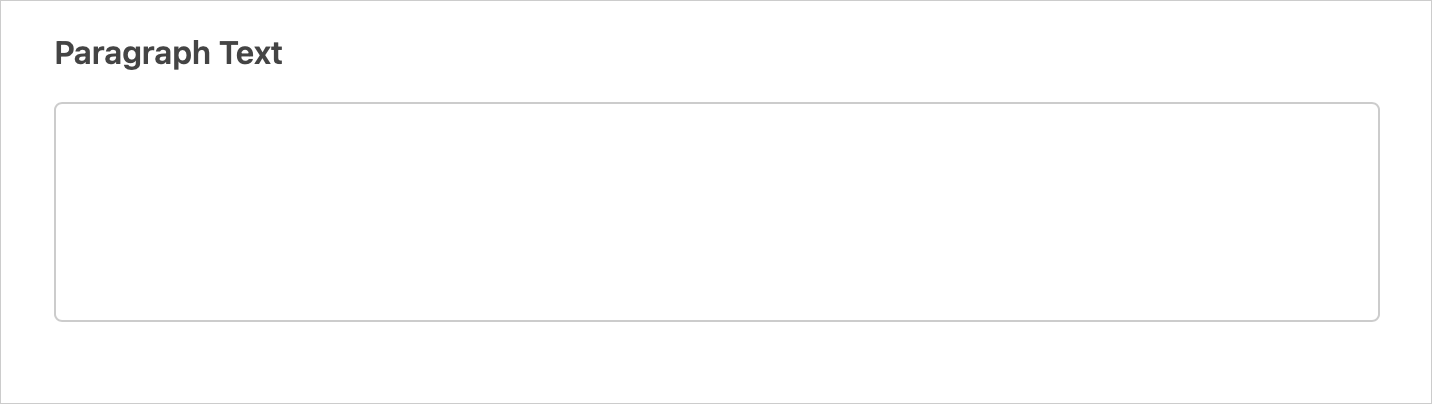
We can use this “Paragraph Text” field to gather text information from the user.
If you notice, there is another generic field called “Single Line Text”.
It is similar to the “Paragraph Text” but outputs a smaller text area.

We can use this field to collect small pieces of text information from the user, such as:
- A website URL
- License Number
- Any piece of custom information
Anyway, here is what my form looks like after adding the fields to it:
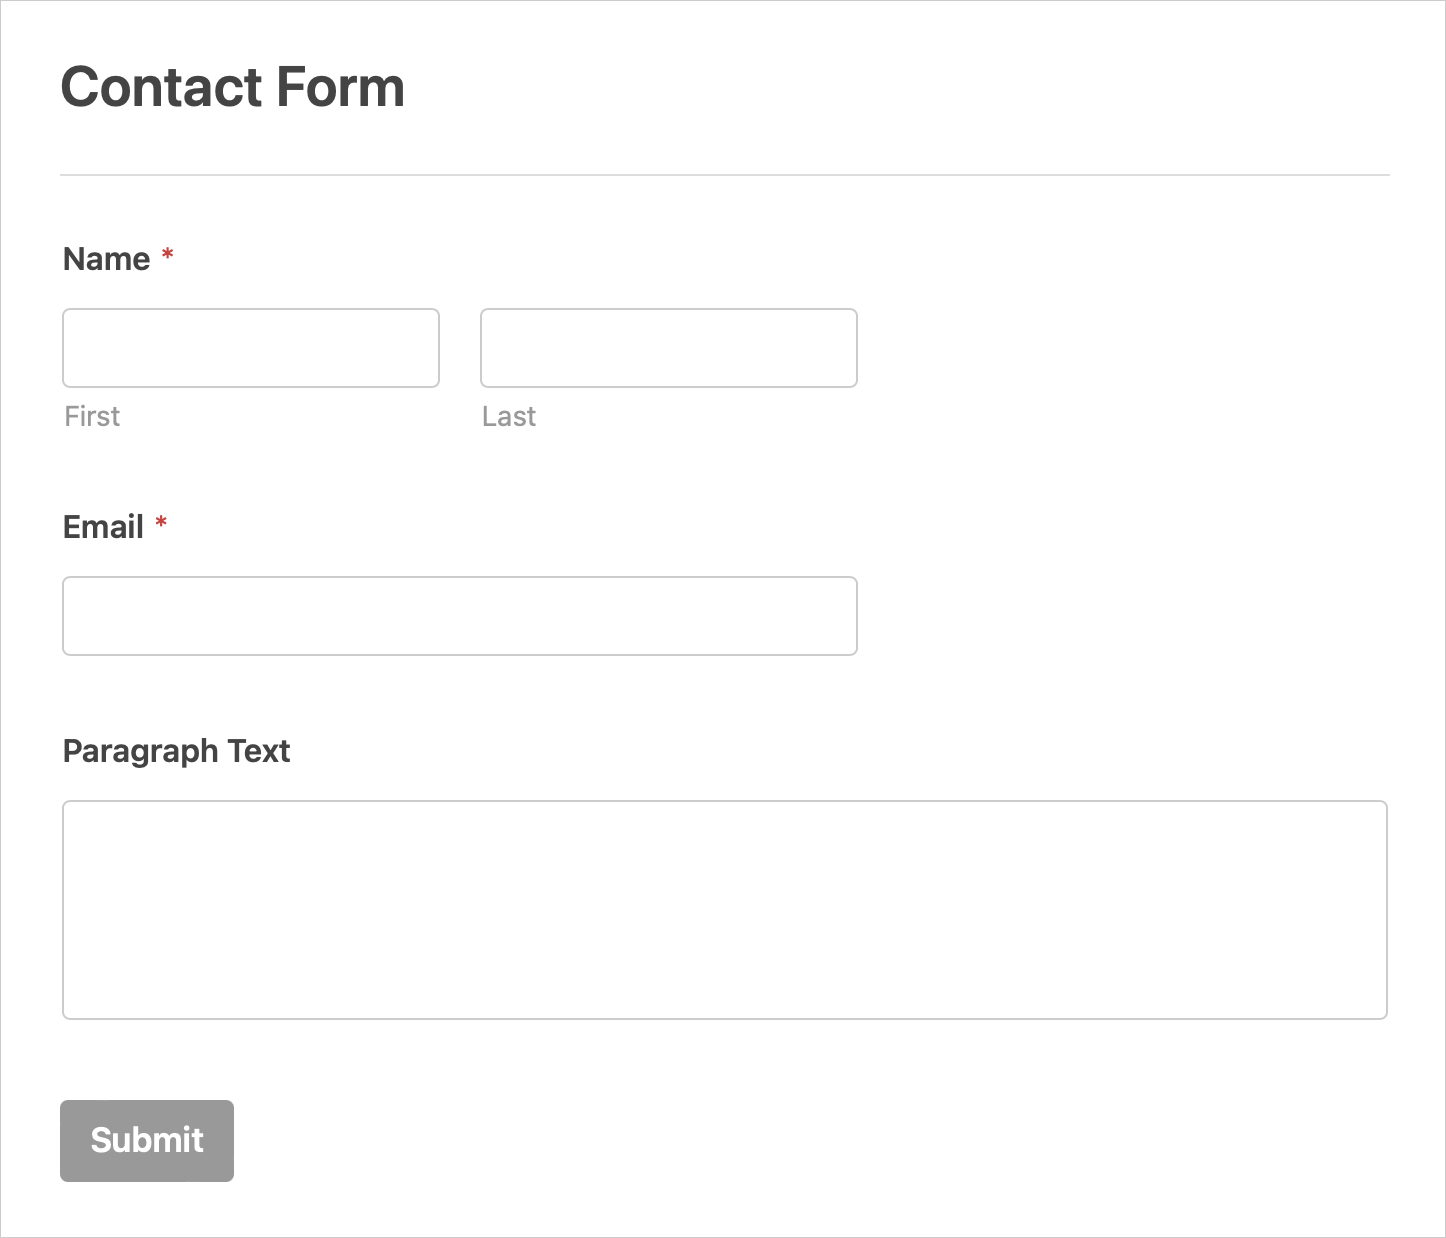
It looks nice, but there are three problems:
- I want to rename the label “Paragraph Text” to “How can I help?” because the user can understand this field.
- I want to make the “How can I help?” field a required field so that people can’t submit the form without filling in the reason for contacting me.
- I want to make the “Name” and “Email” fields occupy the same width as the “Paragraph Text” field (full-width).
And we will fix these problems in the next lesson.
 © 2026 UsableWP. A project by Naresh Devineni.