Static Homepage: Building the Hero Section
Starting from this lesson and for most of this module, we will be continuously building the static Homepage of our site.
Creating a new page
Creating a static homepage is just like creating any other page.
So first, let’s create a page by going to “Pages” and then clicking “Add New”.
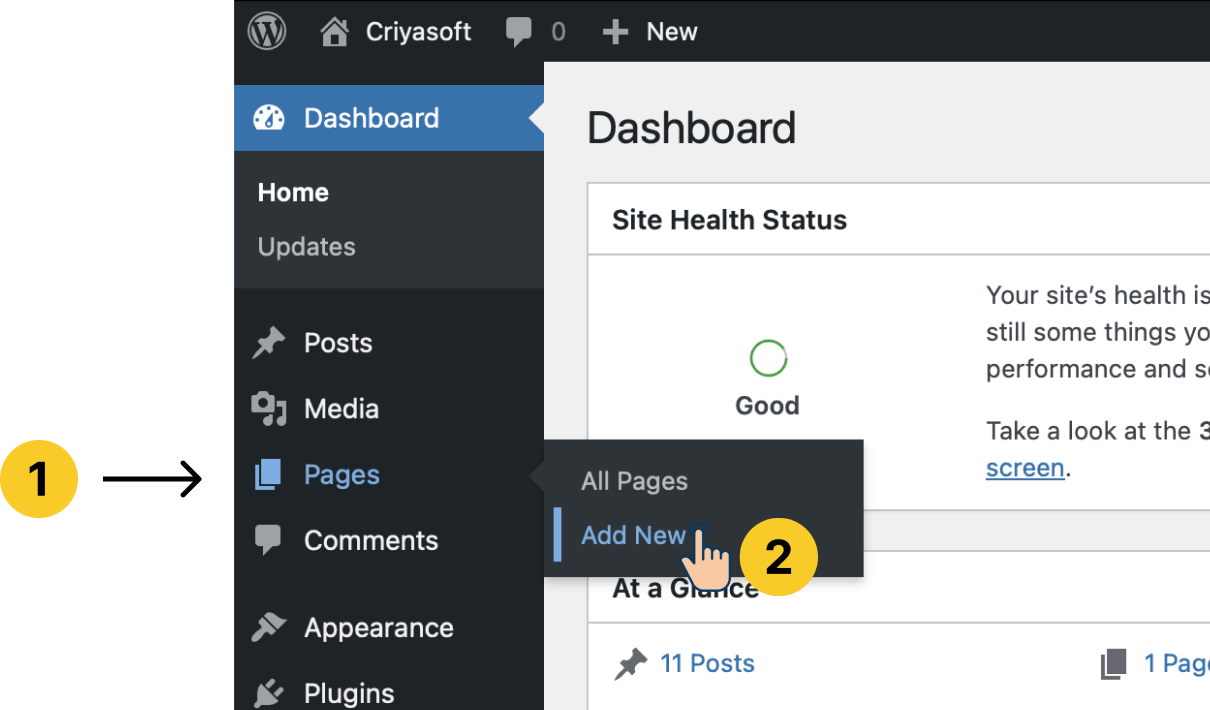
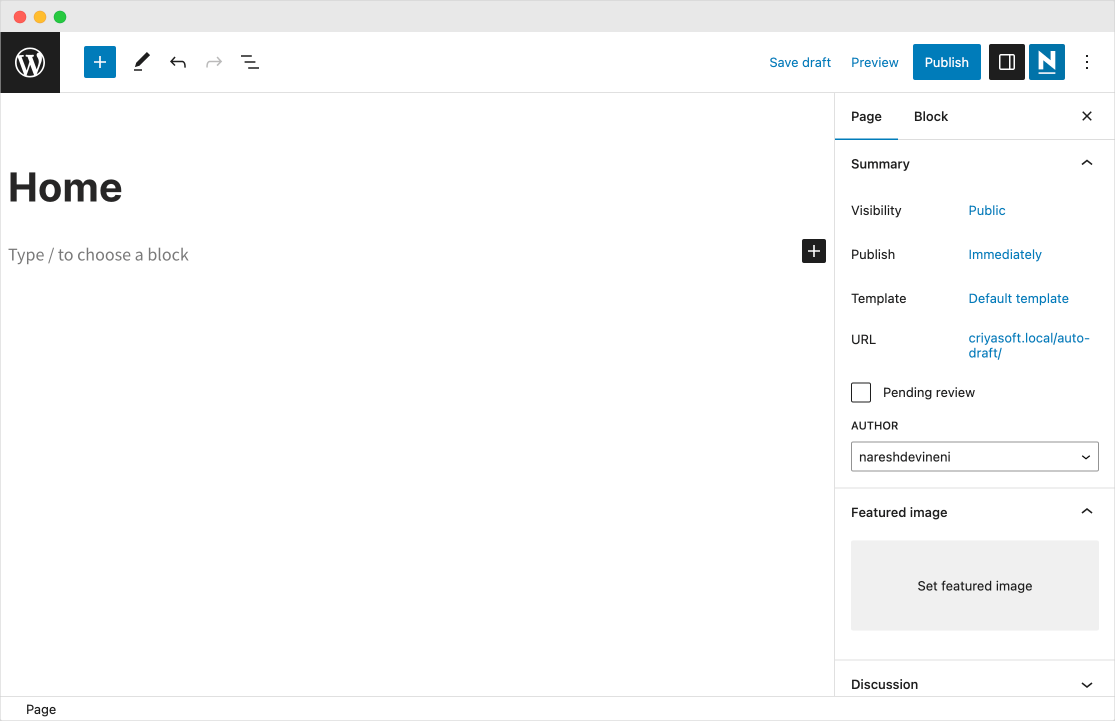
This will bring up the page editor screen.
Enter the title as “Home”.
Next, we need to start building the Homepage’s content using the Block Editor.
If you look at the design, the first piece of content on the Homepage is the hero section:

Building the hero section
Before we start building it, I want you to take some time and analyze what blocks you could use for building the hero section.
…
…
Ey… No cheating!
…
…
Did you give it a thought?

Yes! There are five elements in the hero section and I think I know what blocks to use. Also, because the section has a background image, we should the “Cover” block as the parent block.
Great! Spot on!
I am proud of you :)
We must understand what kind of blocks we can use because it speeds up the building process.
From the looks of it, let’s use the following blocks:
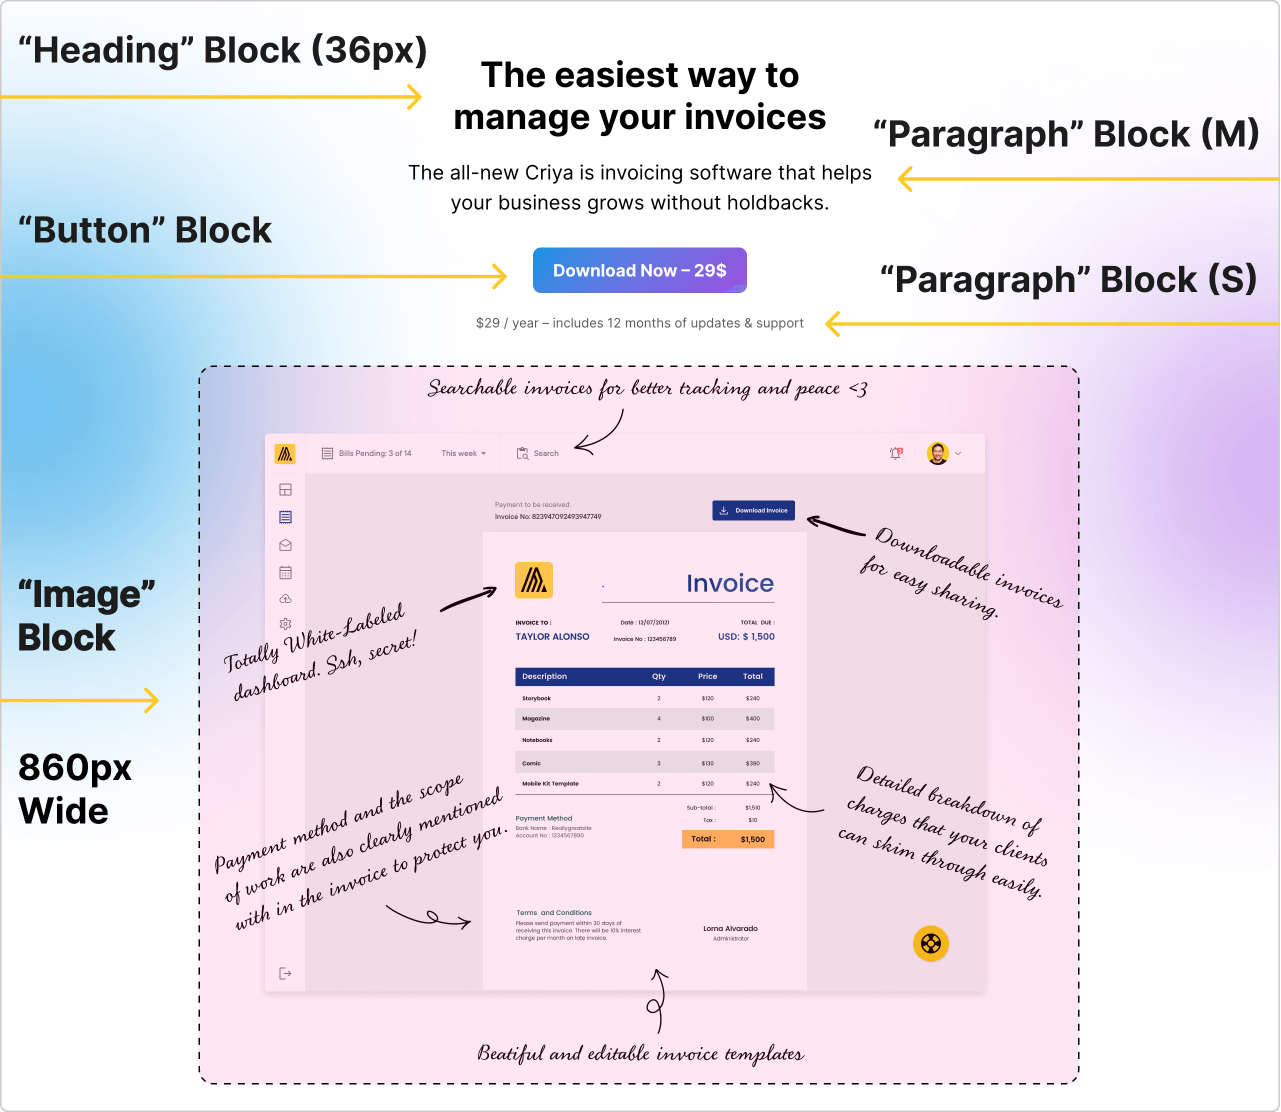
Also, if you notice, the hero section has the following background image spanning the entire section.

Woah! Woah! This looks complicated :D
Haha, don’t worry!
It’s easier than you think.
To recap the last lesson, here is the strategy for building the hero section
Not just a hero section. Whenever we are building any section, it requires adding multiple blocks.
And we should use a parent block to hold those multiple blocks together.
We should use a parent block for three reasons:
- First, it conveys that a particular set of blocks are united to form a single section.
- It helps us a background image or color to the entire section
- It makes it easy for us to control the layout of the entire section
And currently, there are only two types of parent blocks:
- The “Group” Block
- The “Cover” Block
The “Group” block allows us to add a background color to the entire section. But it doesn’t let you:
- Add a background image
- Specify the height for the entire section
On the other hand, The “Cover” Block allows us to add both a background image and a plain background color.
On top of that, it also lets us specify a fixed height for the section and allows you to align the content at the center.
Remember, the hero section we are trying to build has a background image.
So, we must use the “Cover” Block.
Come on, let’s start building the Hero section piece by piece.
This is your best chance to learn how to build high-quality landing pages using the block editor.
By the end of this module, you’ll be surprised how good the block editor is.
Anyway…
First, let’s add a cover block and add a background image to it.
Type “/Cover” inside the block editor and click on the “Cover” block.
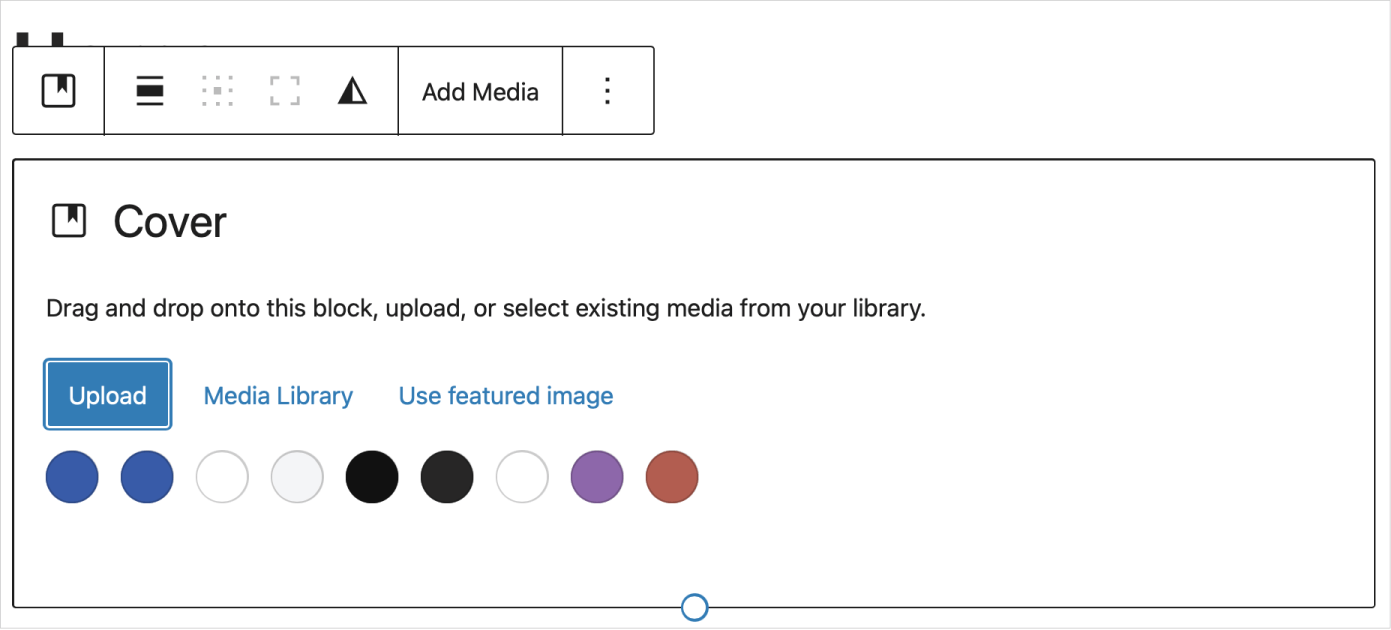
The “Cover” block immediately asks you to choose a background for the section.
We want a background image, right?
So, click on the “Upload” button and upload the following image:
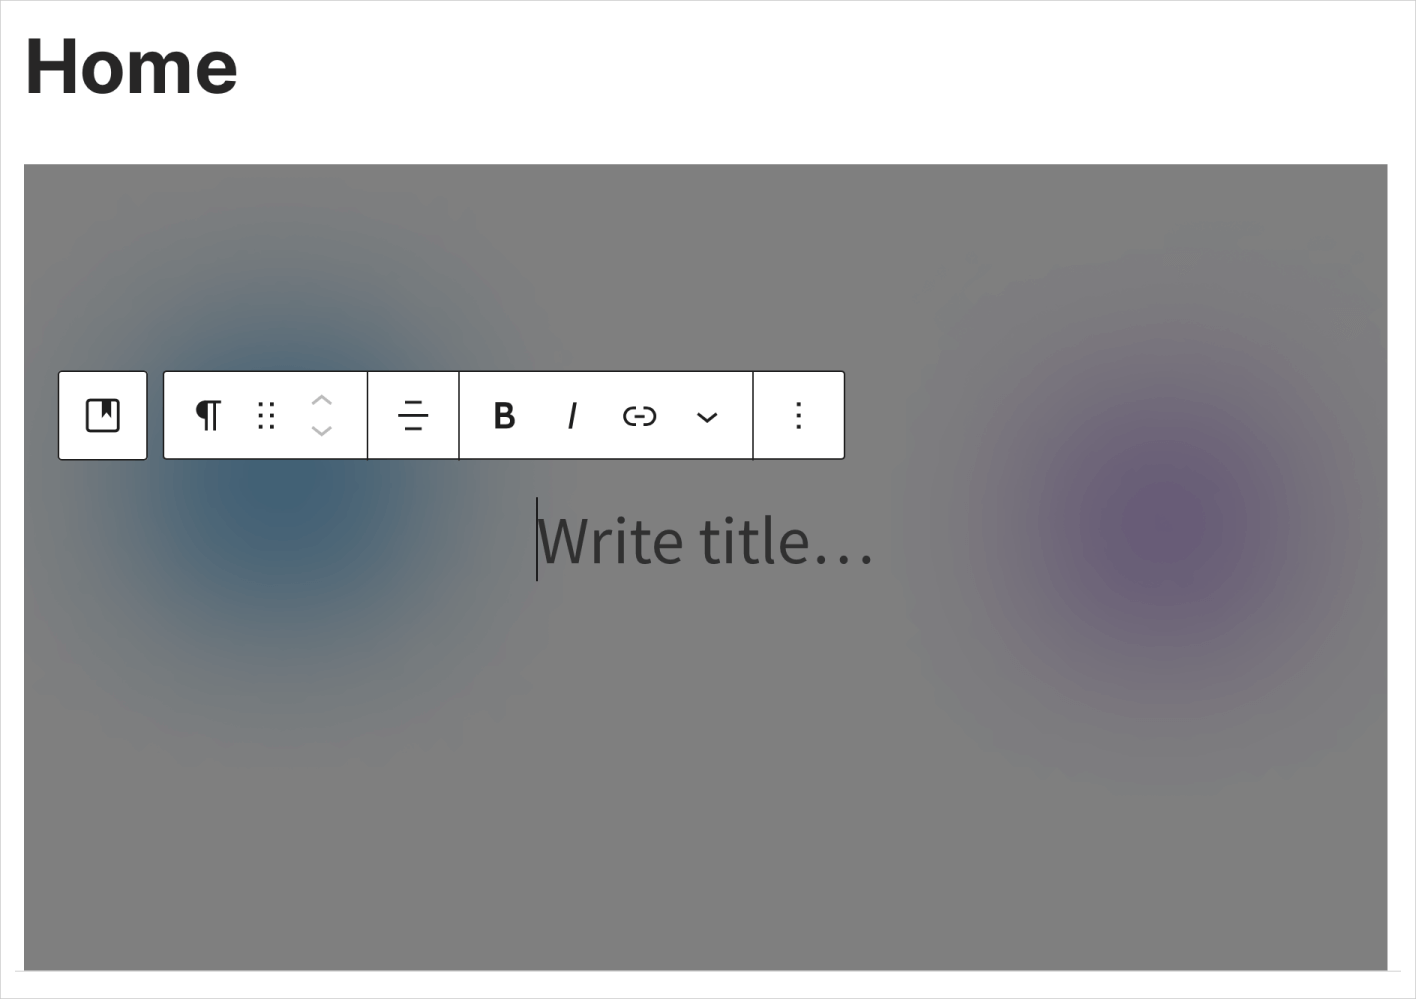
And as soon as you upload a background image:
- The “Cover” block uses it as the background
- And it also adds a “Paragraph” block on top of the background
- Finally, it selects the “Paragraph” block
Please remember that the “Cover” block is a parent block. So, it can contain all other types of blocks inside it.
Anyway, before we build this section any further, we need to fix two things:
- Remove the “Paragraph” block
- Remove the dark overlay on top of the background image
Removing the “Paragraph” block
You already know how to remove a block, right?
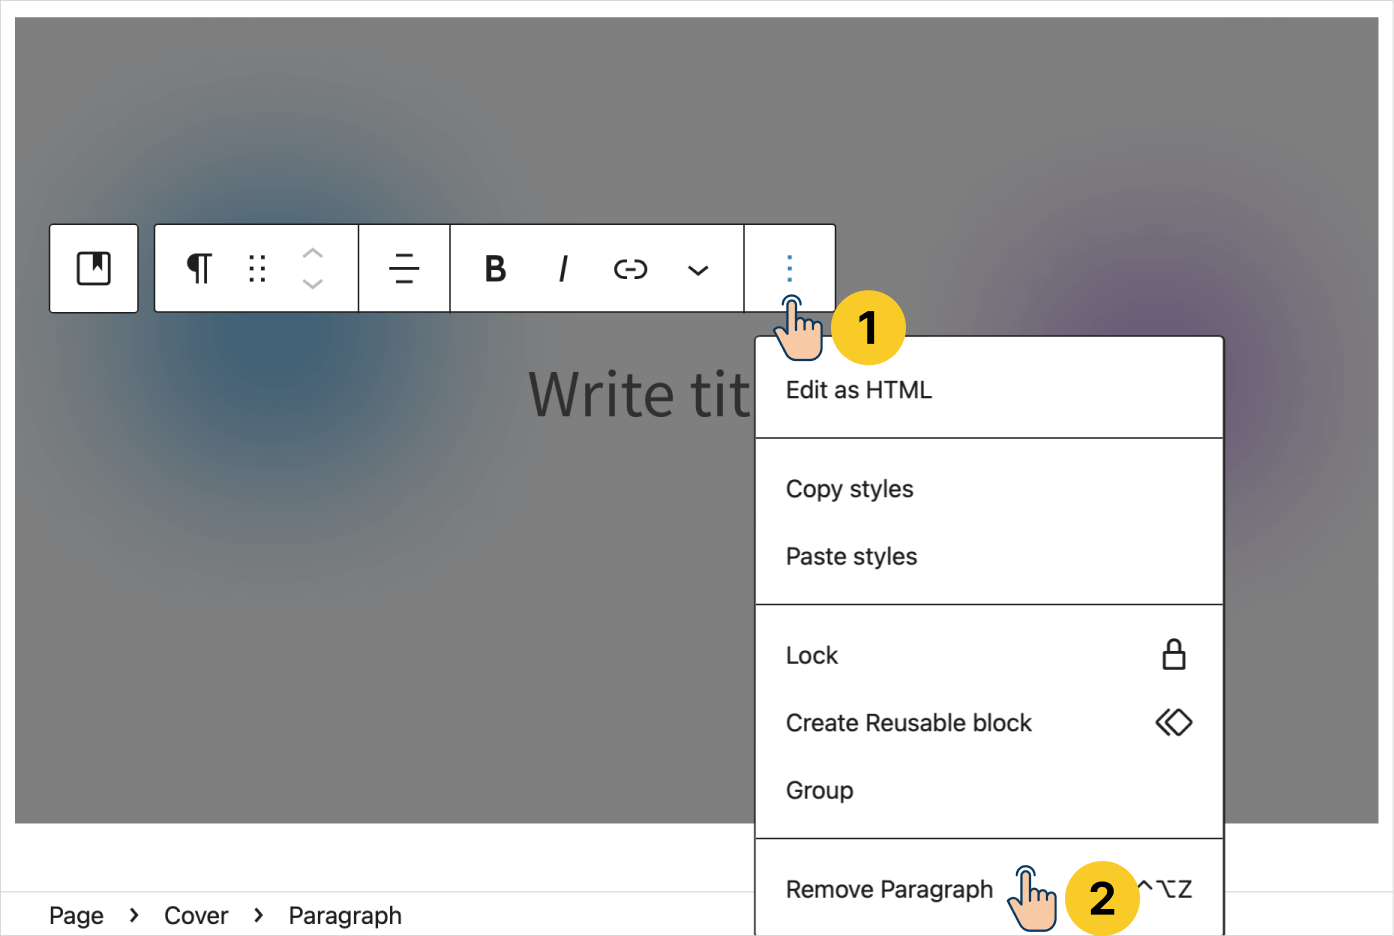
- Click on the “Paragraph” block to select it (if it is not already selected)
- Next, click its three dots icon to bring up its additional settings
- Finally, click on “Remove Paragraph”
This would result in:
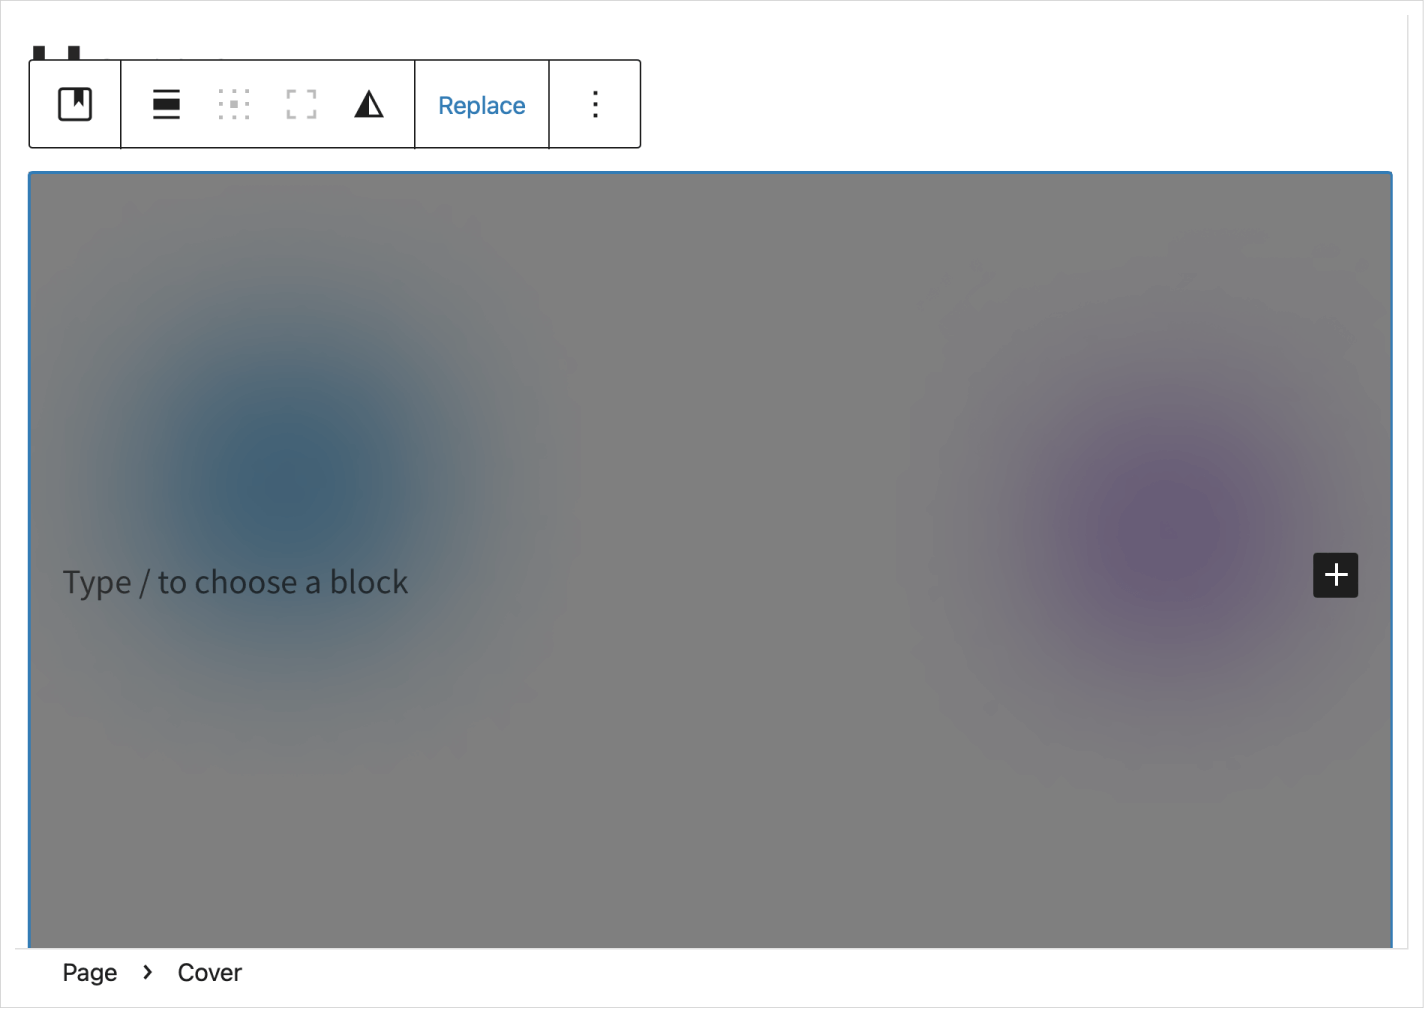
If you notice, there is a “Plus” button inside the “Cover” block.
This means you can add any block inside the “Cover” block as a child block.
But before we add content to this cover block…
Let’s remove the dark overlay on top of the background image
As you have already seen, by default, the “Cover” block adds a dark overlay on top of the uploaded image.
This is why the background image appears darker.
This dark overlay is helpful for sections with a certain design.

For example, for building the above hero section, I used the “Cover” block, which has three elements:
- Some text content
- And underneath that text content, there is a background image where a person is drawing on a tablet.
- To make the text content readable, there is a dark blue overlay between the text content and the background image.
The key takeaway is that the dark overlay in the above design is necessary to make the text content readable.
Without it, the background image and the text content will overlap in a bad way, and the text becomes unreadable.

Did you see that?
Can you read the paragraph text? No, right?
So, the dark blue overlay is necessary for the above design.
But the overlay must be removed for the hero section we are building currently.
This is because the background image is not at all disturbing the readability of the text content above it:
It was an intentional design.
So, let’s remove the background overlay.
To achieve this, select the “Cover” block if it is not already selected.
This will bring up the “Cover” block-specific set
tings on the right sidebar.
Next, switch to the “Styles” tab inside the settings:
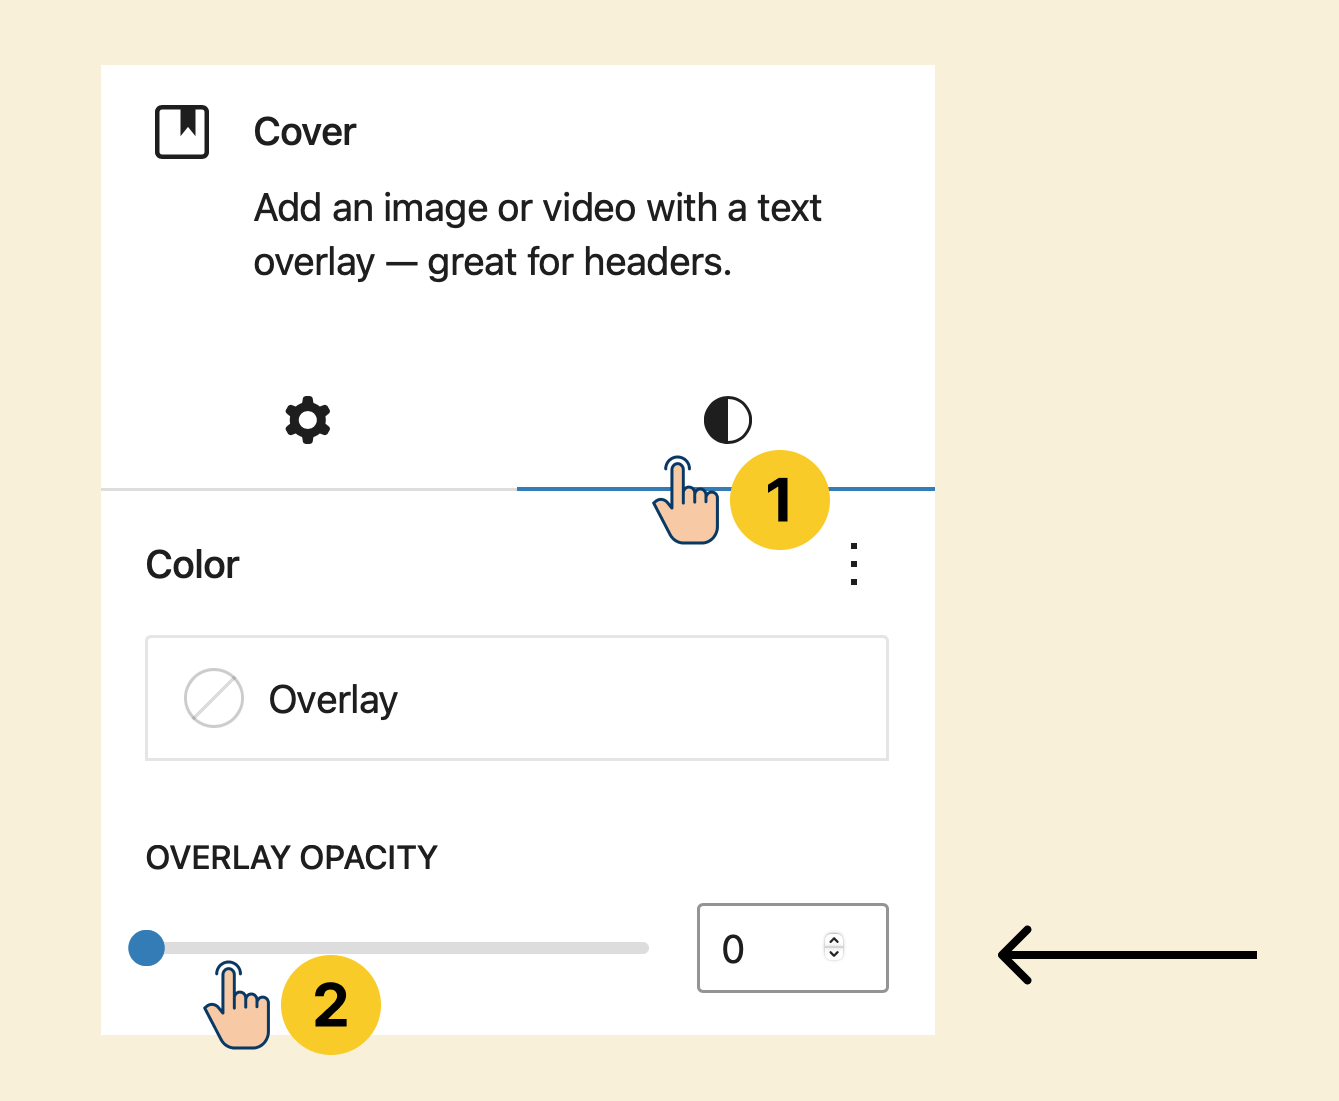
Finally, set the “Overlay Opacity” option to Zero.
This would result in:

Looking nice, isn’t it?
That’s all.
We can now add some child blocks inside the “Cover” block.
And we will do that in the next lesson.
 © 2026 UsableWP. A project by Naresh Devineni.