Creating new menus and displaying them in the footer
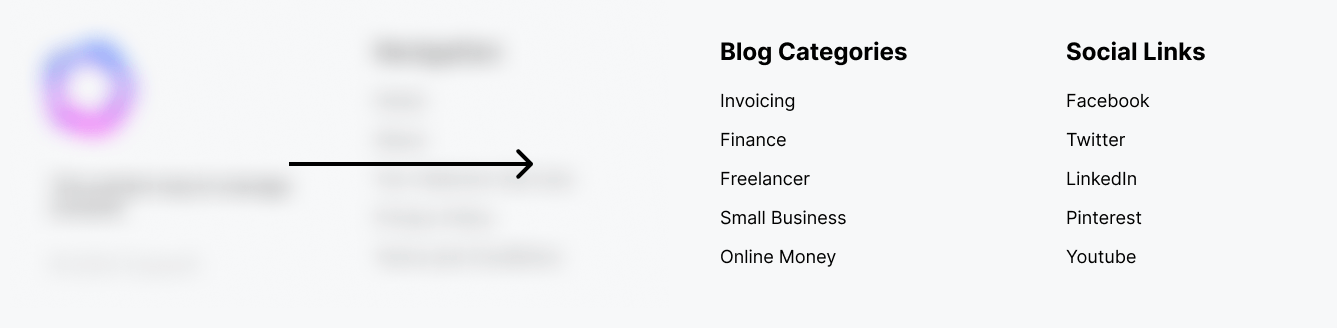
So far, we have only built the first column of the footer design.
Next, let’s work on the remaining three columns:
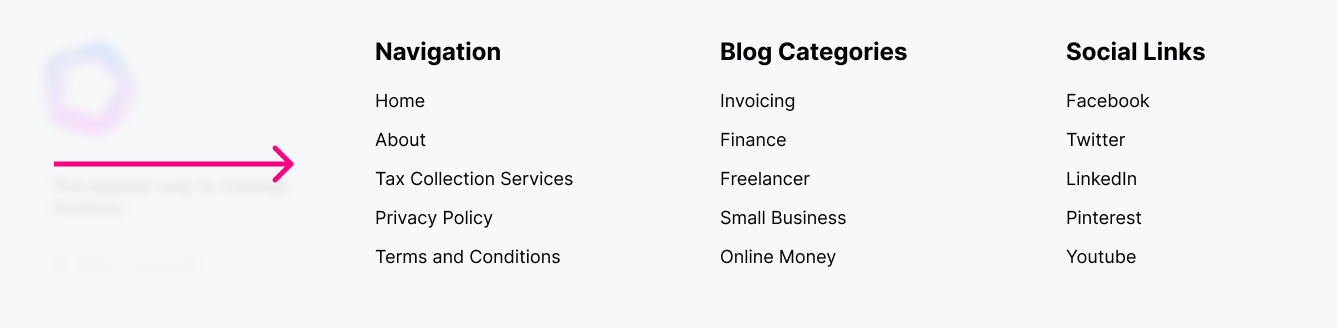
As you can see, we need to create three menus for the remaining three columns.
So, here is the plan for this lesson:
- Create the new menus by going inside the “Menus” screen
- And then add them to their respective Widget Areas using the “Widgets” screen
- Finally, assign those widget areas to the “Footer Main” section of the Footer Builder.
Step 1: Creating the new menus
First, let’s create the menu for the second column of the footer.

Now where would you go to create this menu?
…
…
…
…

Menus screen?
Spot on!
For others who forgot…
Refresher: Creating a menu
Come on, let’s go to:
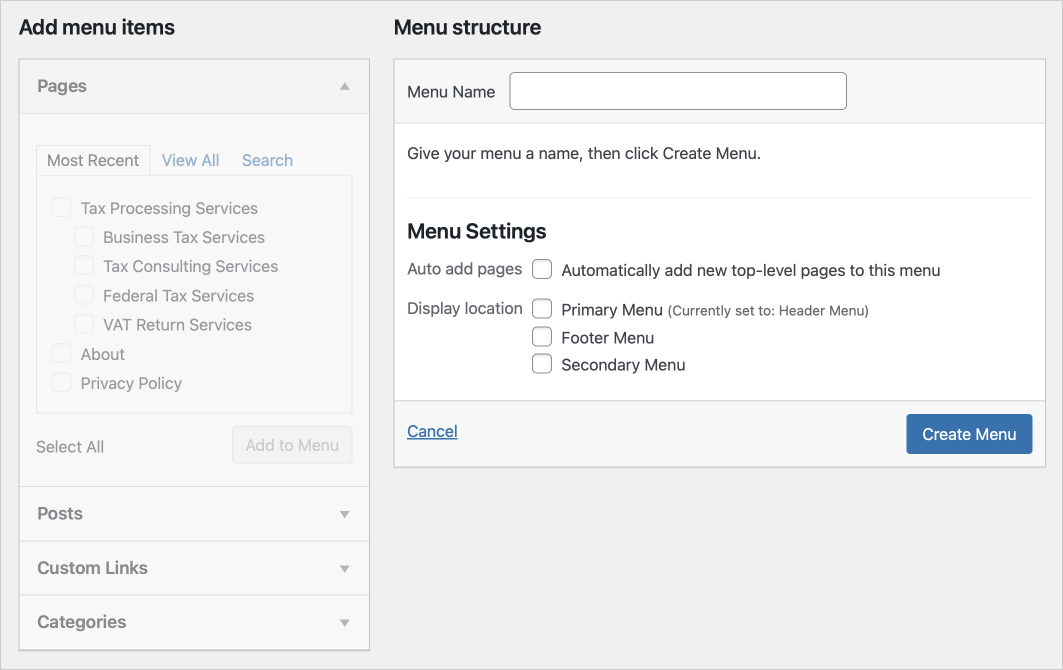
Admin Dashboard -> Appearance -> MenusAnd as soon as you land on the “Menus” screen, you’ll see the “Header” menu that we created during a previous module:
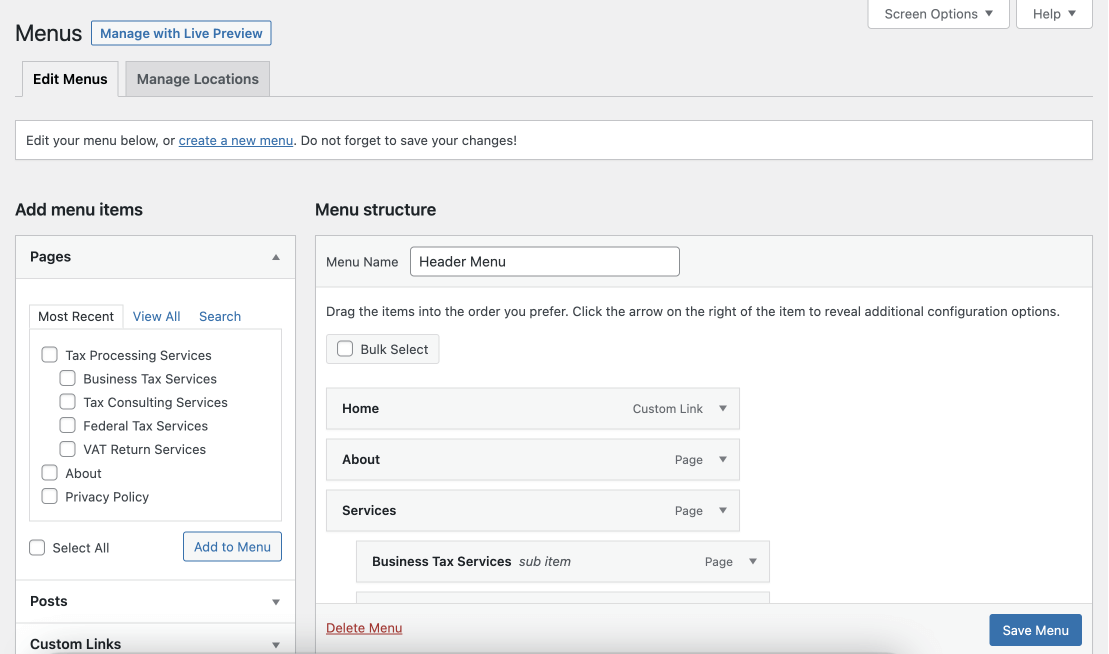
But why do we see the header menu?
Aren’t we supposed to see the “Create new menu” form?
Well, the thing with the “Menus” screen is, by default, it shows the menu that we have recently created or viewed.
In my case, the “Header” menu is the only menu I have created so far. So, it got pre-selected and getting shown to me.
Having said that, if you observe, there is also a “Create a new menu” link that is getting lost on a busy screen :D
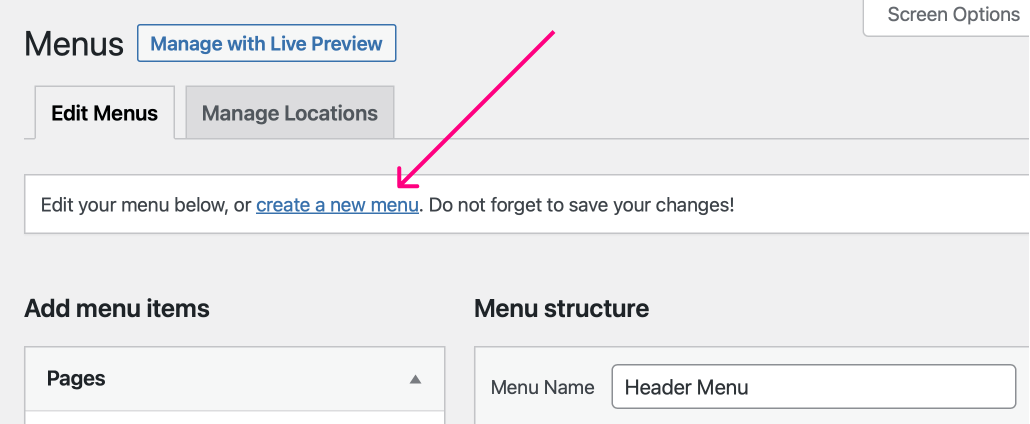
Just click on it to see the “Create Menu” form.
You know what to do from here, right? :P
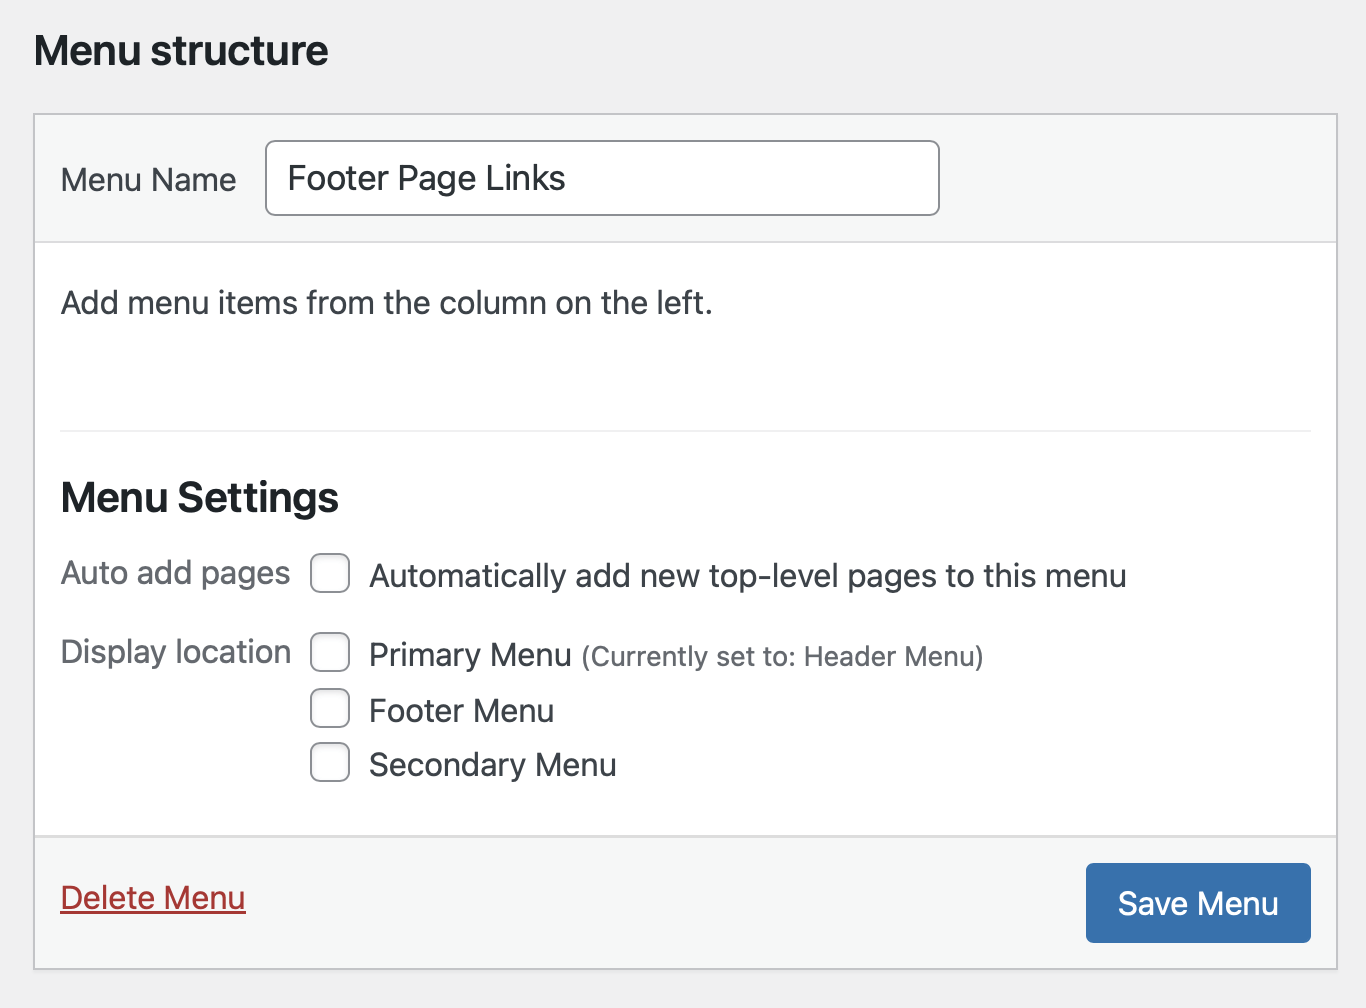
- Give the menu a name that is descriptive enough to recognize its purpose. In my case, I am gonna name it “Footer Page Links”.
- And click on the “Create Menu” button to add menu items.
- Then, add some menu items.
- Finally, save the menu.
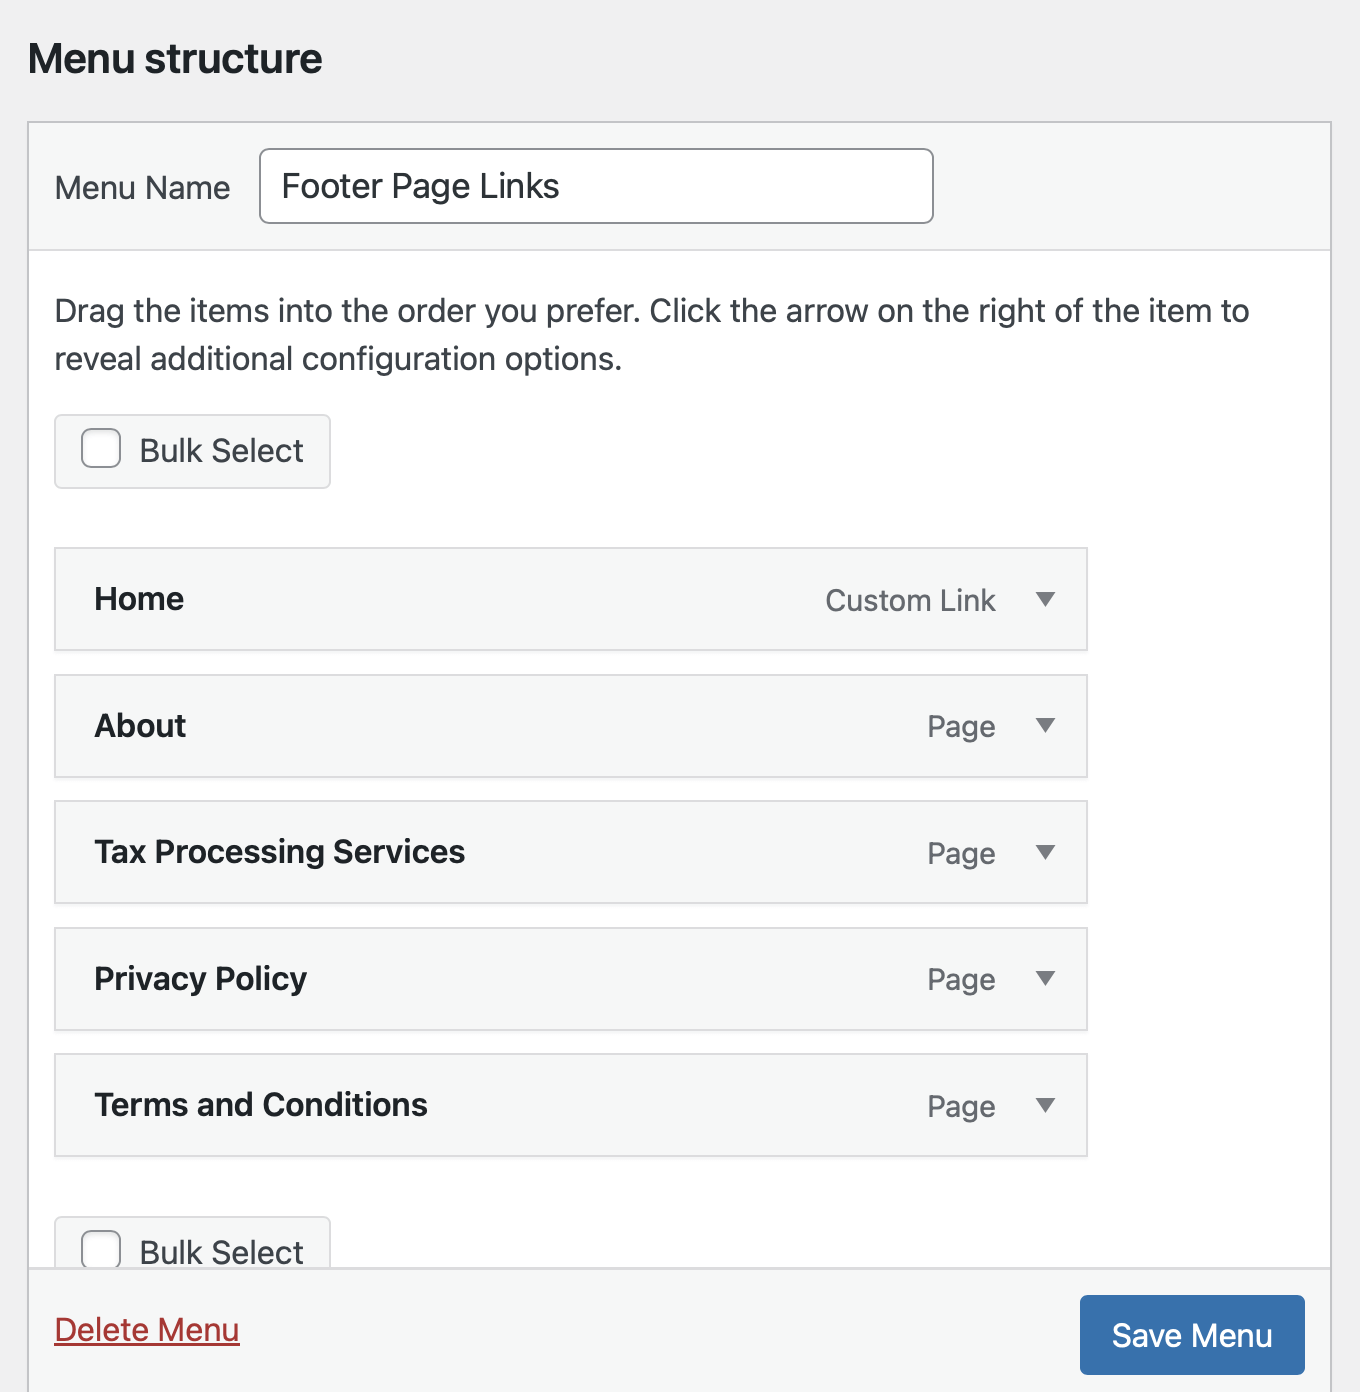
This is because, instead of using the “Display Location” feature, we will use the “Footer Two” Widget Area to display this menu on the frontend.
Now that we have created the menu let’s add it to the “Footer Two” widget area inside the “Widgets” screen.
Step 2: Add the newly created menu to a widget area
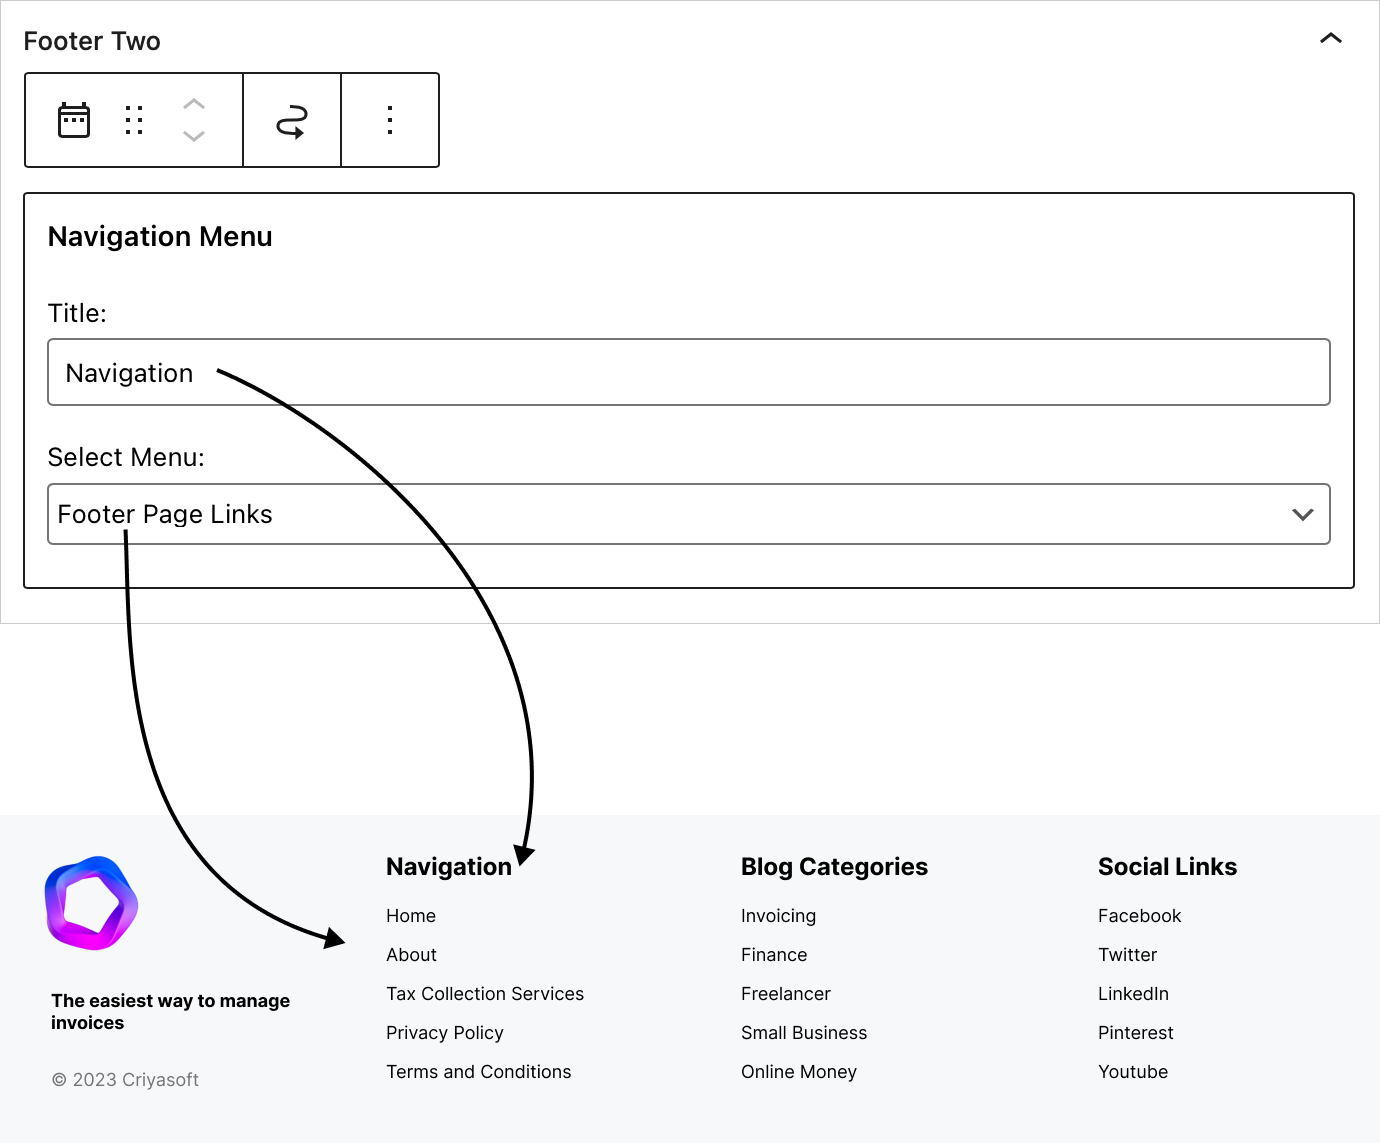
Go to the “Widgets” screen and make sure the “Footer Two” widget area is open:
Next, add the “Navigation Menu” block to the widget area.
The “Navigation Menu” block helps us display a particular menu inside any widget area using an option called “Select Menu”.
In our case, let’s configure it to display the “Footer Page Links” menu that we have recently created.
Next…
Step 3: Assign the “Footer Two” widget area to the Footer Builder
To achieve this, go to the “Customize” screen and then inside the “Footer” panel.
This will give us access to the “Footer Builder”.
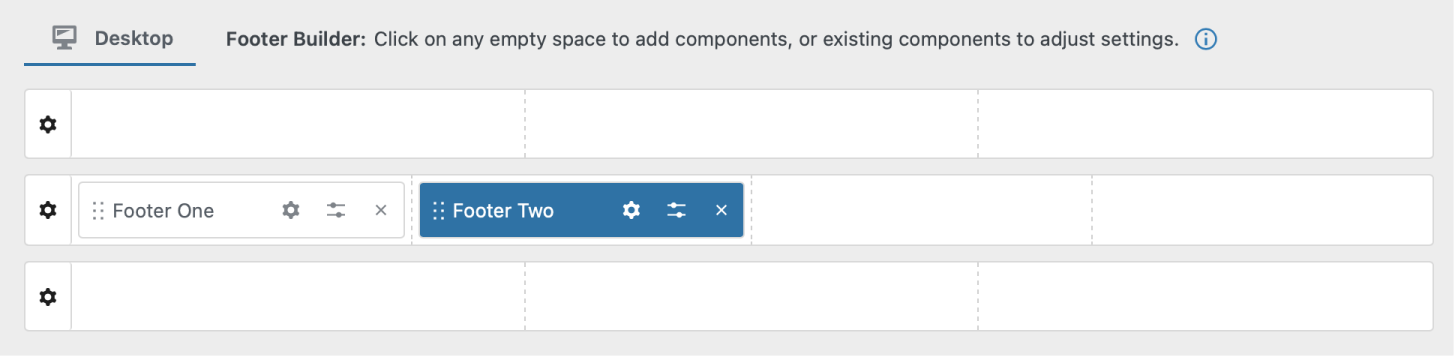
Next, click the second box inside the “Footer Main” section and add the “Footer Two” component.
That’s how easy it is to create and display a menu inside a particular footer column.
Next, repeat the same process for the remaining two menus:
Anyway, I am now done building content for the footer using the widget areas.
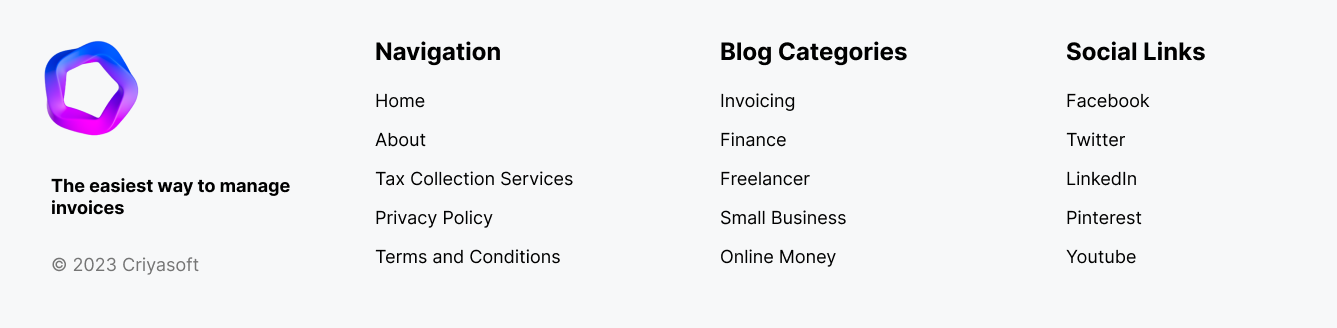
Here is the content I built for the site’s footer using widget areas:
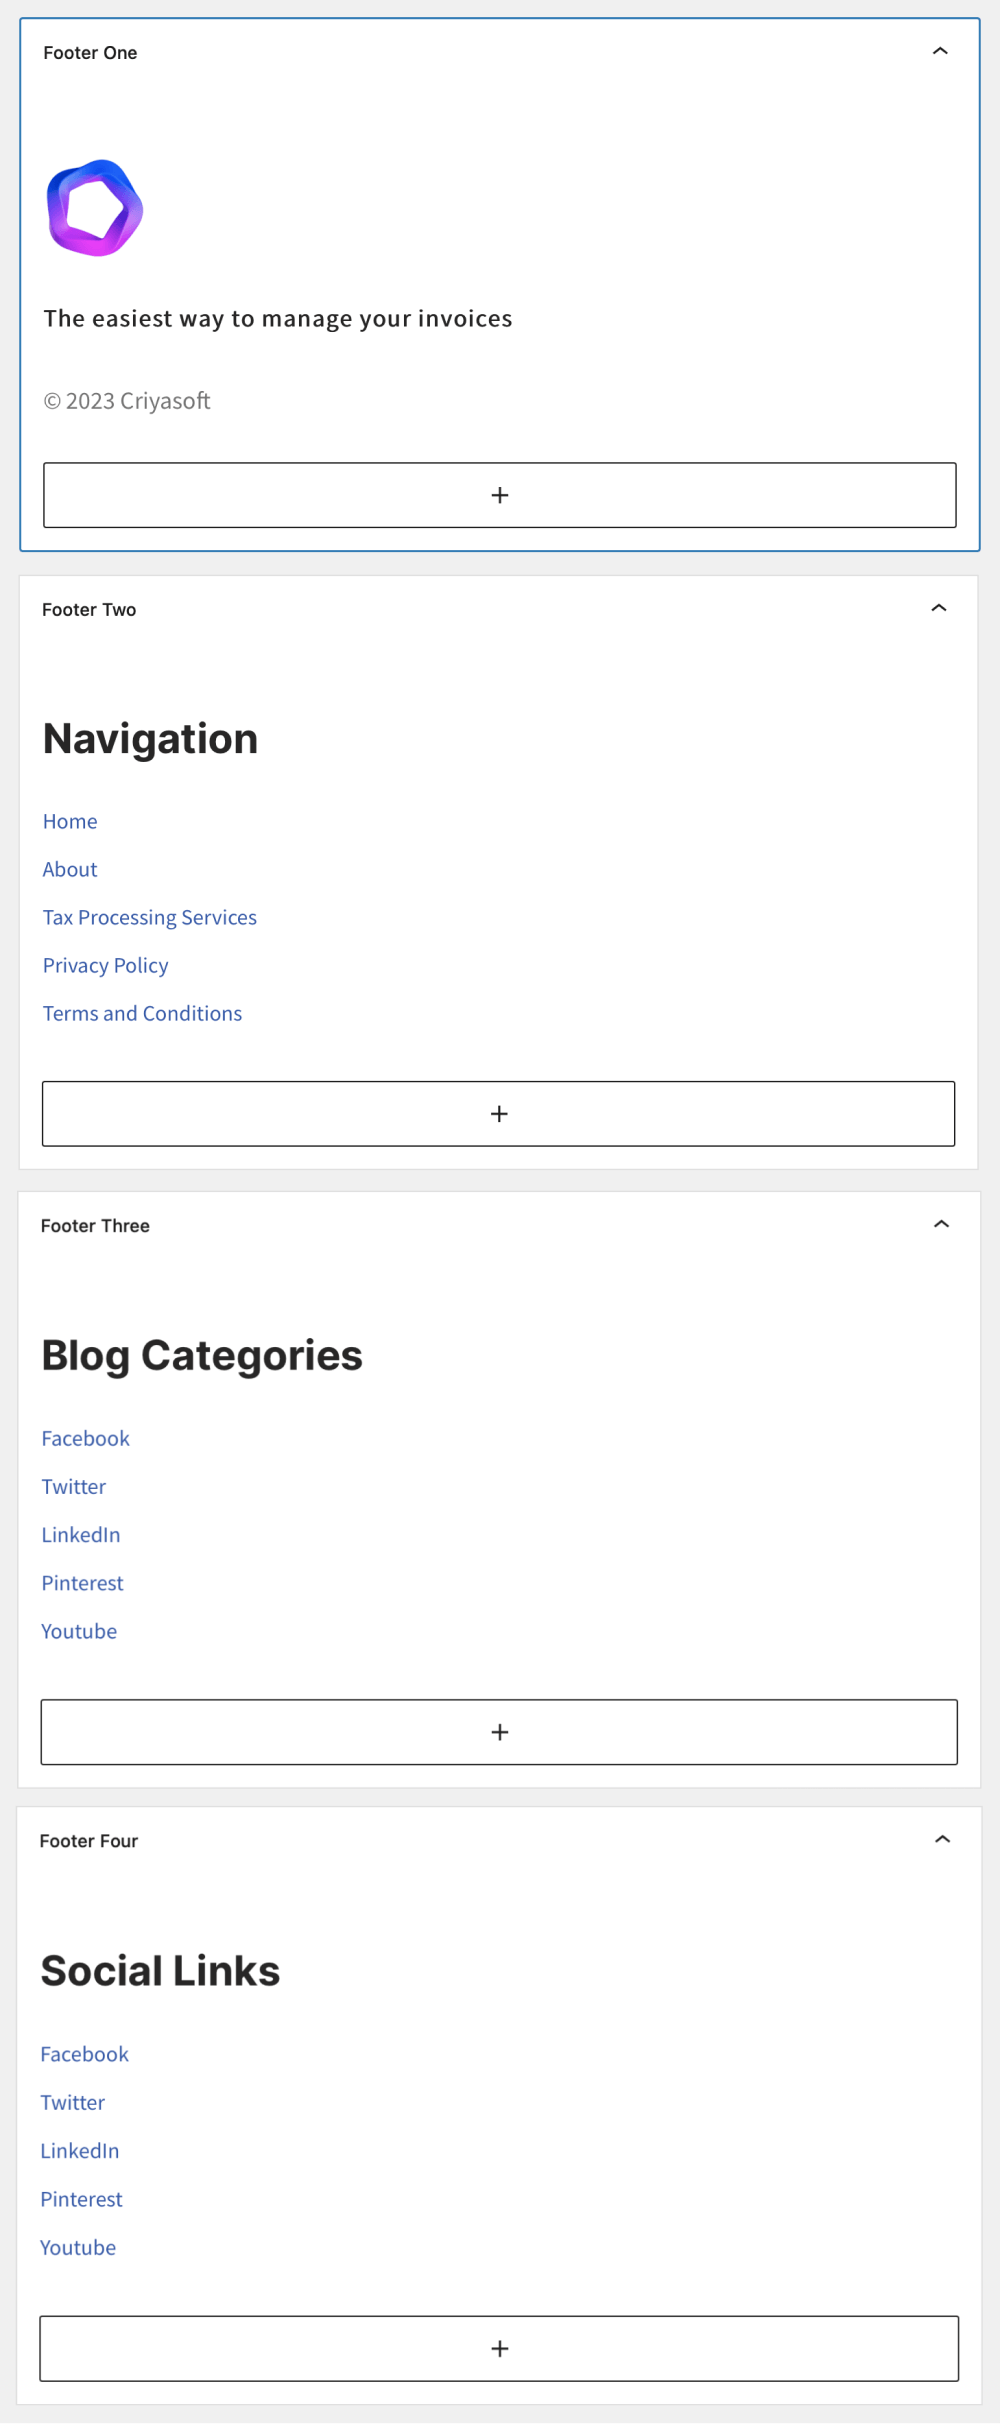
And here is what my Footer Builder looks like:
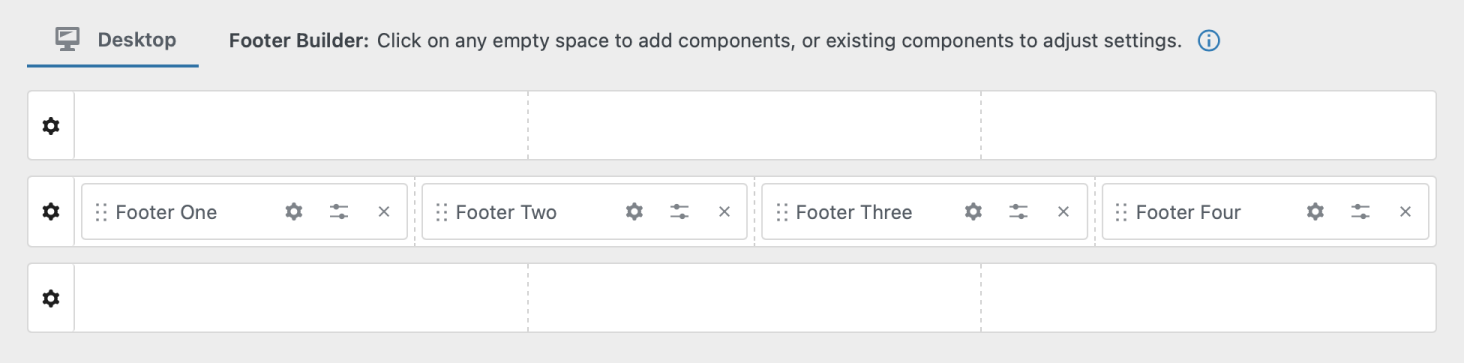
It is all loaded with the footer widget areas.
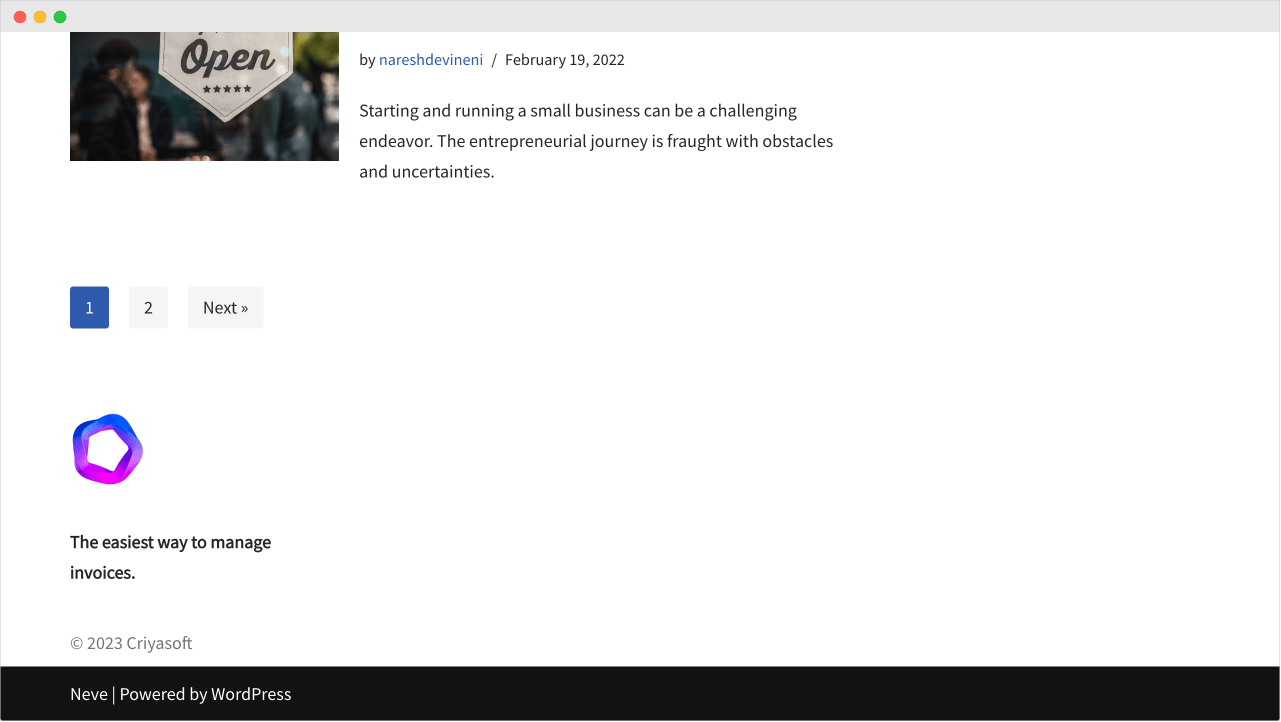
Now, let’s see how the footer looks on the frontend:
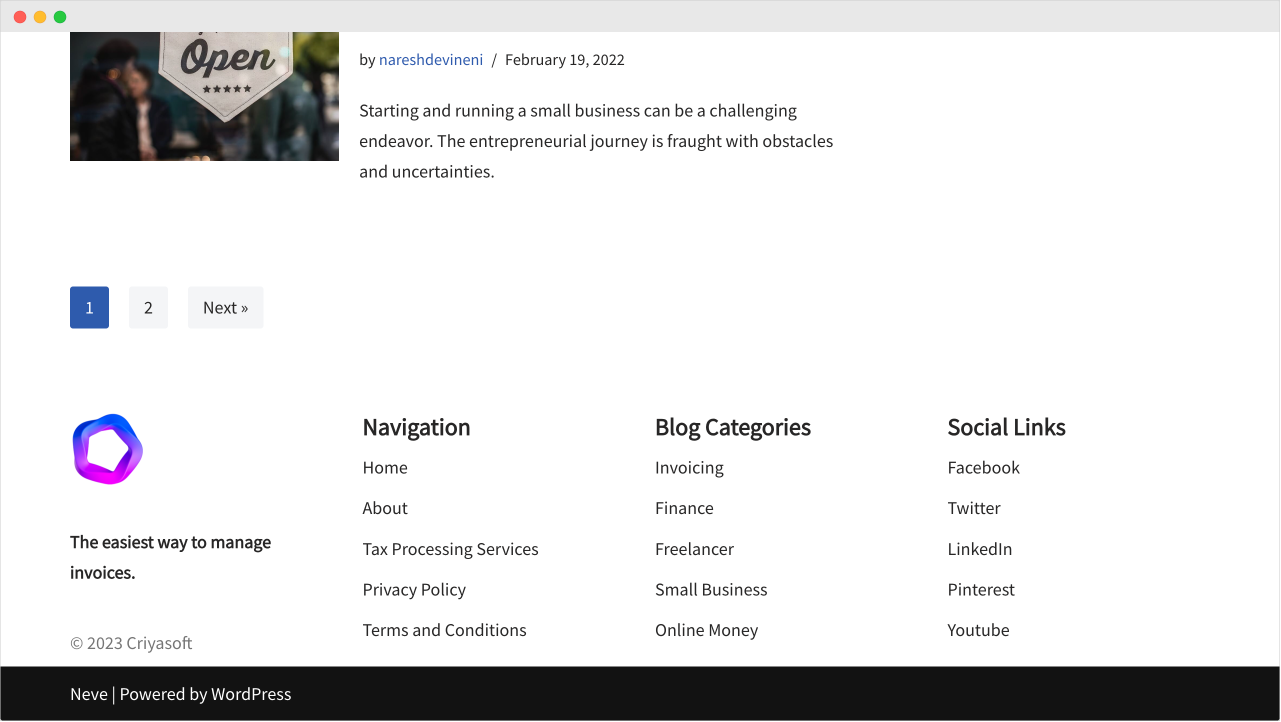
Okay, not bad!
It doesn’t look anything like the design I created:
- It has a lot of spacing issues
- The font size is quite big
- We can not remove the black bar that says “Neve | Powered by WordPress”
We can fix the typography issues and the black bar without purchasing the premium version of the “Neve” theme.
But we can still fix the spacing issues up to a certain level using the free theme itself.
And we will do that in the next lesson.
 © 2026 UsableWP. A project by Naresh Devineni.